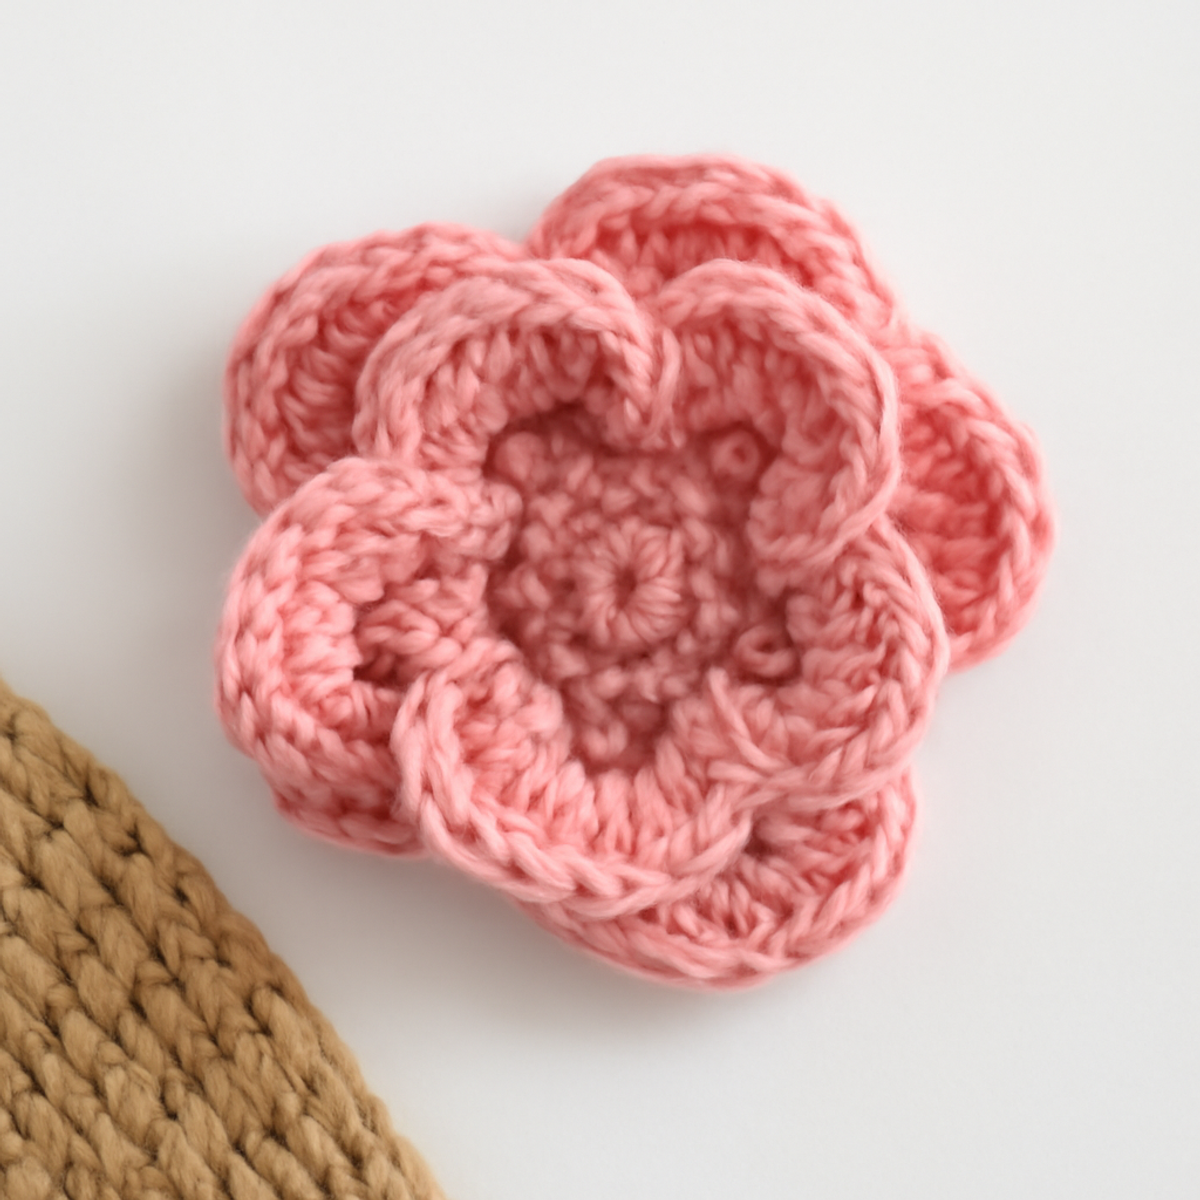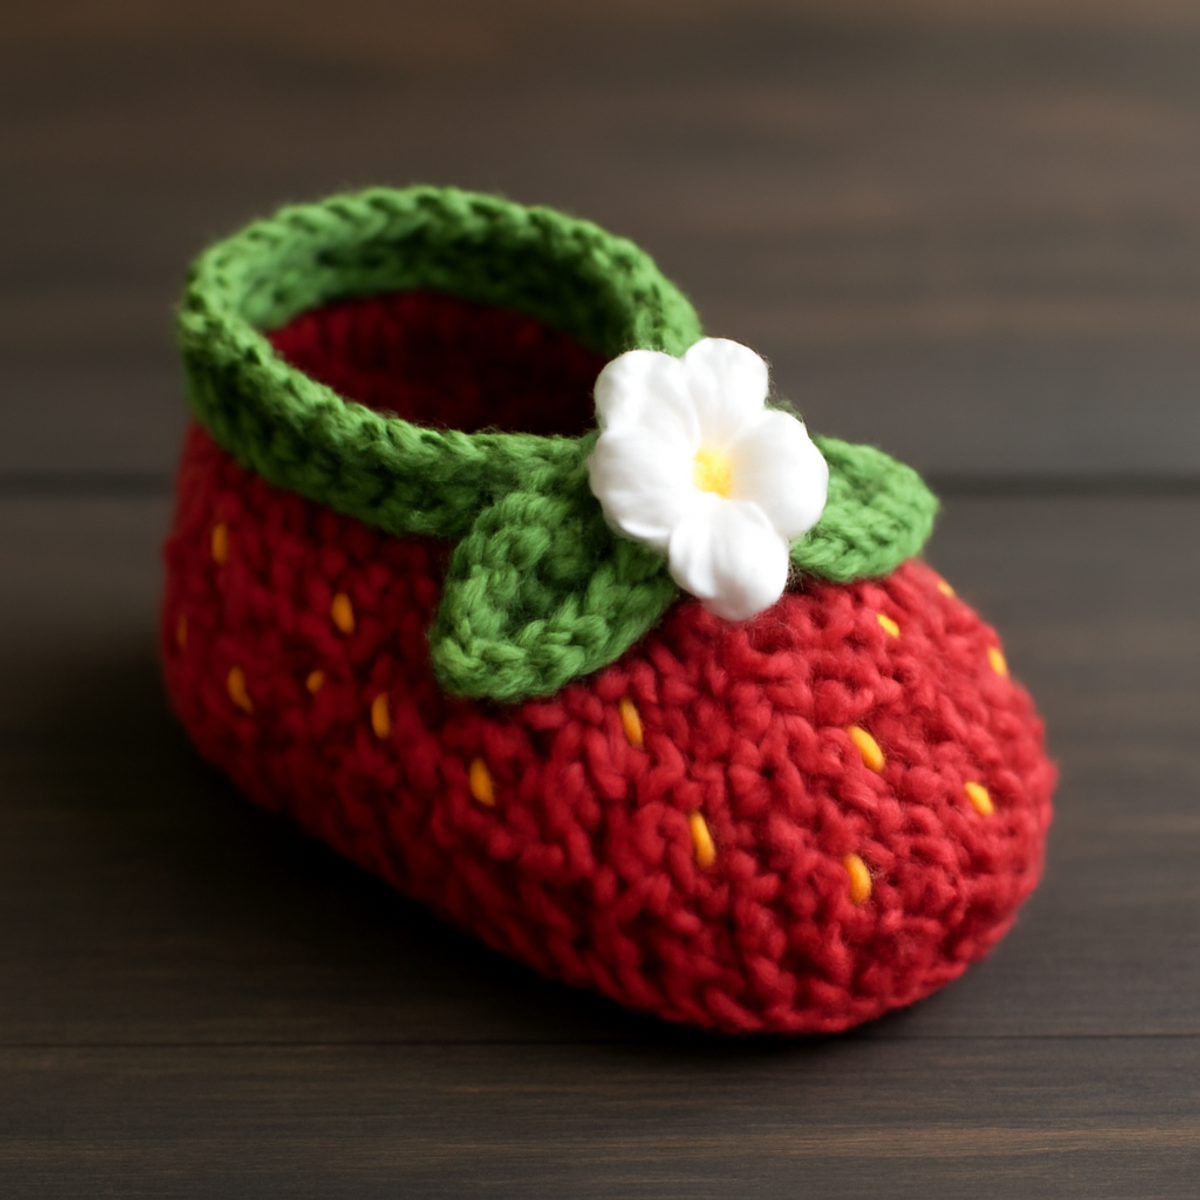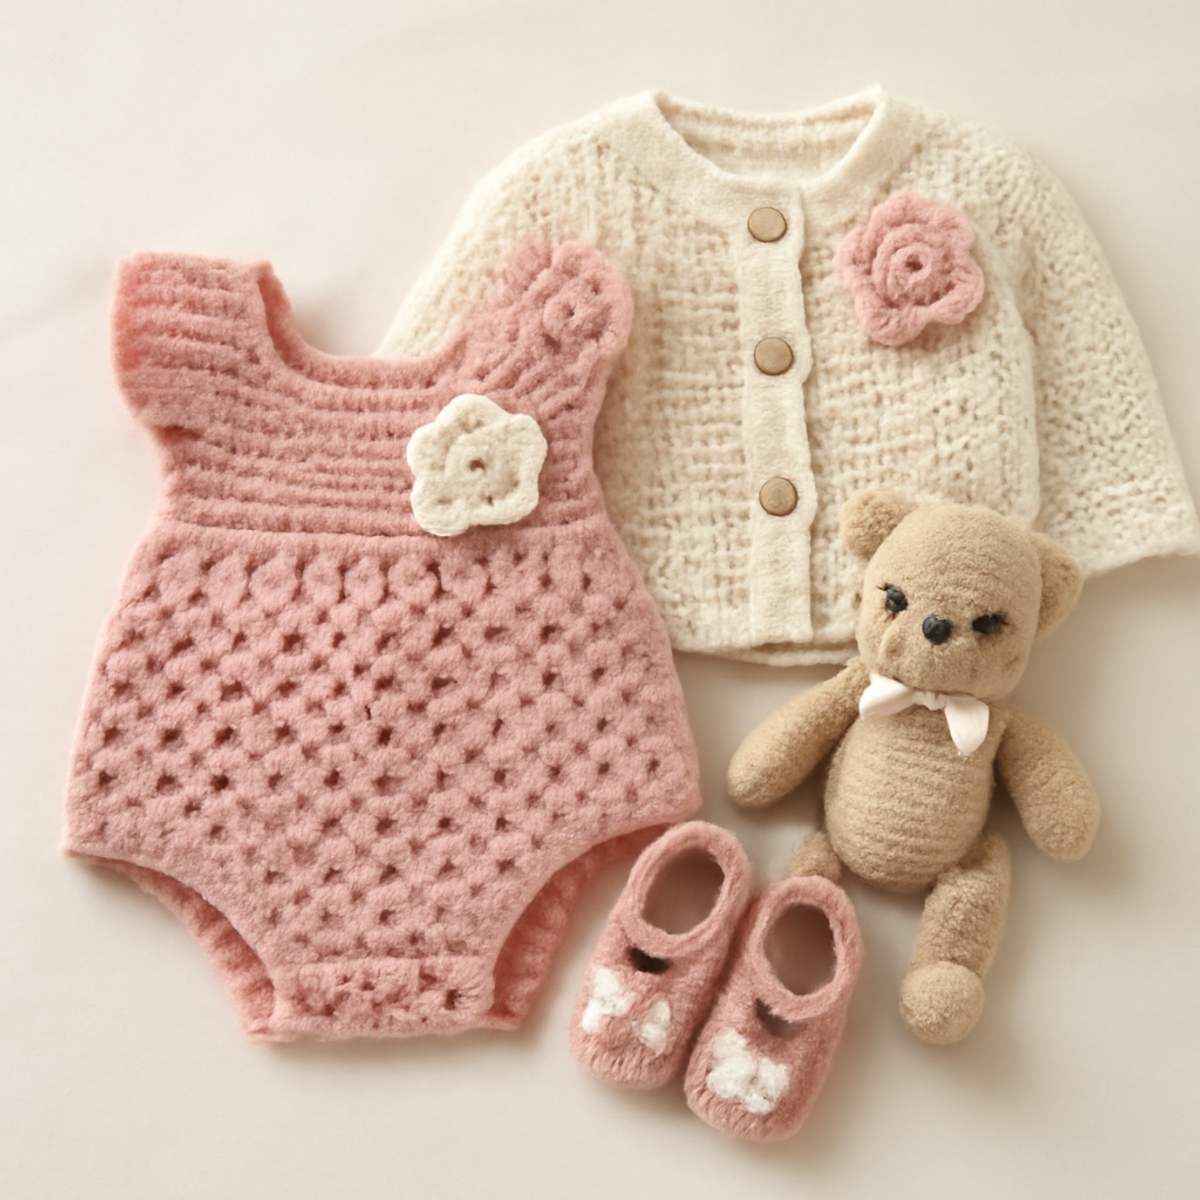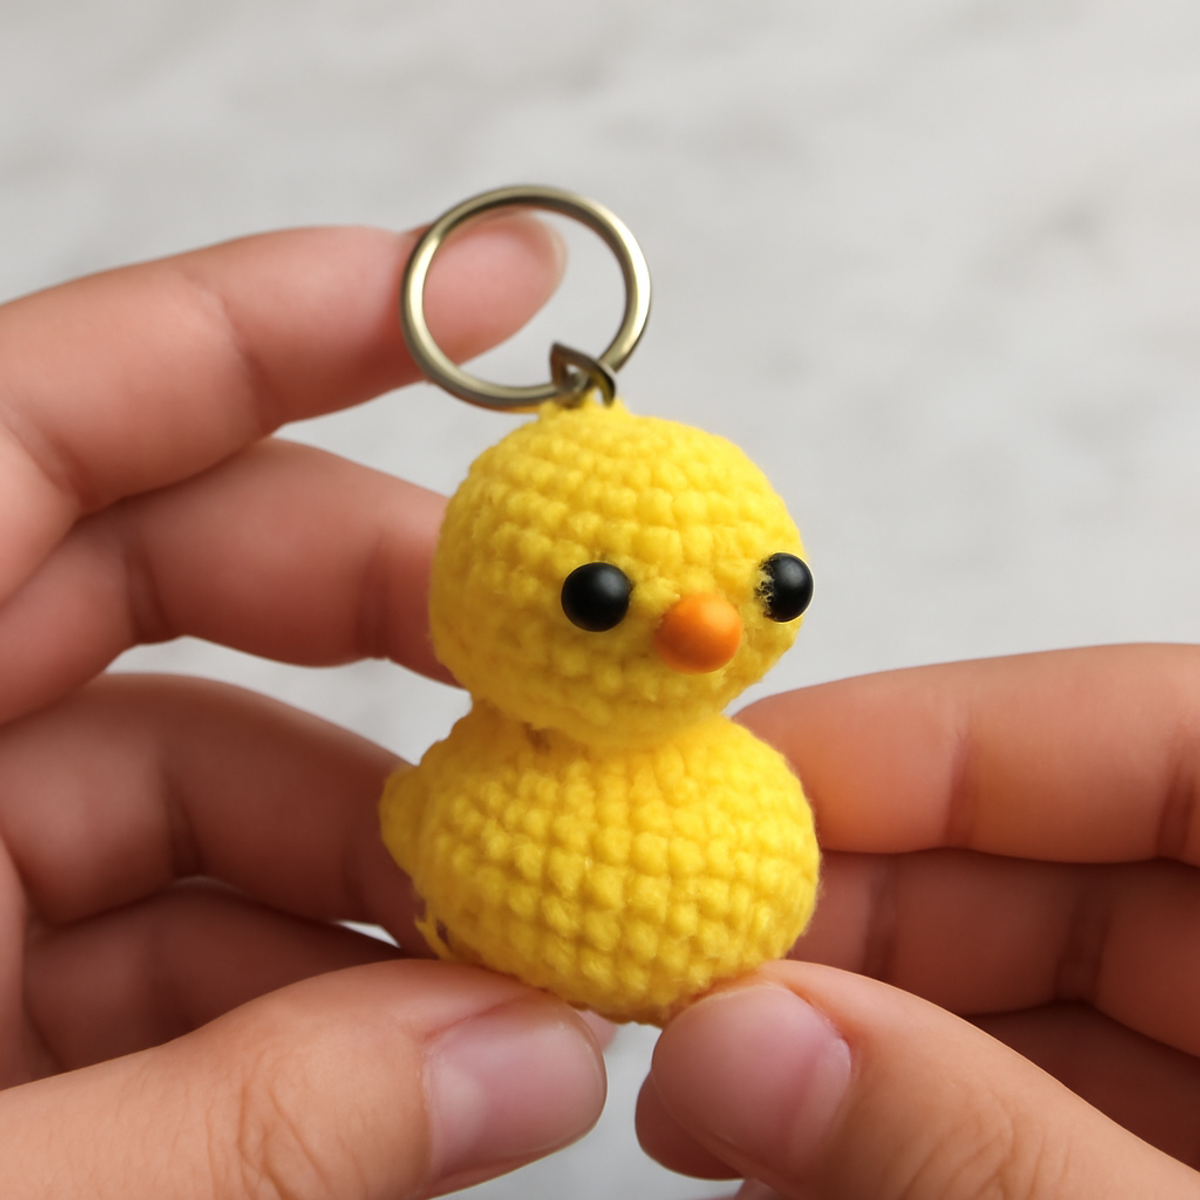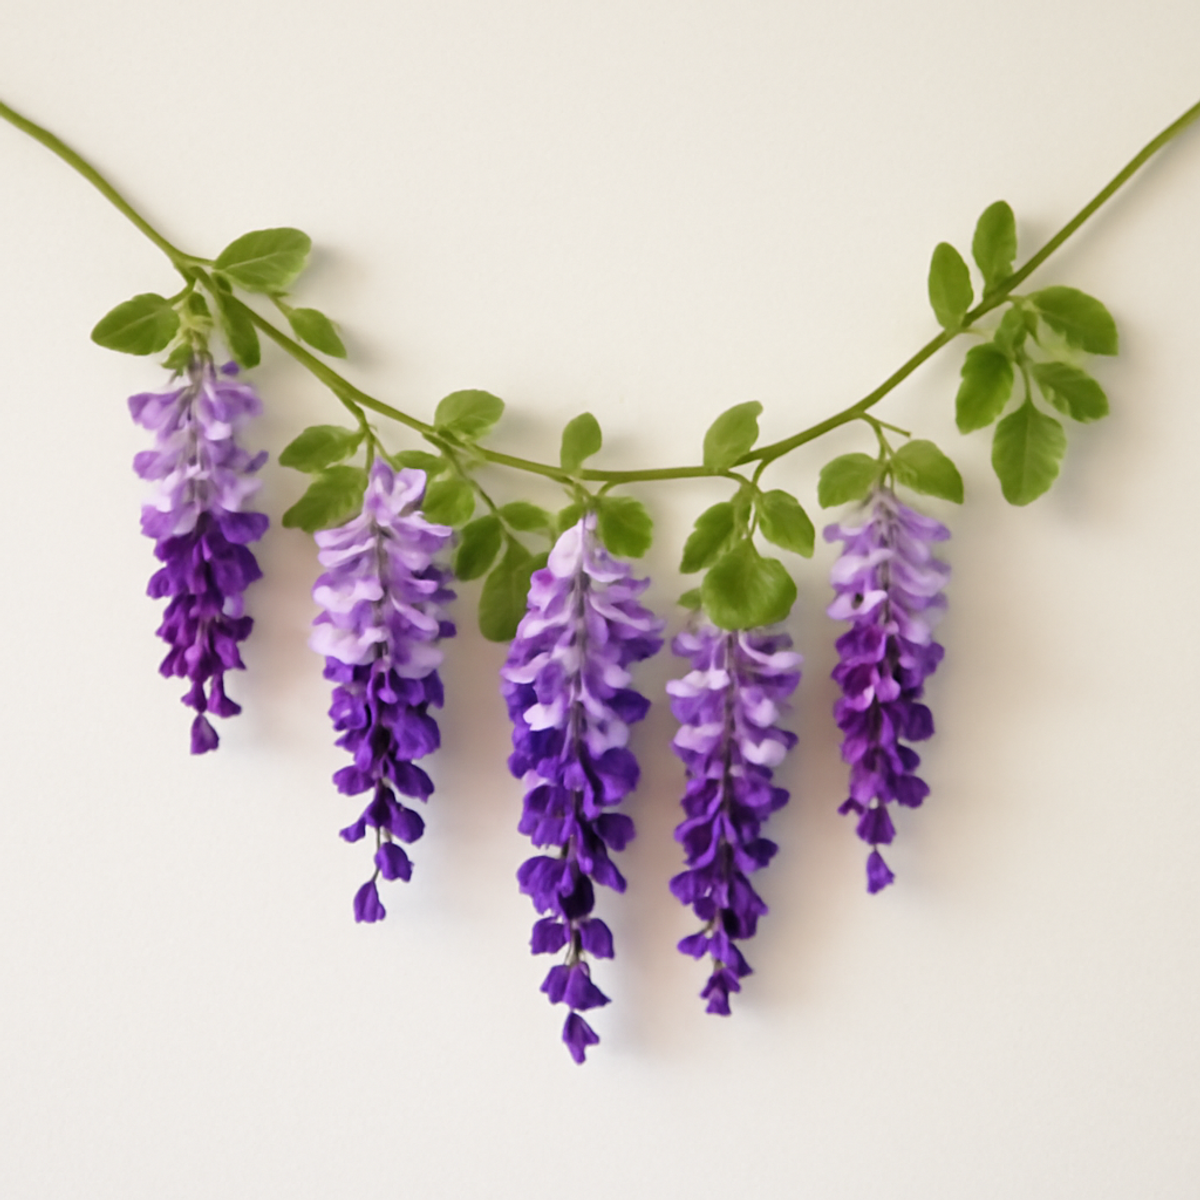
As I admired the gentle sway of wisteria blossoms in the spring breeze, I knew I needed to capture that beauty in crochet. Today, I'm excited to share my pattern for a crochet wisteria garland that promises to bring a touch of floral paradise into your home. Not only does this project add a vibrant splash of color to any space, but it also offers you a rewarding challenge to refine your crochet skills. Perfect for those who love intricate detailing and a dose of creativity, this garland is an advanced project ideal for showcasing your talent at gatherings or seasonal celebrations. Grab your light worsted yarn and let’s dive into those stunning blooms that will turn your decor into a blooming masterpiece. Ready to get started?
Crochet Wisteria Garland Materials & Tools
- Light Worsted or DK Yarn – Aim for approximately 200 to 300 yards in a cotton or cotton blend for durability and texture.
- 3.5mm (E/4 US) to 4mm (G/6 US) Hook – This size will help achieve the precise stitch work required for the lovely blooms.
- Yarn Needle – A must-have for weaving in ends neatly, ensuring your crochet wisteria garland looks polished.
- Floral Wire (optional) – Useful for shaping and adding structure to the delicate leaves if needed.
Get ready to create a vibrant masterpiece that will enrich your home decor!
Why Choose This Wisteria Garland Pattern?
Artful Design: The crochet wisteria garland captures the delicate beauty of nature, bringing a floral paradise indoors.
Skill Enhancement: This advanced pattern challenges your skills with intricate techniques like color changes, making it a rewarding endeavor.
Versatile Decoration: Perfect for seasonal celebrations or everyday decor, this garland brightens up any space with its stunning aesthetic.
Creative Customizations: Experiment with colors and yarn thickness for a personal touch that makes this project uniquely yours.
Durable Details: Crafted from cotton or cotton blends, the garland ensures longevity while maintaining its charming appearance through the seasons.
How to Check Your Gauge for Crochet Wisteria Garland
Don't skip the gauge swatch! Checking your tension is essential for ensuring that your crochet wisteria garland turns out just as beautiful as envisioned. Generally, aim for a gauge of approximately 4×4 inches (10×10 cm) with 24 double crochets and 12 rows, but do remember that achieving consistent tension is key to uniform blooms. If you want to customize your garland’s size, simply adjust your starting chain in multiples of 10 to make it longer or shorter. If your swatch ends up too tight, don’t worry—just switch to a larger hook size to achieve the desired drape and flow for your lovely garland!
Step-by-Step Pattern for crochet wisteria garland
Row 1: Creating the First Bloom Layer
Begin your crochet wisteria garland by making a magic circle. Ch 3 (counts as 1 dc), then dc 11 into the circle for a total of 12 dc. Pull the yarn tail to close the circle and sl st into the top of the ch-3. Your first bloom should form a cup shape with 12 stitches, ready to stack more layers.
Row 2: Adding the Second Bloom Layer
For the second layer, ch 3 and work 2 dc in each dc from Row 1 around (24 dc total). Sl st into the top of the ch-3 to join. This round should create a fuller bloom, with the petals beginning to take shape. Make sure the edges start to flare out gently as you complete this round.
Row 3: Shaping the Bloom Petals
Ch 1, then dc in the next st, inc in the following st around (36 dc total). Sl st to join. This round adds additional volume and shapes your flower petals. At this stage, your bloom should appear lush, with visible petal separation forming as you increase the stitch count.
Row 4: Curling the Petals
To add texture, ch 1, then dc in the next 2 sts, inc in the next st (48 dc total). Sl st to join. This layer encourages the bloom to curl slightly, giving it a realistic wisteria appearance. Continue to ensure the petals are curving outward, providing that delicate floral look.
Row 5: Finishing the Bloom
Ch 1, and dc in the next 3 sts, inc in the next st (60 dc total). Sl st to complete this round. You should notice the blooms are now quite voluminous and starting to resemble the beautiful wisteria flowers. The weight of the stitches should help maintain the bloom's shape.
Row 6: Leaf Construction
For the leaves, ch 10 and sl st in the 2nd ch from the hook. Hdc in the next 3 chs, then dc in the last 6 chs. Cut the yarn but leave a long tail for attaching. Your leaf should be pointy and flat—set it aside to later attach it between flower clusters on the crochet wisteria garland.
Row 7: Attaching Leaves to Bloom
To attach, use the yarn tail from the leaf and sl st it between two blooms on your garland. Secure it in the back with a few st to keep the shape intact. Your leaves should look like they're naturally positioned among the blooms, enhancing the overall aesthetic of the crochet wisteria garland.
Step 8: Assembly of the Garland
Ch 100 to create the base of your crochet wisteria garland. Evenly space your blooms and leaves along the chain, securing with sl st or a yarn needle. Ensure they are balanced and visually appealing. The garland should resemble the flow of wisteria clusters, ready to hang in your favorite space.
Step 9: Final Touches
To finish, check all attachments and weave in any loose ends. You might want to block the blooms and leaves lightly to enhance their shapes. Your stunning crochet wisteria garland is now complete and will bring a burst of floral beauty to your home decor, ready to be displayed!
Expert Tips for Crochet Wisteria Garland
-
Consistent Tension: Maintaining a steady tension is essential for uniform bloom sizes. Check your gauge regularly to avoid discrepancies.
-
Count Your Stitches: Keep a close count, especially when increasing stitches. Losing track can lead to uneven blooms or incorrect petal shapes.
-
Secure Attachments: When connecting blooms and leaves, ensure each piece is securely fastened with a few extra stitches. This prevents any parts from coming loose in the future.
-
Block for Shape: Lightly blocking your finished blooms and leaves enhances their appearance and can help them maintain their lovely curves, giving your crochet wisteria garland that realistic touch.
-
Pin Before Attaching: Before permanently securing blooms on the chain, use pins to arrange them in your desired layout. This allows for adjustments to achieve visual balance.
What to Pair with your Crochet Wisteria Garland?
Imagine adorning your floral creation with pieces that harmonize beautifully and enhance its charm.
- Delicate Leaf Coasters: These coasters echo the softness of the wisteria leaves, perfect for your coffee table.
- Vibrant Wall Hanging: A complementary hanging piece adds another layer of artistic flair to your decor, matching the floral theme.
- Crochet Wisteria Bloom Clips: Perfect for hair or clothing accessories, these clips showcase your crochet skills with a touch of whimsy.
- Floral Fairy Lights: String lights artfully intertwined with your garland create a magical atmosphere, enhancing ambiance during gatherings.
- Botanical Pillow Covers: Capture the essence of your garland with cushions that feature floral motifs, making your space feel inviting and cozy.
How to Wash and Care for Your Crochet Wisteria Garland
-
Hand Washing: Gently hand wash your crochet wisteria garland in cold water using a mild detergent. Avoid agitation to prevent any felting or pilling of the delicate yarn.
-
Drying/Blocking: Lay your garland flat on a clean, dry towel to reshape and block it as needed. This helps maintain the lovely curves of the blooms and leaves while ensuring they dry without distortion.
-
Storage: When storing your crochet wisteria garland, keep it in a cool, dry place. Avoid folding it to prevent creases, and consider placing it in a breathable cotton bag to protect it from dust.
-
Avoid Direct Sunlight: Keep your garland away from direct sunlight to preserve its vibrant colors and prevent fading over time. Proper care ensures your beautiful decoration retains its charm for seasons to come.
crochet wisteria garland Variations & Substitutions
Customize this enchanting crochet wisteria garland to make it even more uniquely yours!
-
Yarn Weight Swaps: Experiment with a heavier yarn for a chunkier effect, making the blossoms pop with boldness. Choose a bulky weight for a cozy, textured garland that stands out.
-
Fiber Alternatives: Use acrylic yarn for a budget-friendly option. It offers a vibrant color palette and is easy to care for, giving you flexibility without sacrificing beauty.
-
Color Blocking: Incorporate bold, contrasting colors for a modern twist. Imagine an eye-catching garland with deep blues and vibrant pinks that adds a contemporary flair to your decor.
-
Size Adjustments: Create smaller blooms by reducing the number of petals in each bloom. This allows you to craft a more delicate garland that's perfect for accenting small spaces.
-
Textured Modifications: Add fun fringes or pom-poms between the blooms for whimsical flair. This brings playful texture and can make the garland even more inviting and cheerful.
-
LED Fairy Lights: Insert small fairy lights through the blooms for magical ambiance. This touch is perfect for evening gatherings, transforming your garland into a glowing centerpiece.
-
Seasonal Themes: Match the garland colors to the seasons. Think pastel hues for spring or warm shades of burnt orange and gold for autumn, allowing it to enhance your decor year-round.
-
Length Variations: Adjust the garland's length by altering the chain at the base. Create a short piece for a table centerpiece or a longer version to drape luxuriously across your mantel.
Crochet Wisteria Garland FAQs
Can I use a different type of yarn for the crochet wisteria garland?
Absolutely! While light worsted or DK cotton yarn is recommended for its durability and softness, you can substitute with acrylic or a cotton blend if you prefer. Just make sure to adjust your hook size accordingly to achieve the desired texture and appearance.
How do I adjust the size of my crochet wisteria blooms if they come out too big or small?
If your blooms are larger than you’d like, try using a smaller hook for tighter stitches, or reduce the number of increase stitches in each row. For smaller blooms, consider using a thicker yarn and increasing your hook size to achieve a fuller appearance while maintaining the defined bloom shape.
Why is my crochet wisteria garland curling at the edges?
Don't panic! Curling often occurs due to uneven tension. First, check your gauge—maintaining consistent tension is crucial. If the curling persists, try lightly blocking your finished blooms and leaves. This should help them relax and take on the desired shape.
What should I do if I have dropped stitches while working on my crochet wisteria garland?
It’s an easy fix! Simply locate the dropped stitch, use your crochet hook to pick it back up, and let it go back into its rightful place. Then, continue crocheting! If you experience frequent drop stitches, try to slow down and keep an eye on your stitch count as you work.
What size crochet hook should I use for the wisteria blooms?
For this crochet wisteria garland, a hook size of 3.5mm (E/4 US) to 4mm (G/6 US) works best. This size helps you achieve the precise and delicate stitches needed to create the lovely volume and shape of the blooms.