
Bringing a whimsical creature into your life can be incredibly fulfilling, especially when that creature is as enchanting as an adorable crochet duck. This crochet duck pattern is more than just a lovely decorative piece; it’s a delightful project that showcases the joy of crafting while being beginner-friendly. You’ll quickly fall in love with its plush texture and bright colors. The best part? This adorable duck emerges from your yarn stash with minimal effort and a quick assembly process, making it a perfect stash-buster and a cozy addition to any decor or gifts for loved ones. Whether you’re a seasoned crocheter or taking your first stitches, you’ll find this project rewards you with a sense of accomplishment and pride. So, are you ready to dive into the world of crochet and create something simply delightful?
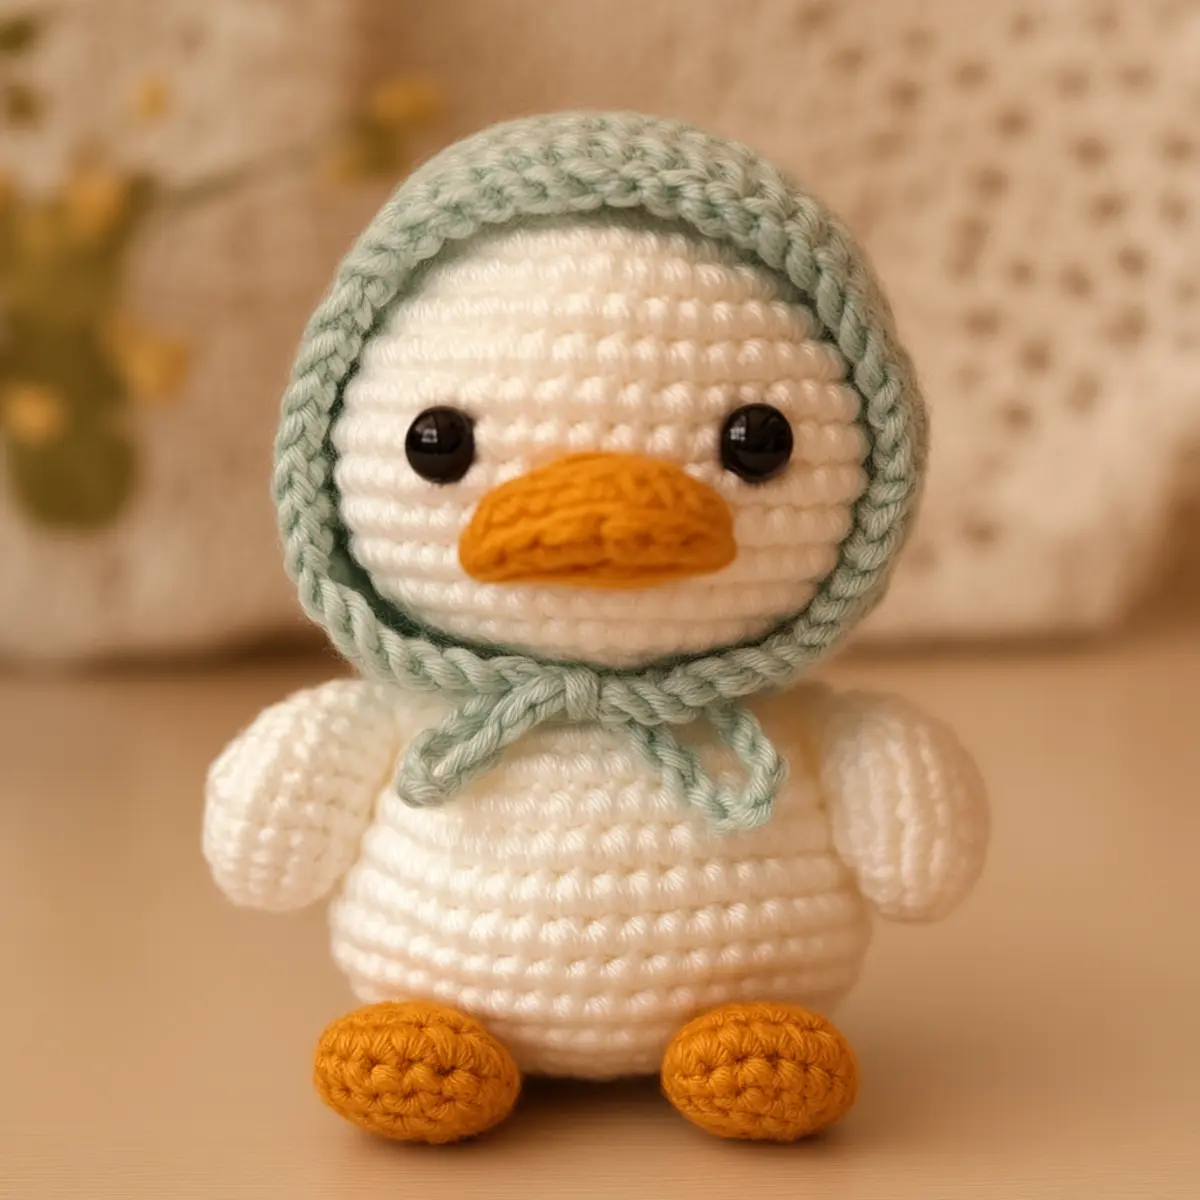
Crochet Duck Pattern Materials & Tools
Yarn
- Medium to bulky weight plush yarn – Approx. 100-150 yards total, perfect for achieving that soft, snuggly feel.
- Acrylic or polyester blend yarn – Offers durability while maintaining the fuzzy texture essential for your crochet duck pattern.
Tools & Notions
- 5.0 mm hook (H/8) – Ideal for plush yarn, helping create a tight, stuffable fabric.
- Safety eyes – For a charming touch and personality, these eyes make the duck come alive.
- Yarn needle – Necessary for sewing parts together; choose a sturdy one for best results.
- Stitch markers – Helpful for keeping track of your rows, especially for beginners eager to monitor their progress.
Why You’ll Love This Pattern
Simplicity makes this pattern accessible for novices and seasoned crafters alike. The straightforward techniques guide you through each stage of the process, ensuring a stress-free crafting experience. Plush textures bring comfort and charm, resulting in a delightful plush duck that you’ll want to snuggle with. Also, it’s a stash-friendly design; perfect for using up leftover yarn from past projects. You can even customize your duck’s coloring to match your home’s aesthetics or personal tastes. Opt for cheerful pastels or vibrant tones to make it truly unique. And what’s more, it’s a time-saving adventure—ideal for those who love completing projects in a weekend! If you’d like to explore more fun crochet toys, check out our Crochet Monkey Pattern or create something classic like our Crochet Teddy Bear to expand your crafting skills even further.
Gauge & Sizing Notes for Crochet Duck Pattern
To ensure your crochet duck pattern turns out perfect, checking your tension is key. Aim for a gauge of 4×4 inches (10×10 cm) with 18 sc and 22 rows to get the right size and maintain the plush quality of the doll. When creating this project, you may find altering your starting chain or rounds is necessary for your sizing needs. If your tension differs from the standard, don’t worry! Adjust by trying a larger hook or adding/subtracting rounds to achieve your desired dimensions. The finished crochet duck stands approximately 7-8 inches tall, making it an ideal addition to your decor or a wonderful gift. Embrace your creativity with color choices for the duck, and don’t hesitate to consider thicker yarn or different stitch techniques to modify the final look. The crochet duck pattern is versatile, allowing for unique expressions while maintaining its delightful character.
Step-by-Step Pattern for Crochet Duck Pattern
Row 1: Start with a Magic Ring Begin by making a magic ring, allowing the yarn to create a small loop. This will be the foundation for your duck’s head, ensuring a tight start. (1 st.)
Row 2: Forming the Head Ch 1, then work 6 sc into the ring to begin shaping the head. Pull the tail to close the ring tight; this will create a snug base for your plush duck. (6 sc)
Row 3: Increase the Round Ch 1, inc in each st around. This step will help round out the duck’s head, making it nice and plump as you crochet. (12 sc)
Row 4: Continue Increasing Ch 1, 1 sc, inc across the row; repeat until you reach the end. This will create a beautiful shape while adding size to your head. (18 st)
Row 5: Build Up Height Ch 1, work 1 sc in each st around. Keep your tension consistent to maintain the plush look, allowing your crochet duck to take form. (18 st)
Row 6: Inserting Safety Eyes Ch 1, work 1 sc in each st. Before closing the round, position safety eyes about 6 stitches apart to create the sparkle in your duck’s personality, then secure tightly. (18 st)
Row 7: Shaping the Beak Ch 1, turn your piece, and work in rows: 6 ch, 1 sc in 2nd ch from hook, 1 sc in next 4 ch. Sew the completed beak attach with a long tail on the head; ensure it’s secure. (5 sc)
Row 8: Creating the Body Start another magic ring, ch 1, and crochet 6 sc into the ring for the body base. This will cradle the duck’s underbelly, so make it sturdy yet soft. (6 st)
Row 9: Increase the Body Ch 1, inc in each st around to begin forming the duck’s full body. The increase rounds ensure a plushy feel that is both cuddly and adorable. (12 st)
Row 10: Round Out the Shape Ch 1, 1 sc, inc around for a total of 18 stitches. This ensures the body is eagerly awaiting its assembly with the head. (18 st)
Row 11: Completing the Body Ch 1, work 1 sc in each st around, creating layers and height until the body reaches your desired size. This will guide the look and balance of the duck. (18 st)
Row 12: Crafting the Feet Create two separate pieces; start with a magic ring, ch 1, and 6 sc to shape the foot. This will add stability and character to your crochet duck. (6 sc)
Row 13: Provide Form to Feet Ch 1, increase in each st around, then create a row of sc to make the feet flatter and secure. (12 st)
Row 14: Attaching Parts Together Once the body and feet are completed, sew them together with a yarn needle. Secure strongly, making sure your duck will sit nicely. This will finalize your adorable crochet duck’s shape and beauty.
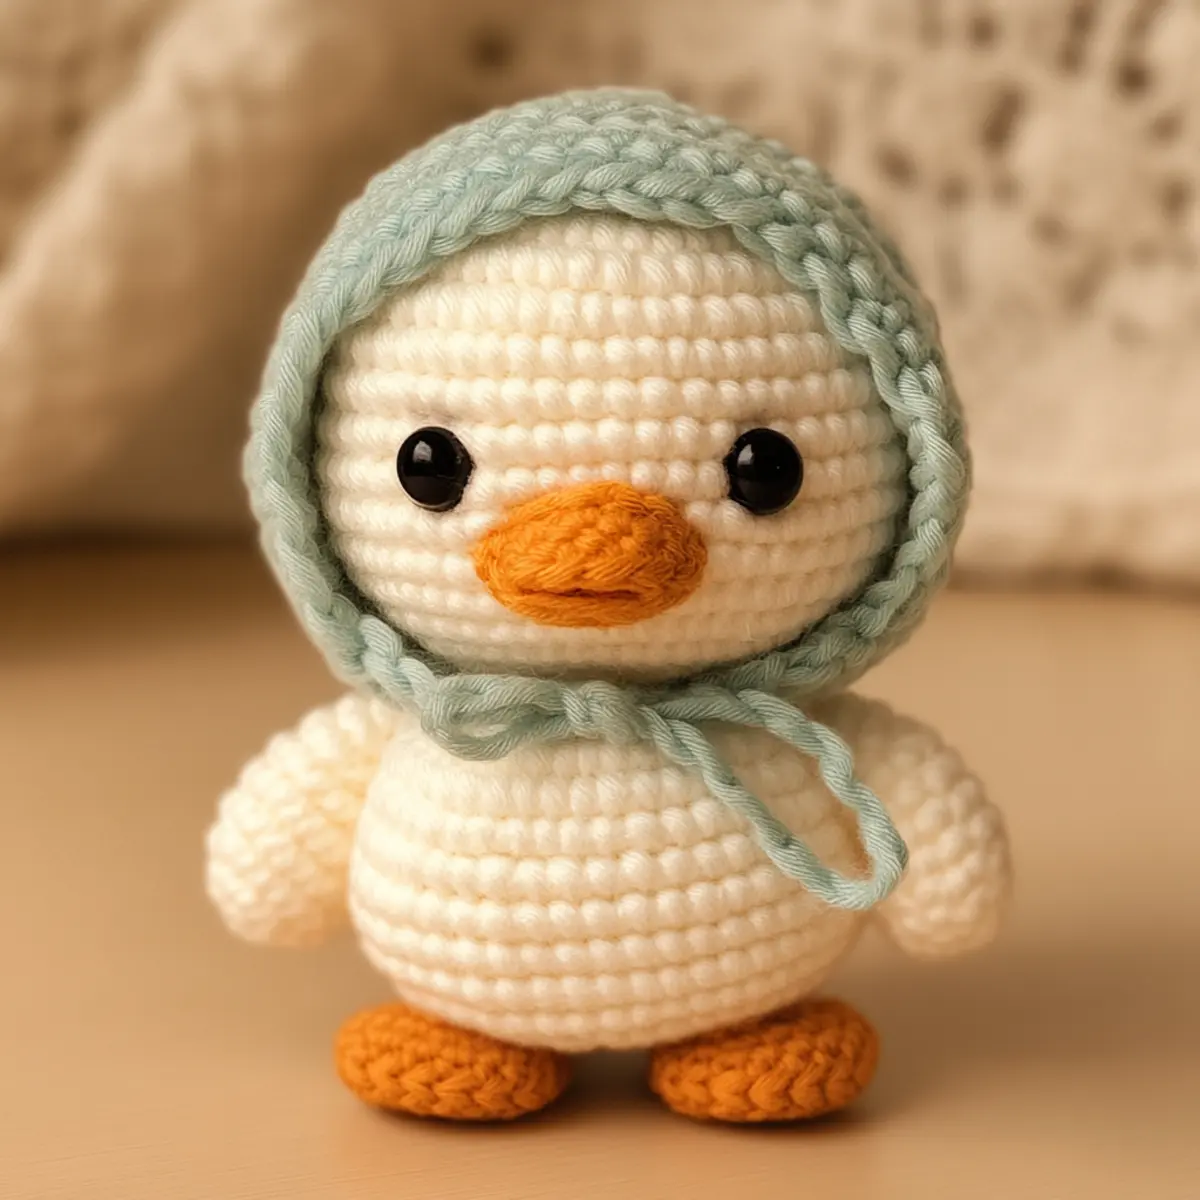
Row 15: Optional Bonnet If desired, start a magic ring, inc as needed to fit the duck’s head shape, adding personalized touches like flowers or ribbons. The bonnet will enhance its charming appearance. (Adjust to fit.)
Row 16: Complete and Enjoy Once all parts are sewn and attached, you can block gently if desired. Celebrate your hard work and admire your finished adorable crochet duck that stands ready for warmth and joy. Perfect for gifts or decor!
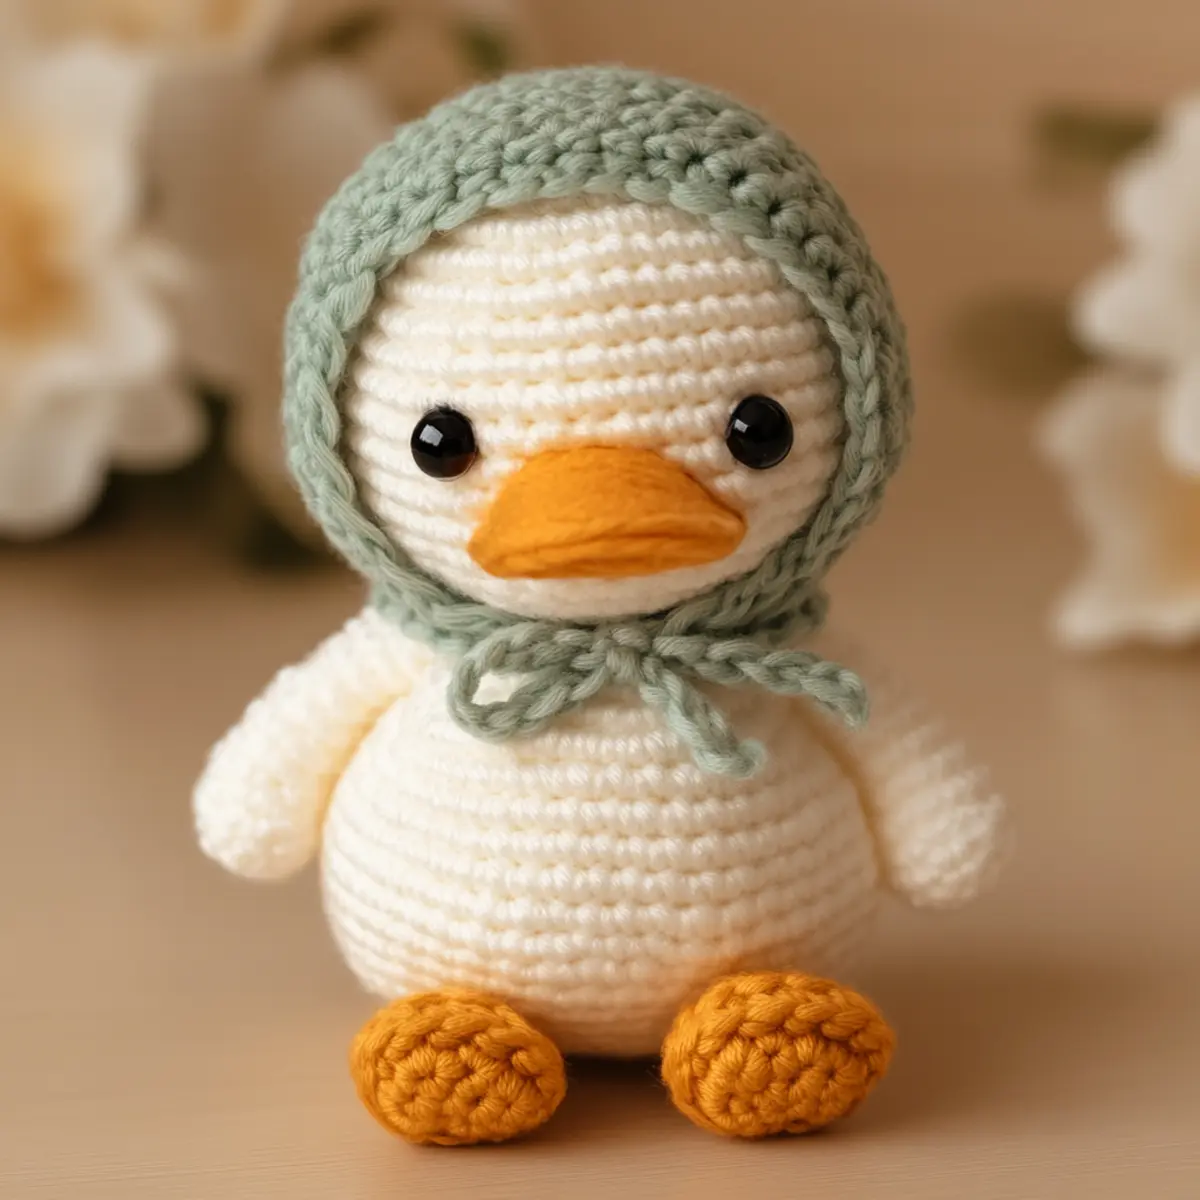
Crochet Duck Pattern Variations
Feel free to bring your unique twist to this crochet duck pattern!
- Pastel Colors: Try using soft pastel shades like pinks and greens to create an adorable, dreamy effect.
- Cotton Yarn: Swap plush yarn for cotton if you desire a smooth, breathable finish that’s great for warm weather.
- Personalized Bonnet: Create a charming bonnet for your duck with floral embellishments or ribbons for a personalized touch.
- Oversized Duck: Utilize a larger hook and thicker yarn, turning this pattern into a sweet oversized plushie for display.
- Safety Eyes Alternatives: If you prefer a softer look, consider embroidered eyes for a more whimsical finish.
- Color-Blocking: Experiment with color-blocking techniques on different parts of the duck; this adds visual interest and style.
- Textured Variation: Combine different textured yarns, like mixing soft velvet with fuzzy yarn to create a more dynamic look.
For an entire colorful collection, consider crafting this crochet duck in various colors and sizes to elevate your decor alongside other playful creations like a Crochet Monkey Pattern or a charming Crochet Teddy Bear. You can also personalize your duck to represent special occasions or favorite themes, allowing you to express creativity uniquely.
Expert Tips for the Best Crochet Duck Pattern
-
Consistent Tension: Maintain even tension to prevent gaps, especially in tightly stuffed areas. This ensures your crochet duck maintains a solid shape and plush quality.
-
Stitch Counting: Regularly count your stitches to keep track of increases and decreases. Using stitch markers can be a lifesaver for beginners.
-
Magic Ring Mastery: Practice your magic ring technique; it helps create a tight starting point that keeps your stitches secure and snug, essential for shaping the head.
-
Safety Eye Placement: Position safety eyes before closing the round for the head to ensure they are evenly spaced and enhance your duck’s personality.
-
Blocking Necessity: Consider gently blocking the pieces after assembly to help them maintain their shape and ensure a polished finish on your crochet duck.
How to Wash and Care for Your Crochet Duck
-
Machine Washing: Use a gentle cycle with cold water to keep your crochet duck looking fresh without risking damage to the plush yarn.
-
Hand Washing: If you prefer, hand wash with mild detergent, ensuring all soap is rinsed away. Avoid wringing which can distort the shape.
-
Drying: Lay your crochet duck flat on a clean towel to dry; this helps to maintain its structure and plush appearance. Avoid hanging, as it can stretch.
-
Storage: Store your duck in a cool, dry place away from direct sunlight to preserve the color and texture of your yarn.
Crochet Duck FAQs
Can I use different yarn types for this project?
Absolutely! You can substitute with cotton yarn for a smoother finish or experiment with different fibers to create unique textures.
What size crochet hook should I use?
A 5.0 mm hook (H/8) is ideal for a close-knit fabric using plush yarn, ensuring proper stuffing and an appealing finish.
How can I adjust the size of the crochet duck?
If you wish to make a larger duck, opt for thicker yarn or a larger hook. Alternatively, increase or decrease rounds based on your gauge for desired dimensions.
What should I do if my stitches start curling?
Don’t panic! Curling can occur due to uneven tension or incorrect stitch counts. Adjust your tension and check stitch counts to achieve a flat finish.
How do I fix dropped stitches?
If you notice a dropped stitch, gently pull the neighboring stitches close to it, then use a yarn needle to secure the stitch back into place. This keeps your plush duck looking flawless.
Can I add embellishments to the crochet duck?
Certainly! Adding small flowers or ribbons to the bonnet provides a delightful personalized touch, making your crochet duck even more charming.

Leave a Reply