
Sitting in my cozy corner, I just finished crafting the most adorable crochet monkey pattern that has completely stolen my heart! This whimsical little creature brings a wave of joy as I fondly remember giggles and playful afternoons. The crochet monkey pattern not only offers a delightful project for those with some experience under their belts, but it also doubles as a fabulous way to enhance your crochet skills while having fun. One of the best parts about this design is how versatile it is—you can create a unique monkey tailored to your preferences with just a few simple color changes! Letting your creativity run wild while using up some of that yarn stash makes this project a fantastic stash-buster as well. Plus, it’s a great opportunity to add an endearing companion to your cozy collection or gift it to someone special in your life. This sweet little monkey is eager to be a part of your crochet adventures, sparking curiosity about what unique twist you might give to your own cozy creation.
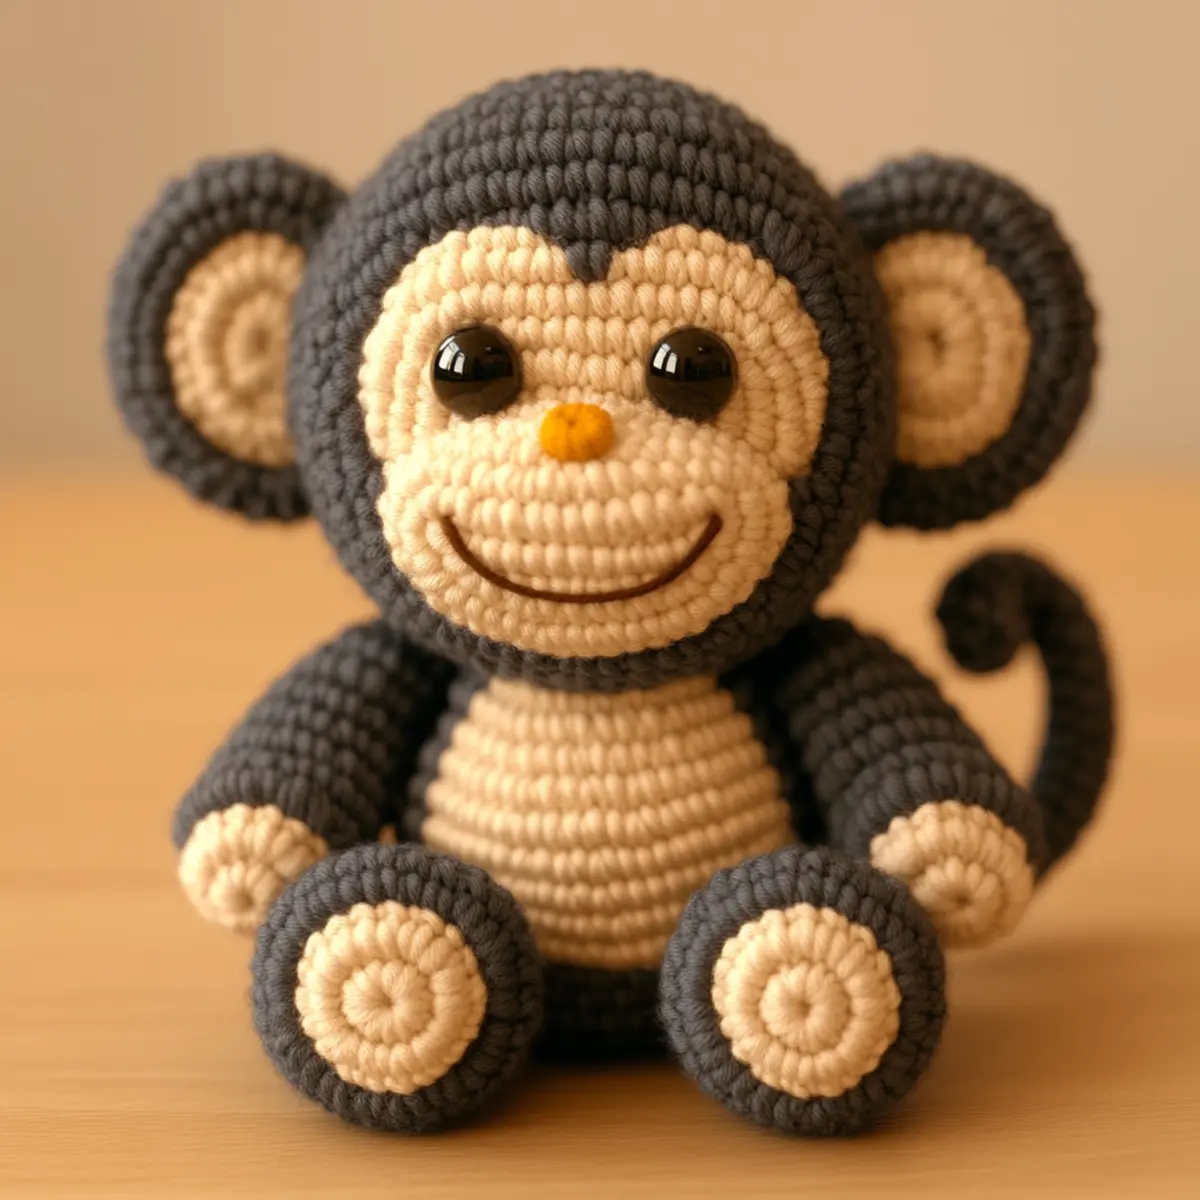
Crochet Monkey Pattern Materials & Tools
Yarn
Worsted weight acrylic yarn – Around 100-150 yards of cream and dark gray yarn is ideal for this crochet monkey pattern.
Tools & Notions
G-6 (4.0 mm) crochet hook – A tight gauge is necessary to keep the stuffing hidden.
Safety eyes (10 mm) – Ensure safety as well as a cute face for your monkey.
Tapestry needle – Essential for assembling your crochet parts securely.
Stitch markers – Perfect for tracking rounds and maintaining stitch counts.
Fiberfill stuffing – Choose a soft filling to make your monkey extra cuddly.
Why You’ll Love This Pattern
One of the standout features of this crochet monkey pattern is its simplicity—you’ll find it accessible even as you tackle color changes and shaping techniques! Crafting this little buddy also allows for a fantastic level of customizability; you can play with hues and add your unique flair throughout the project. Not only is it a stash-friendly endeavor where you can mix and match available yarns, but it also saves you time with straightforward instructions—ideal for crafters on the go. And let’s not forget the aesthetic appeal of a cute companion that brightens any room! Whether you decide to follow the classic color scheme or try something entirely your own, this project allows for creative exploration and leaves you with a charming piece you’ll be proud to display. For more ideas on fun, colorful projects, check out these tips on color changing techniques or explore other fabulous stash-busting patterns!
Gauge & Sizing Notes for Crochet Monkey Pattern
Checking your tension is crucial for achieving the desired look and size of your crochet monkey pattern. Aim for a standard gauge of 6 sc per inch with 7 rows yielding 4×4 inches (10×10 cm). Adjust your starting chain or round based on tension variations; for a smaller size, use a lighter yarn or hook, while a thicker yarn can yield a larger creature. If your gauge varies, re-evaluate your yarn choice or hook size to ensure a compatible fit. When you make this crochet monkey pattern, remember that a tighter gauge will help you avoid visible stuffing, giving your lovely creation the charming squishiness it deserves. Aim for a final height of about 8-10 inches and 4-5 inches in width. By ensuring proper gauge, you can create an adorable, huggable monkey that maintains its shape beautifully!
Step-by-Step Pattern for Crochet Monkey Pattern
Row 1: Start the Head Begin with a magic ring (MR) and work 6 sc into the ring. Pull tight to close the MR, forming a base for the head. Make sure to keep the stitches tight to avoid stuffing from showing through the final project. (6)
Row 2: Increase for Roundness Work 2 sc in each stitch around for a total of 12 stitches. This round creates the fullness needed for the monkey’s head. Always use a stitch marker to keep track of your rounds. (12)
Row 3: Form the Shape Now, work 1 sc in the first stitch, then 2 sc in the next. Repeat this pattern around to end with 18 stitches. This gradual increase is crucial to maintain the rounded shape. (18)
Row 4: Muzzle and Color Changes Switch to cream yarn for the face. Work 1 sc in the first 3 stitches, 2 sc in the next 3, and 1 sc in the last 3. This creates the foundational shape for the monkey’s adorable muzzle. (24)
Row 5: Build Up the Face Continue with 1 sc in each stitch around using cream. This will solidify the base of your monkey’s face and prepare for more detailed features. (24)
Row 6: Add Ears Start shaping the cute ears by working 5 sc in a separate magic ring with the cream yarn. Slip stitch to close and fasten off, leaving a tail for assembly later. It’s important to keep ears proportionate to the head. (5)
Row 7: Creating the Body Repeat a similar method as for the head, starting with a MR and working 6 sc in it. Increase as before until you reach 30 stitches, creating a sturdy base for the body. This section should be more elongated compared to the head. (30)
Row 8: Round the Base Work in sc around for 10 rounds, maintaining the same stitch count. This solidifies the body shape while you prepare to attach the legs. Remember to check for snugness as you go. (30)
Row 9: Shaping Arms and Legs Work 6 sc in a new magic ring for an arm. Repeat for the second arm. Each arm should have around 12 rows following the same increase pattern, gradually forming a small bulbous shape. Make 2 for both sides. (12)
Row 10: Assemble Arms and Legs Attach the arms to the body at your desired height using the tapestry needle. Take care to sew them securely, ensuring they are evenly placed. The limbs provide a sense of balance and personality to your crochet monkey pattern.
Row 11: Create the Tail Using dark gray yarn, make a spiral tail starting with a chain of 30, followed by sc back down the chain. This unique feature offers personality to the design while allowing for easy manipulation and poseability. (30)
Row 12: Final Assembly and Stuffing Before closing the monkey, stuff the body and limbs lightly, ensuring they are not over-packed. Close with a slip stitch and securely weave in all ends to prevent any stuffing from poking out. Your delightful crochet monkey pattern is now ready to brighten a room or be gifted to a loved one!
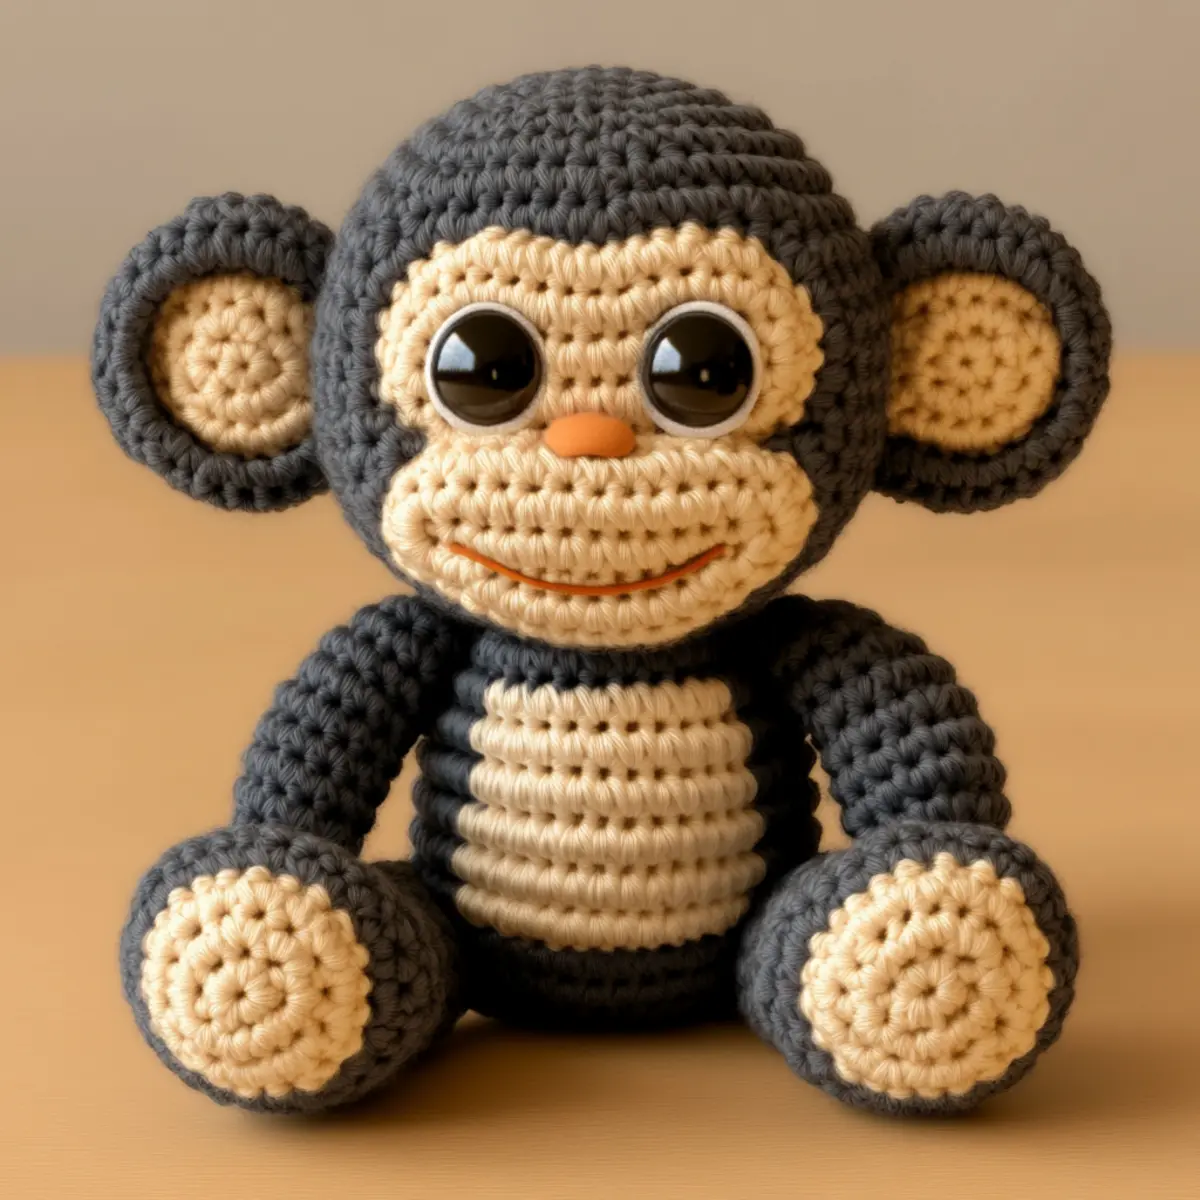
How to Wash and Care for Your Crochet Monkey Pattern
Machine Washing: Use a gentle cycle in cold water. Avoid agitation to maintain shape and prevent damage to the yarn used in your crochet monkey pattern.
Hand Washing: For best results, hand wash with mild detergent in cold water to preserve color and integrity of your creation.
Drying: Lay flat to dry away from direct sunlight to prevent fading and maintain the cute shape of your monkey.
Storage: Keep your finished monkey in a cool, dry place, avoiding damp areas that could lead to mold or texture damage.
Expert Tips for Crochet Monkey Pattern
Tight Tension: Keep the stitches tight to avoid stuffing showing through when making limbs and the head.
Count Carefully: Always count stitches, especially during color changes. It helps maintain your pattern’s shape throughout.
Use Stitch Markers: Place stitch markers to track your rounds, especially in circular projects like this crochet monkey pattern.
Secure Assembly: Make sure all parts are securely stitched together before closing. A snug assembly helps keep the shape intact.
Creative Variations: Don’t hesitate to play with colors and embellishments! This crochet monkey pattern is all about your unique touch.
Crochet Monkey Pattern Variations
Feel free to let your creativity shine by customizing this charming monkey!
- Color Scheme: Use pastels for a soft baby-themed monkey or bold primary colors for a vibrant appeal. Color choices can completely change the vibe and personality of your monkey.
- Size Modification: Use thicker yarn and a larger hook for a more substantial plush toy or finer yarn to create a pocket-sized version. Changing yarn weights can drastically alter the finished product’s scale, making it fun and versatile.
- Themed Set: Craft various animals in a consistent color palette to form a fun collection. This approach encourages creativity and can lead to delightful gifting options for different occasions, allowing for a glowing mix of accessories such as dolls and toys.
- Embellishments: Add a scarf, a beanie, or perhaps a playful bowtie to personalize your creation. Details can make the piece unique to its owner, sparking joy and conversations. Every embellishment can reflect personal or seasonal themes!
- Different Fibers: Experiment with cotton or bamboo yarn instead of acrylic for a unique texture. Each fiber holds its charm, potentially leading to varying feels and looks that can enchant different audiences.
Don’t shy away from using alternative yarns or crafting various sizes, as these changes will enhance your experience, allowing each crochet monkey to embody your flair and personal touch. With each variation, the fundamental design remains, fostering creativity in an endless looping pursuit.
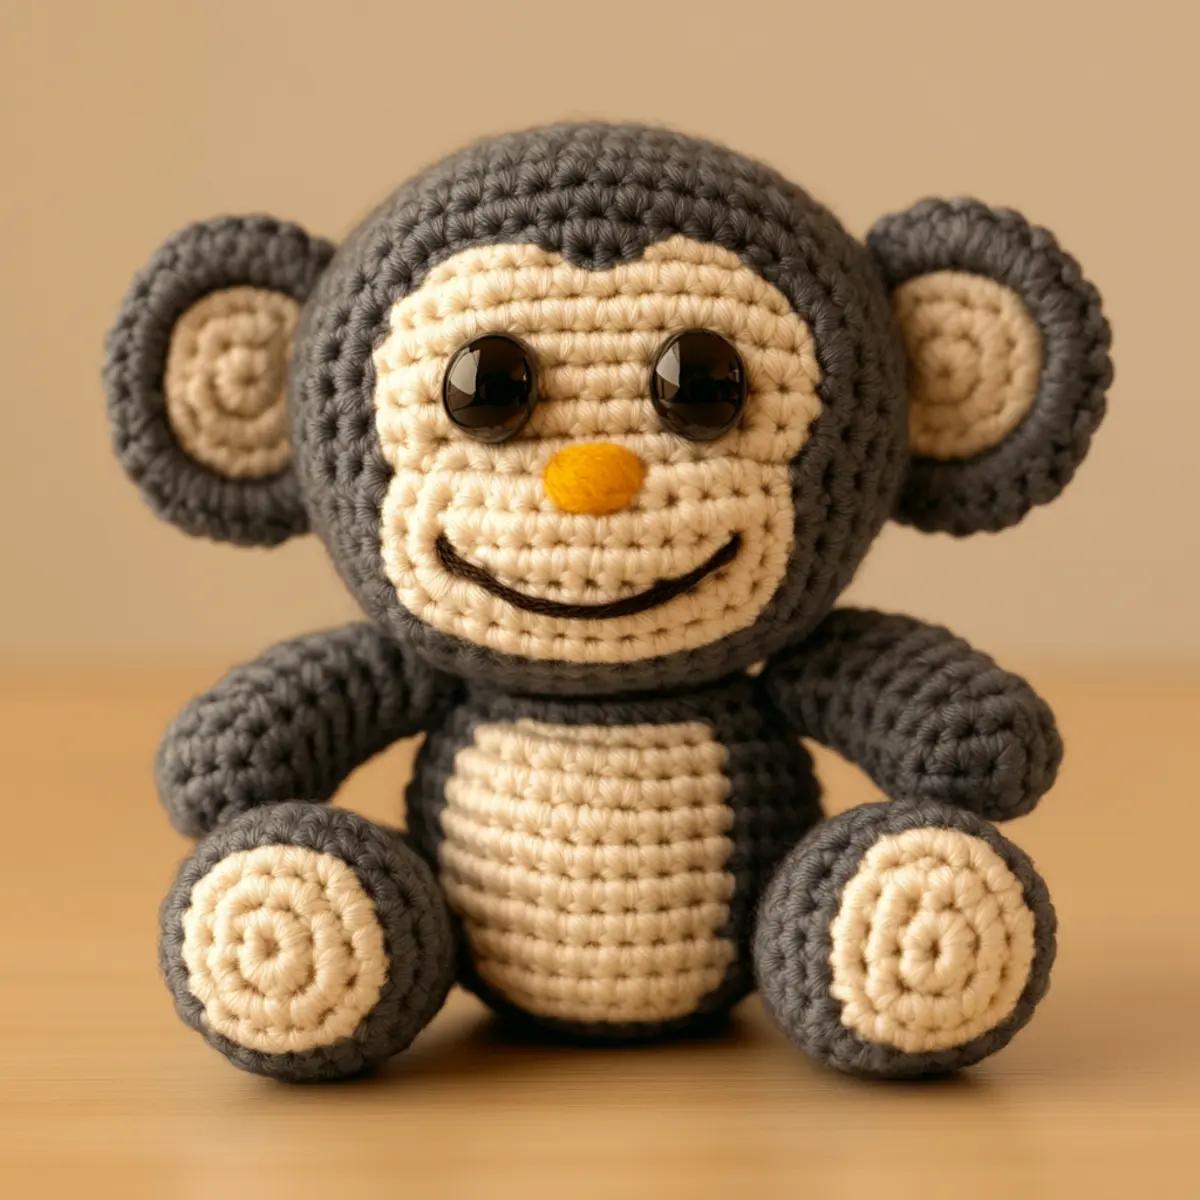
Crochet Monkey Pattern FAQs
What type of yarn can I use?
Absolutely! You can substitute worsted weight acrylic yarn with any medium-weight yarn, but note that it may change the size and texture of your final product.
How do I adjust the size of my monkey?
To make your crochet monkey pattern larger, use a bulkier yarn and a larger hook for a bigger plushie. Conversely, a finer yarn with a smaller hook will yield a mini version.
What if my monkey’s head is curling?
Don’t panic! This often happens with tight stitches. Adjust your tension or steam block gently to correct the shape. Ensure consistent stitch tension as you progress.
How do I fix dropped stitches?
If you drop a stitch, simply pull the yarn gently to create a loop and use your crochet hook to pull the loop back through. It’s a quick fix!
What hook size is recommended?
For this crochet monkey pattern, a 4.0 mm (G-6) hook is ideal. This size helps achieve a tight gauge, crucial for hiding stuffing.
Can I add accessories to my monkey?
Definitely! Feel free to add accessories like a scarf or a hat to personalize your crochet monkey pattern. Just ensure they stay proportional to your monkey’s size.

Leave a Reply