
When I embarked on the journey to create my very own cozy crochet teddy bear, I had no idea how much joy and warmth it would bring – not just to me, but to everyone who laid eyes on it! This crochet teddy bear project is an absolute gem for beginner crocheters, offering an inviting dive into the whimsical world of amigurumi. It’s incredibly quick to make, perfect for those who crave instant gratification in their crafting. Imagine wrapping your fingers around colorful yarn, feeling those cozy stitches form a delightful stuffed friend that radiates love. However, it’s not just about the end product; the process provides essential skills, from mastering basic stitches to perfecting the art of shaping with increases and decreases. Plus, the customization possibilities are endless—choose your colors, adjust the size, and even add your unique touch with personalized features! With every stitch, I found myself unraveling a layer of creativity and joy, leaving me to wonder what other adventures my hook would lead me on.
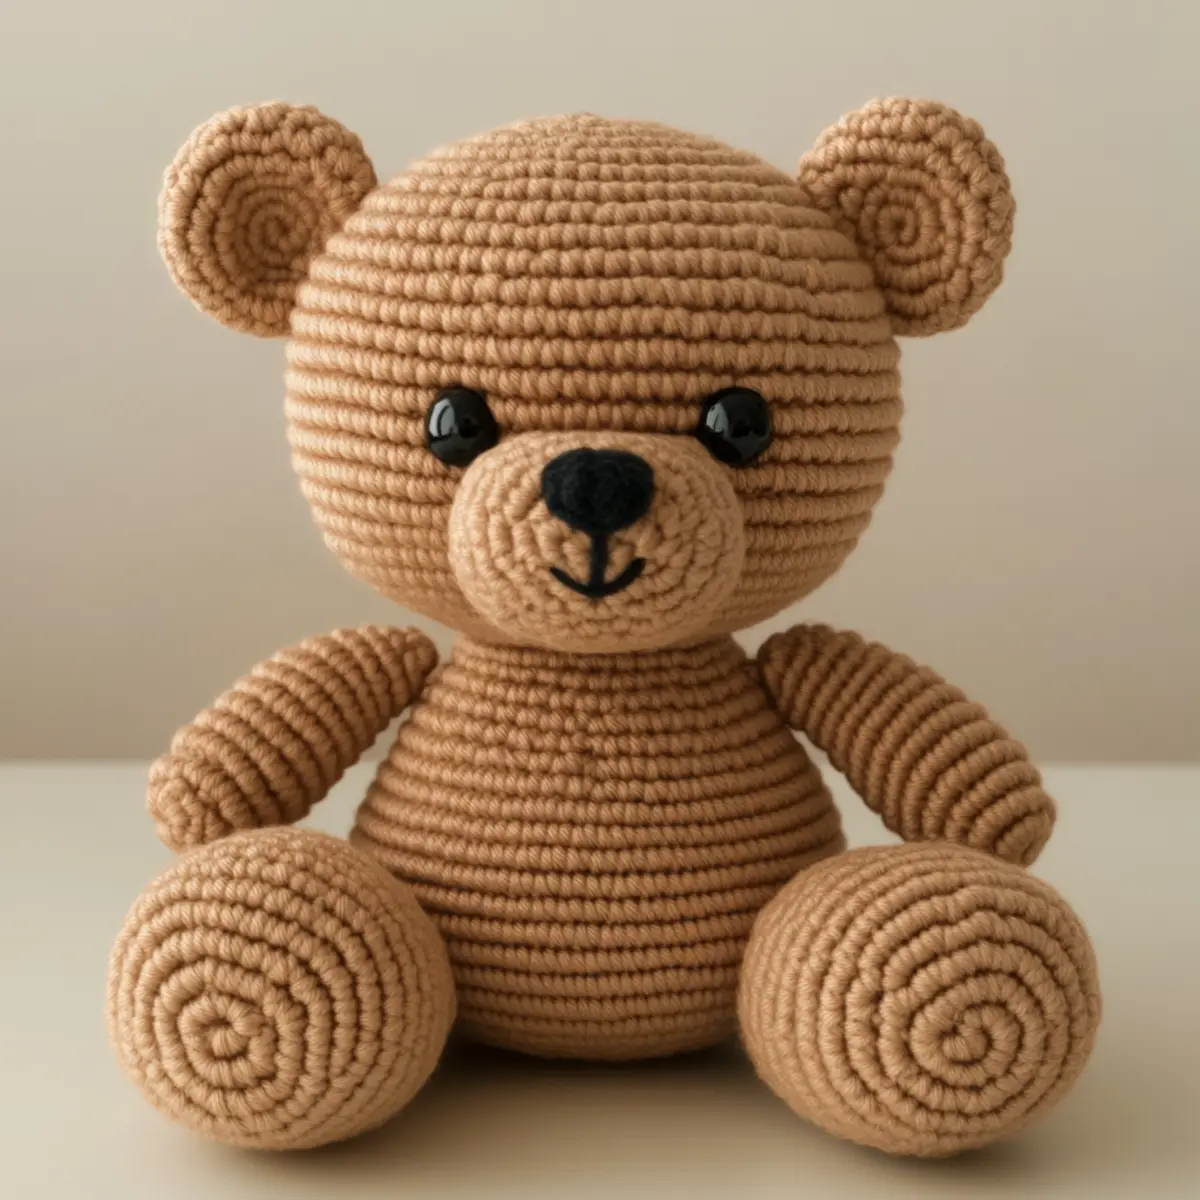
Crochet Teddy Bear Materials & Tools
Yarn
- Light worsted yarn – Approximately 200-250 yards of yarn is ideal for crafting a delightful crochet teddy bear. You can choose a cotton or acrylic blend for soft, cozy textures.
- Alternative colors – Experiment with pastel shades for a softer look or vibrant colors for a modern take on this classic toy.
Tools & Notions
- Crochet hook – A 4-5 mm (G-6 to H-8) hook works perfectly for maintaining a consistent tension and achieving the right drape for your teddy bear.
- Safety eyes – Use 10mm black safety eyes to give your bear an adorable face, enhancing its charm.
- Embroidery thread – Needed for detailed expressions like the bear’s nose, adding character to its sweet visage.
- Stuffing material – Lightly stuff the bear and its limbs for a pleasant density, ensuring it’s cuddly yet sturdy enough to stand independently.
Why You’ll Love This Pattern
Simplicity is one of the key elements that makes this crochet teddy bear a favorite among beginners. It offers an easy-to-follow structure, allowing novice crafters to build confidence as they create their cuddly companions. The texture achieved with light worsted yarn adds a touch of charm and cuddles. Best of all, it’s a fantastic stash-buster; you can use up leftover yarn from previous projects or explore delightful pastels and vibrant shades that brighten your crafting corner. Plus, it’s a time-saving project; most will finish their bear in a single afternoon! And don’t forget about the aesthetic appeal—this adorable amigurumi can be a lovely decoration in any room or an unforgettable gift to a loved one. Feel free to explore more crochet patterns, like the Crochet Amigurumi Basics, to enhance your skills, or check out this Charming Toy Collection for further inspiration!
Gauge & Sizing Notes for Crochet Teddy Bear
Checking your tension is essential while crafting this crochet teddy bear, ensuring that your piece turns out just right in terms of size and structure. The standard gauge for this project is 4×4 inches (10×10 cm) with approximately 10-12 sc stitches across. If your swatch doesn’t match this gauge, you may want to adjust your hook size or the yarn you’re using. For resizing your teddy bear, you can adjust the starting chain or rounds based on how large or small you’d like your bear to be—remember that increasing the foundational rounds can help yield a bigger bear, while reducing them can create a lovely mini version. If your piece seems too tight or too loose, make sure to examine your yarn tension and switch your approach as needed. You can also consider using light worsted weight yarn in different shades to customize your cozy crochet teddy bear even further.
Step-by-Step Pattern for Crochet Teddy Bear
Row 1: Start with a Magic Ring Begin your adorable crochet teddy bear by making a magic ring (MR). This MR will serve as the foundation for the head of the bear. Chain 1 to secure the ring and be ready to crochet 6 single crochet (sc) stitches into the ring; at the end of this row, you should have 6 sc in your MR (6).
Row 2: Increase for Bulk Pull on the tail of the magic ring to tighten the circle. In this row, work 2 sc in each stitch around, allowing the teddy bear’s head to swell to a charming size. Remember to count your stitches carefully to ensure your teddy maintains its rounded shape; you should finish with 12 stitches at the end of this row (12).
Row 3: More Increases To continue shaping the teddy bear’s head, crochet in the following pattern: 1 sc in the first stitch, then 2 sc in the next. Repeat this sequence around to create the appropriate dome shape you want. You’ll end up with 18 sc at the end of this round (18).
Row 4: Steady On For this row, crochet 2 sc in the first stitch, and then 1 sc in the next 2 stitches. Repeat around to further increase the number of stitches and allow your teddy’s head to grow. This will give you a soft, rounded appearance with a total of 24 stitches (24).
Row 5: Keep it Round Continue by crocheting 1 sc in each stitch around for this row, maintaining tension to ensure no holes appear in the fabric. This helps in building the height of the teddy bear’s head without additional increases. You’ll complete this round with a consistent total of 24 stitches (24).
Rows 6-9: Form the Neck For four more rows, crochet 1 sc in each stitch around for a total of 4 rounds. This establishes a sturdy neck area that will support the head while you transition to the body. You’ll maintain 24 stitches throughout these rounds (24).
Row 10: Solid Base for the Body Start forming the body of the crochet teddy bear! For this row, use the same pattern as before—crocheting 1 sc in each stitch around, and keep your stitch count steady at 24 for a firm foundation (24).
Row 11: Begin Shaping the Body Now, let’s add some width for the body. Work 2 sc in the first stitch, then 1 sc in the next 3 stitches. Repeat this pattern to create a nice curvy body shape. By the end of this row, you will have 30 stitches (30).
Rows 12-16: Build the Body For the next five rows, continue crocheting 1 sc in each stitch around. This helps develop the teddy bear’s appealing plumpness and stability. Ensure you maintain your stitch count of 30 stitches throughout (30).
Row 17: Shaping the Body To create a rounded torso, use the pattern of 1 sc in the first stitch, then 1 dec (decrease) in the next stitch for this row. Make sure to repeat this all the way around, resulting in a total of 24 stitches (24).
Row 18: Finishing the Body Continue reducing the stitch count in preparation for closing the body. Crochet a decrease for every second stitch (dec, 1 sc). You’ll have a snug 12 stitches left at the end (12).
Row 19: Completing the Body For the final round of the body, use 1 sc for each stitch around (12). After this, it’s time to stuff your bear lightly! This provides that cozy texture that makes your teddy bear delightful to hold.
Row 20: Add the Legs For the first leg, work in a new yarn segment to create a magic ring (MR). Begin with 6 sc in your MR, and follow the steps to increase to 12 stitches, just like the bear’s body (12). Repeat for the second leg. The legs will give your crochet teddy bear some adorable stubbiness!
Row 21: Attach Ears Using the same style as the legs, create two small ears. Start with MR, do about 6 rounds for their base, then reduce to form them into little puffs. Attach the ears between Rows 3 and 4 of the head using sl st for a seamless look.
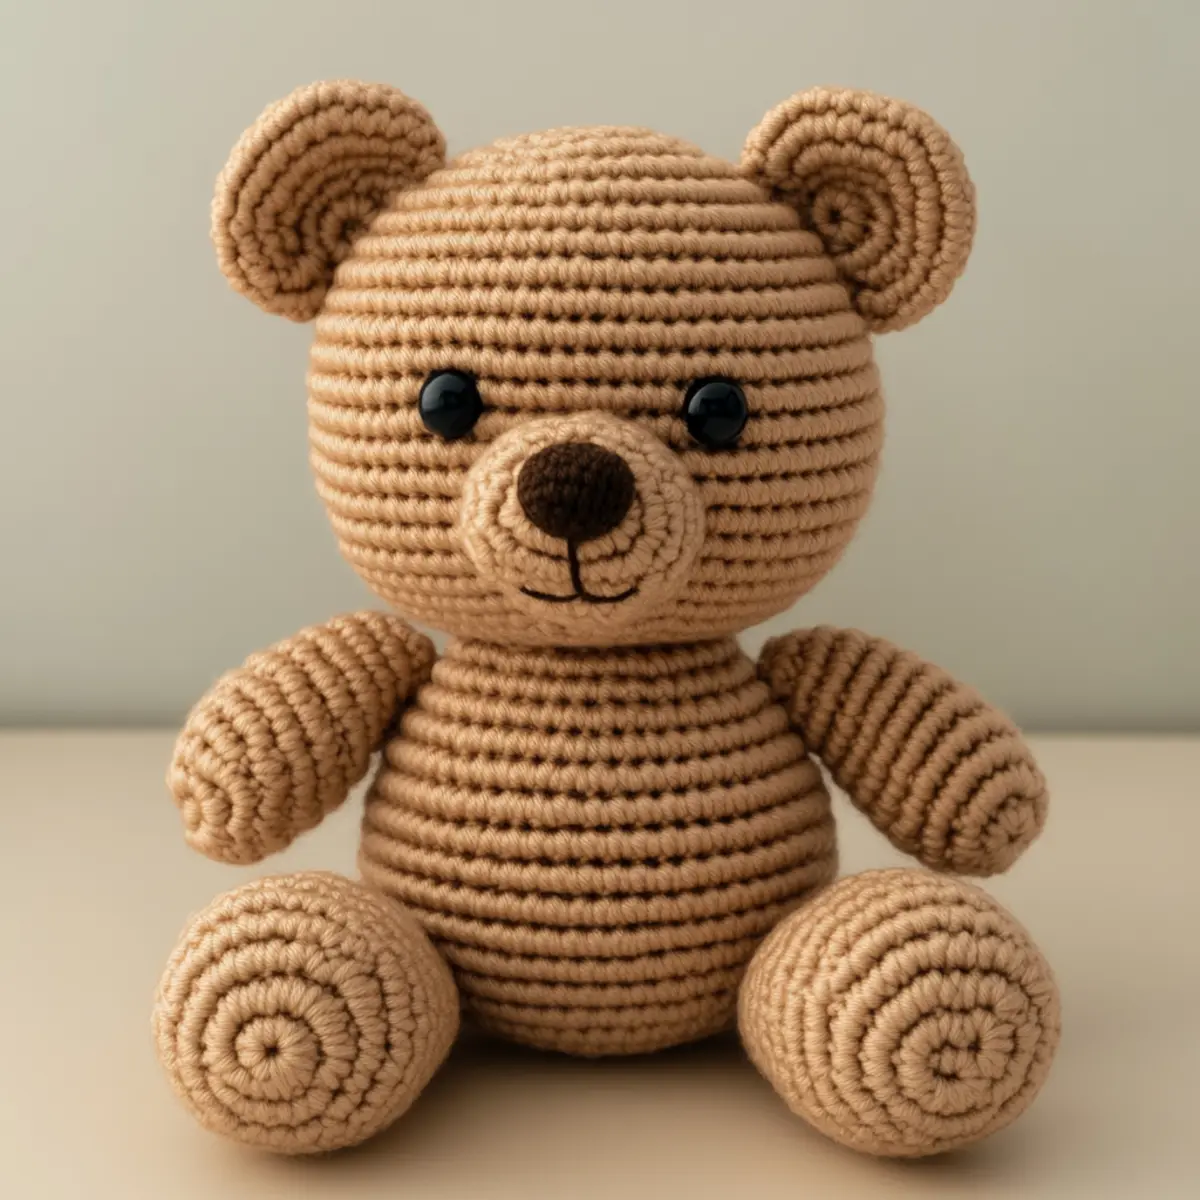
Expert Tips for Your Crochet Teddy Bear
Consistent Tension: Maintain a steady tension throughout your work to avoid holes or uneven stitches, ensuring a polished final product.
Count Carefully: Always double-check your stitch counts at the end of each round to prevent mistakes that require frogging.
Magic Ring Mastery: Start with a magic ring correctly to create a tight, neat center; this helps avoid gaps in your crochet teddy bear’s head.
Block Pieces: Lightly blocking your teddy bear parts after completing them helps maintain shapes, especially important for the ears and muzzle.
Adjust Hook Size: If your stitches are too tight or too loose, consider adjusting your hook size. This affects the overall bear size and feel, allowing for customization.
Crochet Teddy Bear Variations
Customization is key to making your crochet teddy bear truly unique! Feel free to explore different yarns, colors, and creative techniques to personalize your cuddly creation.
- Pastel Shades: Swap light brown yarn for soft pastel hues to create a gentle and dreamy bear.
- Vibrant Colors: Use bright, bold colors for a modern twist on a classic teddy bear look.
- Chunky Yarn: Experiment with chunky yarn for a larger, more plush teddy bear that enhances the snuggle factor.
- Unique Facial Features: Embroider personalized expressions or accessories like hats and scarves to give your bear character.
- Adjustable Size: Modify the hook size to craft a smaller or larger version based on your preference.
For those who want to really challenge themselves, consider adding a tail or different ear shapes to your bear. Embellishing your teddy with additional crochet flowers or a tiny blanket can elevate its charm. These personalized touches make your crochet teddy bear not just a toy, but a treasured keepsake.
Prepare Your Next Project by gathering supplies for some fun accessories! You won’t regret exploring all these exciting options to make your bear your own.
How to Wash and Care for Your Crochet Teddy Bear
Machine Washing: If you choose to machine wash, use a gentle cycle in cold water and place your bear in a laundry bag to prevent damage.
Hand Washing: For better care, hand wash in cold water with a mild detergent; gently press to remove excess water, avoiding wringing or twisting.
Drying: Lay your crochet teddy bear flat on a towel to dry, reshaping as necessary, and avoid hanging which could distort its shape.
Storage: Store in a cool, dry place away from direct sunlight to keep colors vibrant and prevent fading; consider a storage box for added protection.
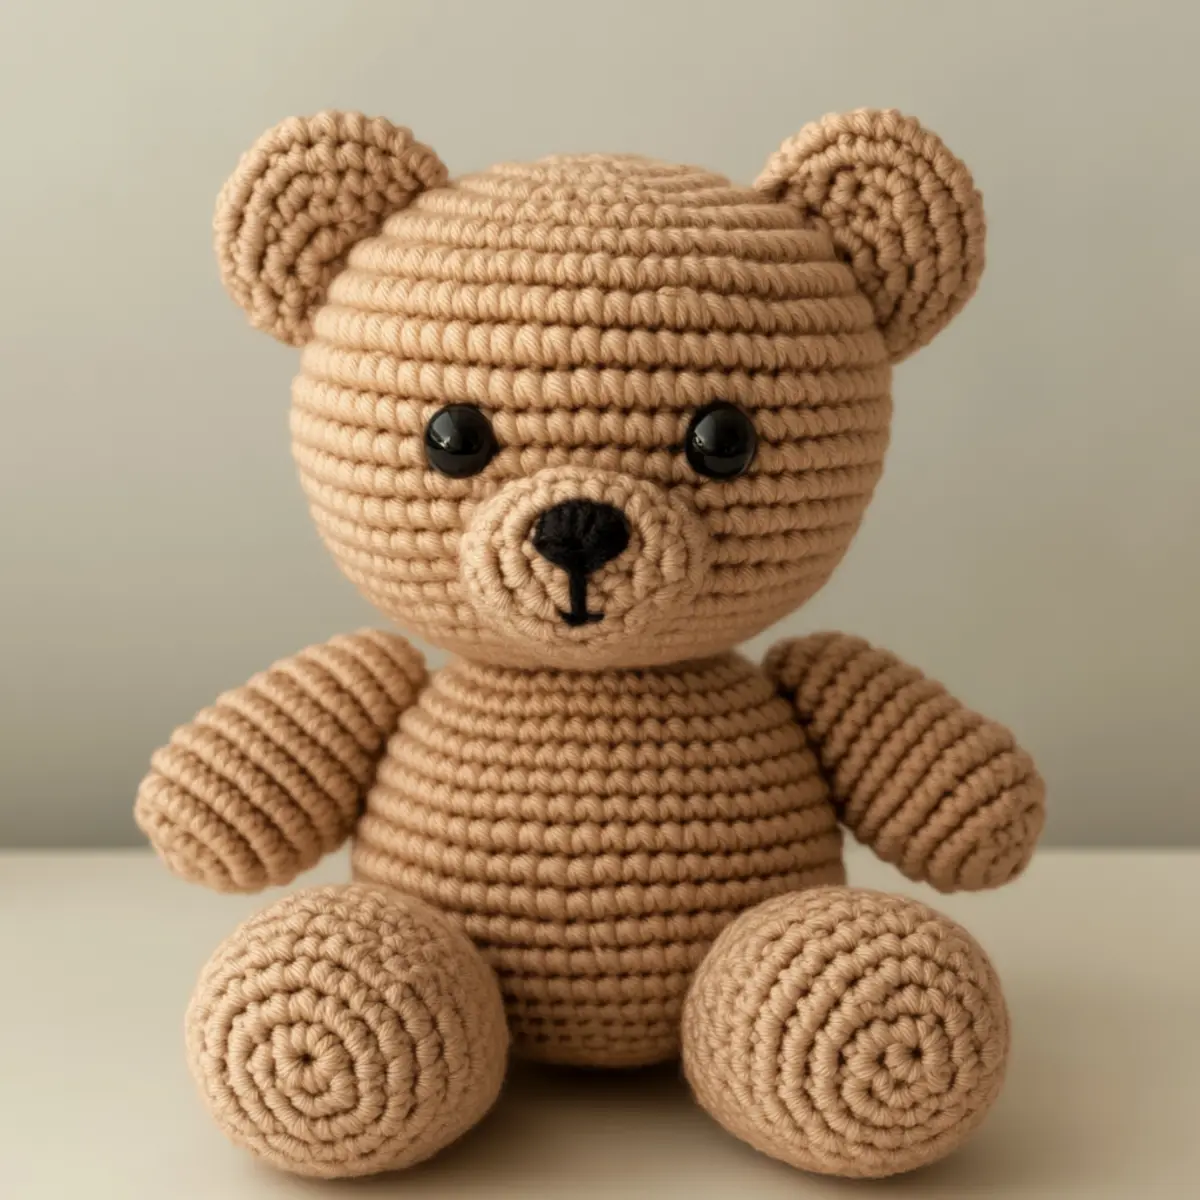
Crochet Teddy Bear FAQs
What yarn can I substitute for this project?
Absolutely! You can use any light worsted yarn, such as cotton or acrylic blends. Just ensure that the weight is similar for consistent results.
How do I adjust the sizing of my teddy bear?
To resize, simply alter your starting chain or the number of rounds you work. For a larger bear, add more rounds, and for smaller ones, reduce them accordingly.
What should I do if my stitches are too tight?
If you’re struggling with tight stitches, consider switching to a larger hook size or check your tension. Looser tension can lead to a more enjoyable crochet experience.
Why does my teddy bear’s face curl?
Curling may occur if your tension is inconsistent. Make sure to keep your tension even, and if necessary, block the finished head to reshape it correctly.
What size hook should I use?
A 4-5 mm crochet hook (G-6 to H-8) is recommended for this crochet teddy bear. If your stitches are tight, you may want to try a slightly larger hook for comfort.
Can I add features to personalize my teddy bear?
Absolutely! You can personalize your crochet teddy bear by adding unique expressions through embroidered features, or even accessories like scarves, hats, or glasses to give it character.

Leave a Reply