
Stepping into the whimsical world of crochet, I find myself completely absorbed in my latest project—the adorable crochet bee pattern. As I squish the soft plush yarn between my fingers, I can’t help but smile at the thought of bringing this cheerful creature to life. It’s a quick and beginner-friendly project that offers both a satisfying crafting experience and an excellent way to use up those yarn scraps lingering in your stash. Crochet amigurumi, like this charming bee, not only sparks joy as you create but also results in a huggable piece that can delight a child or brighten any room. The versatility of the crochet bee pattern allows for endless customization, letting you play with various colors and eyes to create your unique personality. How delightful to see this little creature buzzing around alongside your other handmade treasures! Join me in this creative buzz and discover how to craft your very own crochet bee that can be both a great gift and a delightful addition to your crochet collection.
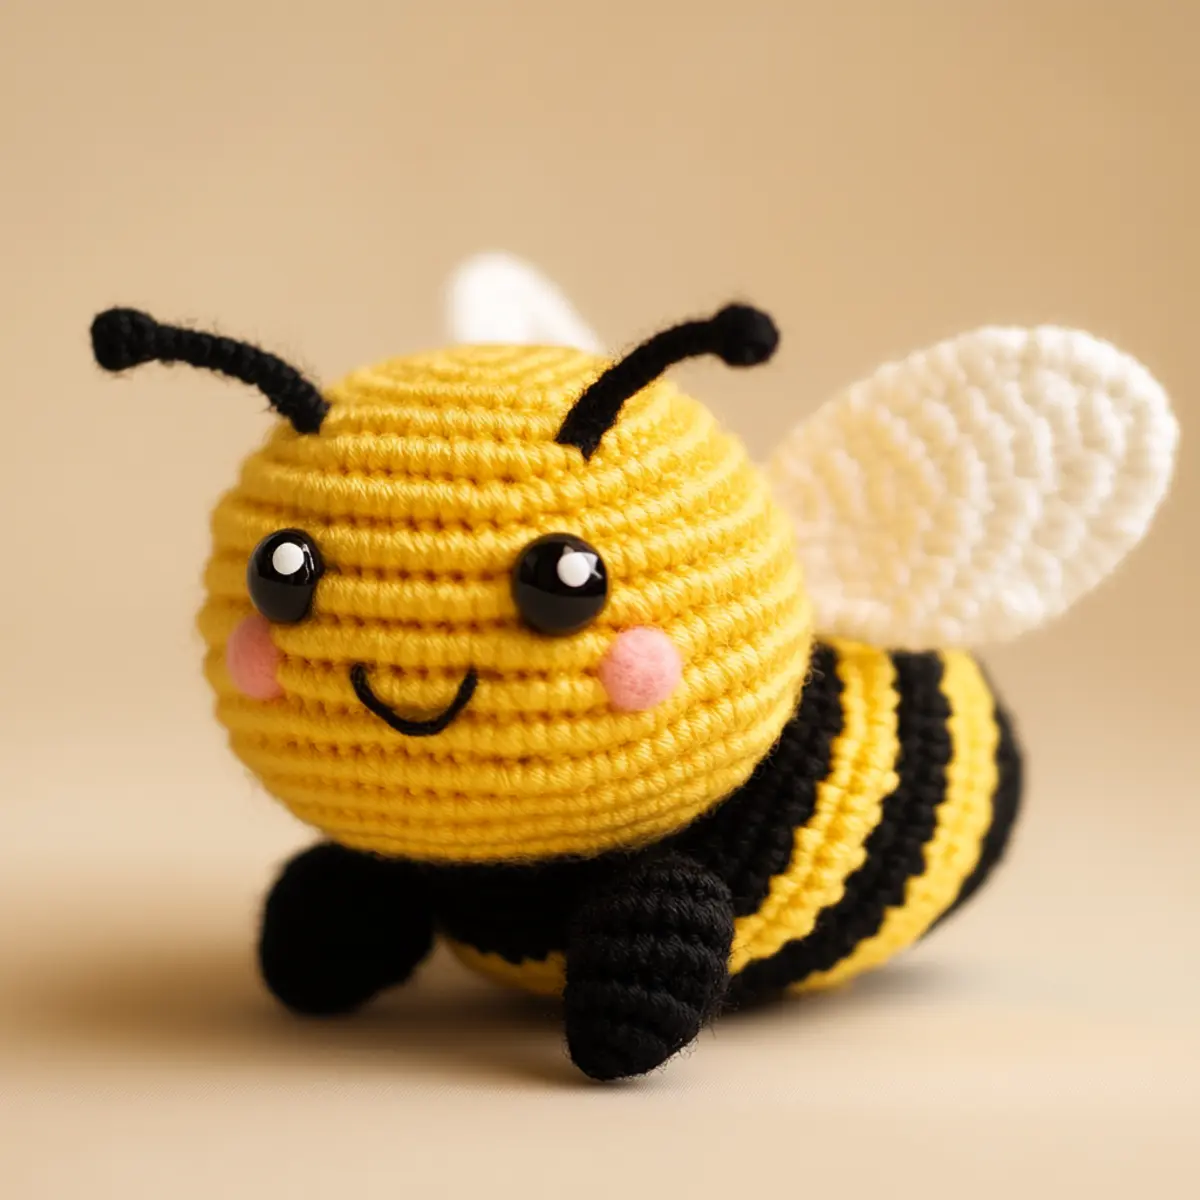
Crochet Bee Pattern Materials & Tools
Yarn
- Plush / Chenille Yarn – 100-150 yards total in yellow, black, white, and pink. Perfect for creating a soft, squishy bee.
Tools & Notions
- 4.0 mm (G-6) Hook – Ideal for maintaining the correct tension throughout your crochet bee pattern.
- Safety Eyes (12 mm) – Choose these for a cute, animated look, enhancing your bee’s personality.
- Polyester Stuffing – Lightly stuff your pieces to keep the bee cuddly and huggable.
- Yarn Needle – Crucial for weaving in ends securely for a polished finish.
- Scissors – Sharp, reliable scissors are necessary for cutting yarn cleanly. Look out for a pair that feels comfortable in your hand.
Why You’ll Love This Pattern
Simplicity is a key feature of this crochet bee pattern, making it incredibly accessible for crafters of all skill levels. Texture is also a standout element: the plush yarn creates a wonderfully soft finish, perfect for cuddling. Additionally, this pattern is a stash-buster, allowing you to creatively use leftover yarn from past projects. You’ll find yourself further inspired by other adorable projects like the Bear Crochet Pattern or the playful Crochet Duck Pattern as you dive into amigurumi. The project also promotes customizability, allowing every crafter to make it uniquely theirs—experiment with eye styles or even embroidery for different expressions! Lastly, the time-saving aspect makes it a quick win, as you can complete this project in just a few hours. Buzzing with potential, this pattern truly stands out for its simplicity and charm.
Gauge & Sizing Notes for Crochet Bee Pattern
When crafting the crochet bee pattern, checking your tension is essential to ensure the finished product retains its desired shape and size. For this pattern, aim for a gauge of 4×4 inches (10×10 cm), which is approximately 16 sc across and 12 rows when using a 4.0 mm (G-6) hook. If your swatch doesn’t match, consider adjusting your hook size or changing yarn brands to achieve the correct gauge. Additionally, you can adjust the starting chain to resize the bee—if you want a larger bee, increase the number of stitches in your initial rounds; for a smaller version, decrease them instead. Discover the fun in expressing your creativity with this crochet bee pattern, and remember that customization is key—by properly gauging and sizing, you can easily make it unique to your crafting style!
Step-by-Step Pattern for Crochet Bee Pattern
Row 1: Start the Magic Ring Create a magic ring with your yellow plush yarn. This will be the base of your bee’s head. Pull the tail to close the ring slightly, ensuring a snug starting point.
Row 2: First Rounds of Sc Work 6 single crochet (sc) stitches into the magic ring. Pull the magic ring tight to close any gaps. This row establishes a solid foundation for shaping your bee’s head. (6 sc)
Row 3: Increase the Size Begin by putting 2 sc in each stitch around the previous round to build up your bee’s head. This will create circular growth, turning it into a rounded shape. Count your stitches to ensure you have a total of 12 stitches at the end. (12 sc)
Row 4: Continuing the Shape In the next round, alternate between 1 sc and 2 sc in the next stitch, increasing in every second stitch. This helps maintain the curve of the bee’s rounded head. You should have 18 stitches by the end of this round. (18 sc)
Row 5: Further Increasing Add again, this time working 2 sc in the next stitch followed by 1 sc in the next two. Repeat this until you reach the end, rounding out your bee’s shape further. Count to ensure you now have 24 total stitches. (24 sc)
Row 6: Making the Face Begin making facial features by working a few rounds of 1 sc for about 4-5 rounds without increases. This forms the forehead and allows more definition for the bee’s face. You should maintain 24 stitches for these rounds.
Row 7: Start the Body Switch to your black yarn and continue with 1 sc in each stitch for one round. This is where the body begins to take shape. Keep tension consistent for a seamless transition. (24 sc)
Row 8: Create Stripes Next, alternate between the yellow and black yarn in segments. For this row, make 1 sc all the way around with black. This is crucial for the classic bee look, and reinforces the bee’s rounded shape. Maintain 24 stitches. (24 sc)
Row 9: Decrease for Shaping To taper the waist of your bee, begin a series of decreases. Work 1 sc in the next 2 stitches, followed by a decrease. Repeat this around to ensure a tightly shaped body. You should finish with 18 stitches. (18 sc)
Row 10: Forming the Bottom Now, switch back to yellow and continue to work in rounds without increases or decreases until you reach your desired height of the body, about 3-4 inches tall. Count to confirm consistent stitching. (18 sc)
Row 11: Make Arms and Legs Using yellow yarn, create four small cylindrical pieces about 2 inches long using 6 sc in a magic ring, then continue with 1 sc in each stitch until complete. This adds adorable limbs to your buzzing bee. (6 sc for each, total 4)
Row 12: Attaching Components Now, securely attach all the pieces together, making sure to position them symmetrically. Cross-verify each piece’s attachment for stability. This assembly will proudly form your adorable crochet bee.
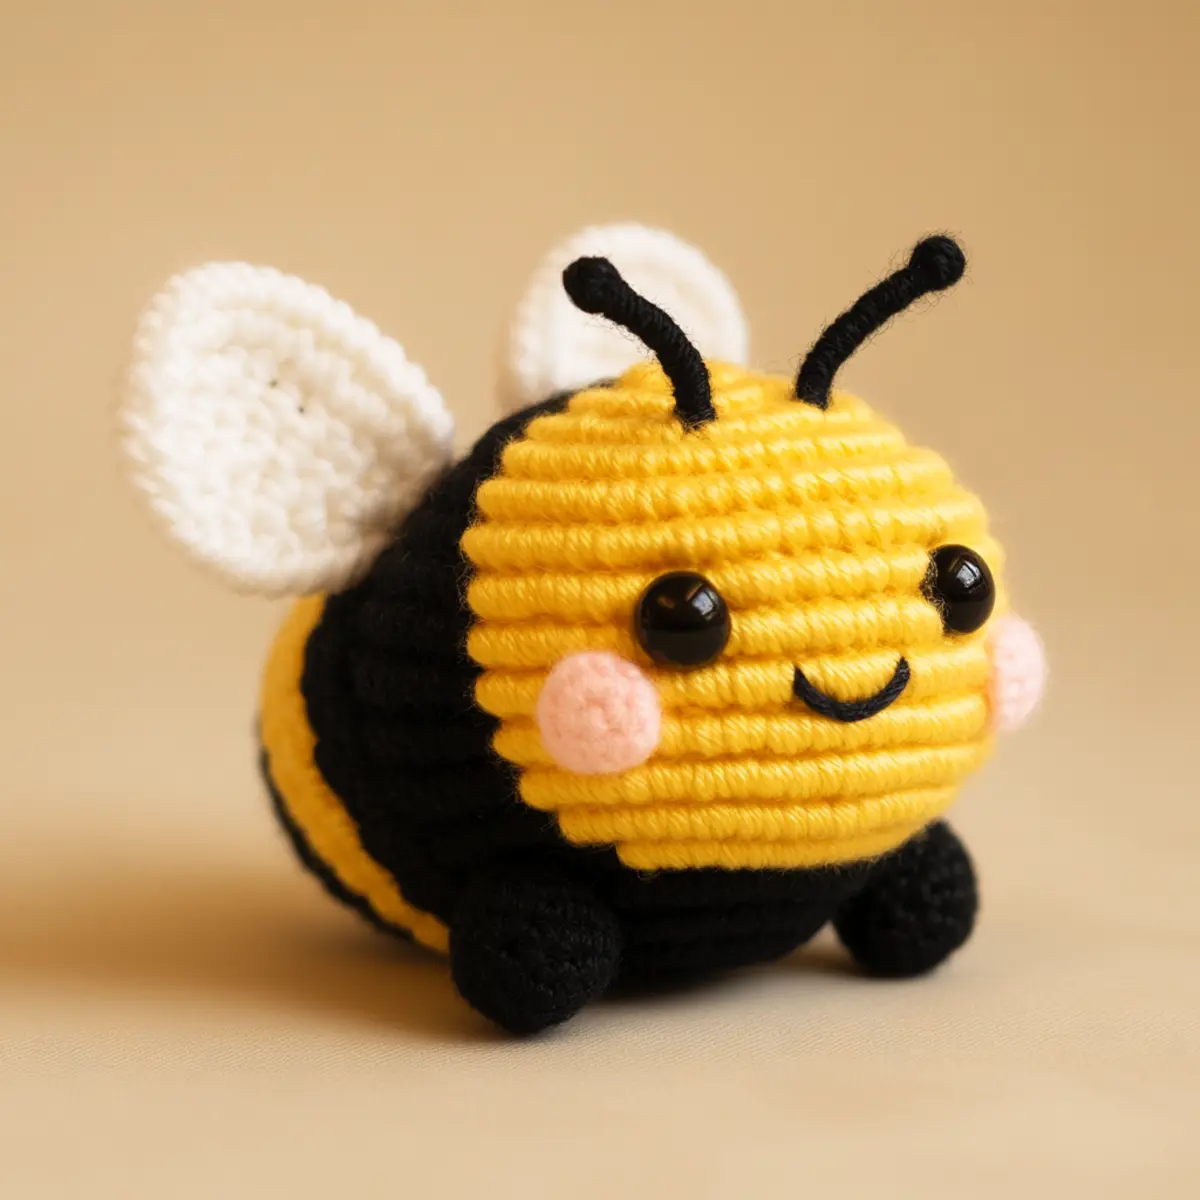
Expert Tips for Crochet Bee Pattern
Count Stitches: Always count your stitches after each round to prevent losing track of your crochet bee pattern. A mistake here can lead to an uneven shape.
Check Tension: Maintain a consistent tension while working to ensure an even finish. For the crochet bee pattern, tension affects the softness and fullness of your bee.
Correct Hook Size: Using the right hook size (4.0 mm or G-6) is crucial. A larger hook may create gaps, while a smaller one might make stitching difficult.
Avoid Twisted Chains: When starting your foundation chain, ensure it’s not twisted before joining. This helps in maintaining the right structure for your amigurumi bee.
Stuff Lightly: Use polyester stuffing moderately to keep your crochet bee plush yet structured. Over-stuffing can distort its shape.
Explore Colors: Get creative! Choose different color combinations for stripes or facial features in your crochet bee pattern, making it reflective of your unique style.
How to Wash and Care for Your Crochet Bee
Machine Washing: If you choose to machine wash, use a gentle cycle with cold water. This keeps your crochet bee looking fresh without damaging the plush yarn.
Hand Washing: For best results, hand wash your crochet bee in cool water with mild detergent. This ensures the delicate fibers stay intact and the colors remain vibrant.
Drying: Lay your crochet bee flat to dry. Avoid hanging it up, as this can distort its shape, especially with plush yarn.
Storage: Store in a cool, dry place, free from direct sunlight. This helps preserve the yarn’s softness and prevents fading over time.
crochet bee pattern variations
Feel free to explore your creativity by customizing the crochet bee pattern to suit your style!
- Soft Pastels: Use soft pastel shades instead of traditional colors for a more whimsical appearance that appeals to both children and adults.
- Bigger Buzz: Swap to a thicker yarn and use a larger hook size to create a larger bee, perfect for a decorative piece.
- Embroidered Features: Instead of safety eyes, try embroidery for facial features that give your bee a unique and personalized touch.
- Striped Fantasy: Change the color patterns dramatically by creating stripes in an alternating color scheme, or even tie-dye for a vibrant twist!
- Accessorized Bee: Add fun accessories like a tiny flower or bow to enhance your bee’s character, making it a distinctive gift or decor item.
- Theme-Based Bees: Create variations based on different themes; a Halloween bee with black and orange stripes could be a fun seasonal project. You can design each bee distinctly based on celebrations or themes surrounding the year.
- Mixed Fiber Fun: Experiment with different yarn types, such as combining cotton and acrylic for varied textures. This not only adds visual interest but also diversifies the feel of the bee.
- Size Alterations: Adjust the dimensions of your bee by changing the stitch count or modifying your hook size, enabling you to create everything from mini creations to plushies.
Consider sharing your creations with the community through Crochet Bee Pattern or explore other enticing projects like the Bear Crochet Pattern.
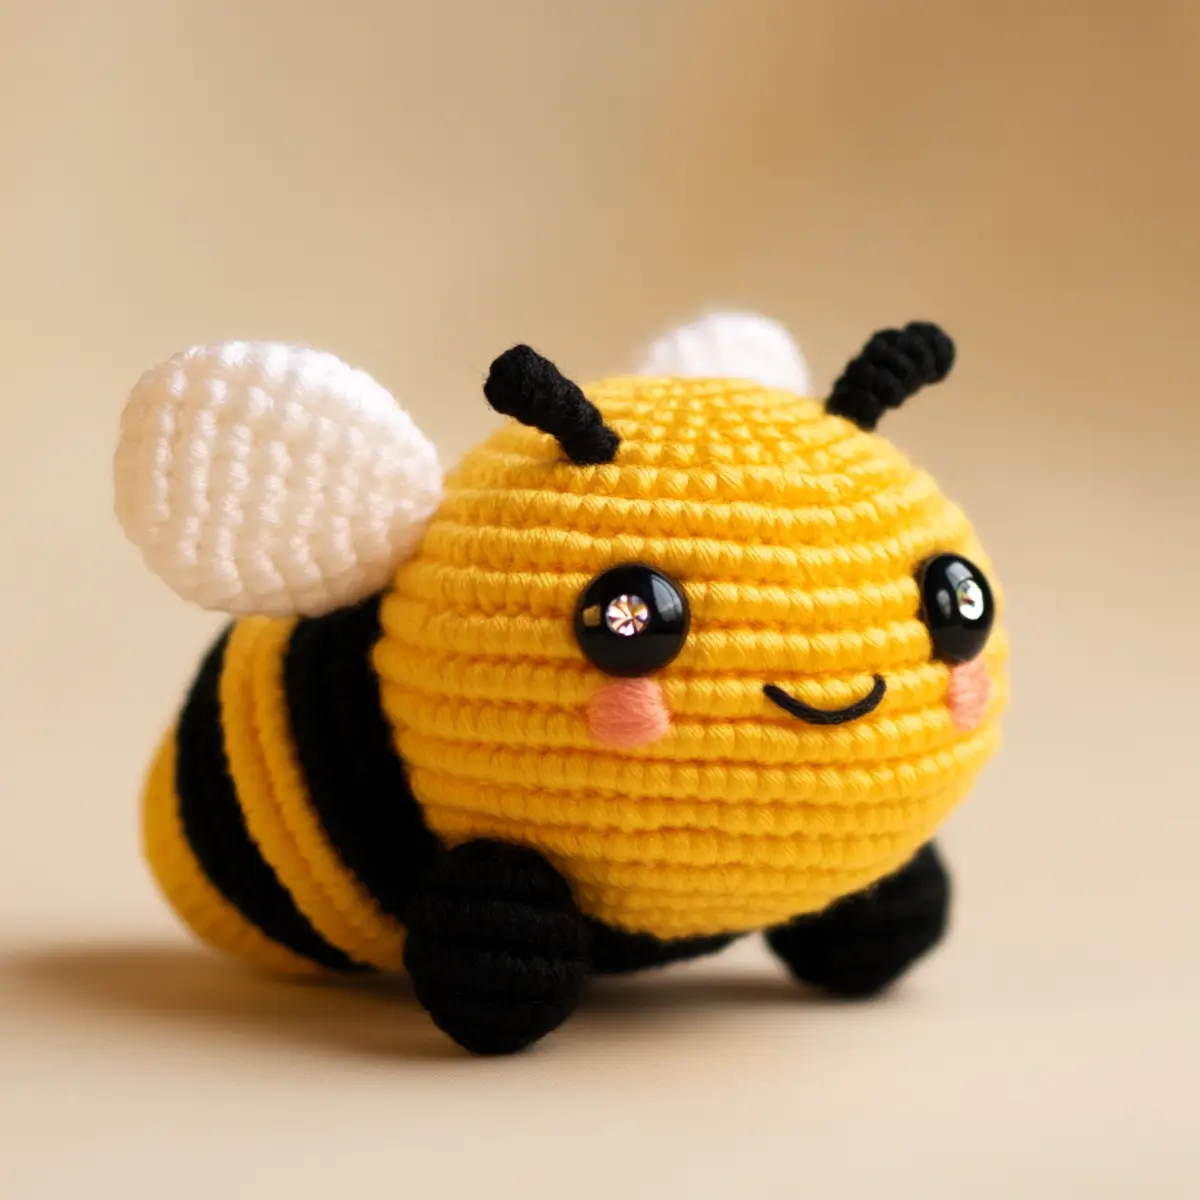
Crochet Bee Pattern FAQs
Can I use different yarn types for the crochet bee?
Absolutely! Switch out plush yarn for cotton or wool to create variations. Just keep in mind the weight and texture difference, as this can change the finished size and look.
What if I want to adjust the size of my crochet bee?
No problem! You can increase or decrease the initial stitch count when starting, or modify the number of rounds in the body to achieve your desired size. Always gauge before you begin for best results.
How do I fix dropped stitches?
Don’t panic! If you find a dropped stitch, simply pull back to the last round with the correct count and rework from there. Stitch markers might help you keep track during assembly.
What if the bee’s wings curl?
If the wings of your crochet bee are curling, try blocking them. Gently wash the wings, reshape them, and pin them flat until dry to maintain their intended form.
What hook size should I use?
The pattern calls for a 4.0 mm (G-6) hook, which is perfect for achieving the soft texture of the bee. Adjusting the hook size can change the outcome, so stick to the recommended for best results.
Can I use safety eyes of different sizes?
Of course! Feel free to experiment with different safety eye sizes to provide a personalized expression on your crochet bee. Just keep in mind the age of the intended recipient for safety reasons.

Leave a Reply