
There’s something captivating about bringing a crochet project to life, especially when it comes to creating something as delightful as a buzzing bee. This Charming Crochet Bee Pattern stands out not only for its cute aesthetics, but it’s also a fantastic stash-buster, making it easy to use up leftover yarn from previous projects. As you dive into this colorful world, you’ll discover the joy of personalizing your bee with vibrant colors and textures just perfect to match your style. Making it beginner-friendly ensures that crafters of all skill levels can join in the fun. The process of learning while creating a plush toy that can brighten up your living space or serve as a thoughtful gift adds layers of satisfaction to your crafting journey. Plus, you’ll relish the feeling of producing a cozy, whimsical addition to your home. Every stitch, every color choice, offers endless possibilities. So, are you ready to embark on this delightful crochet adventure?
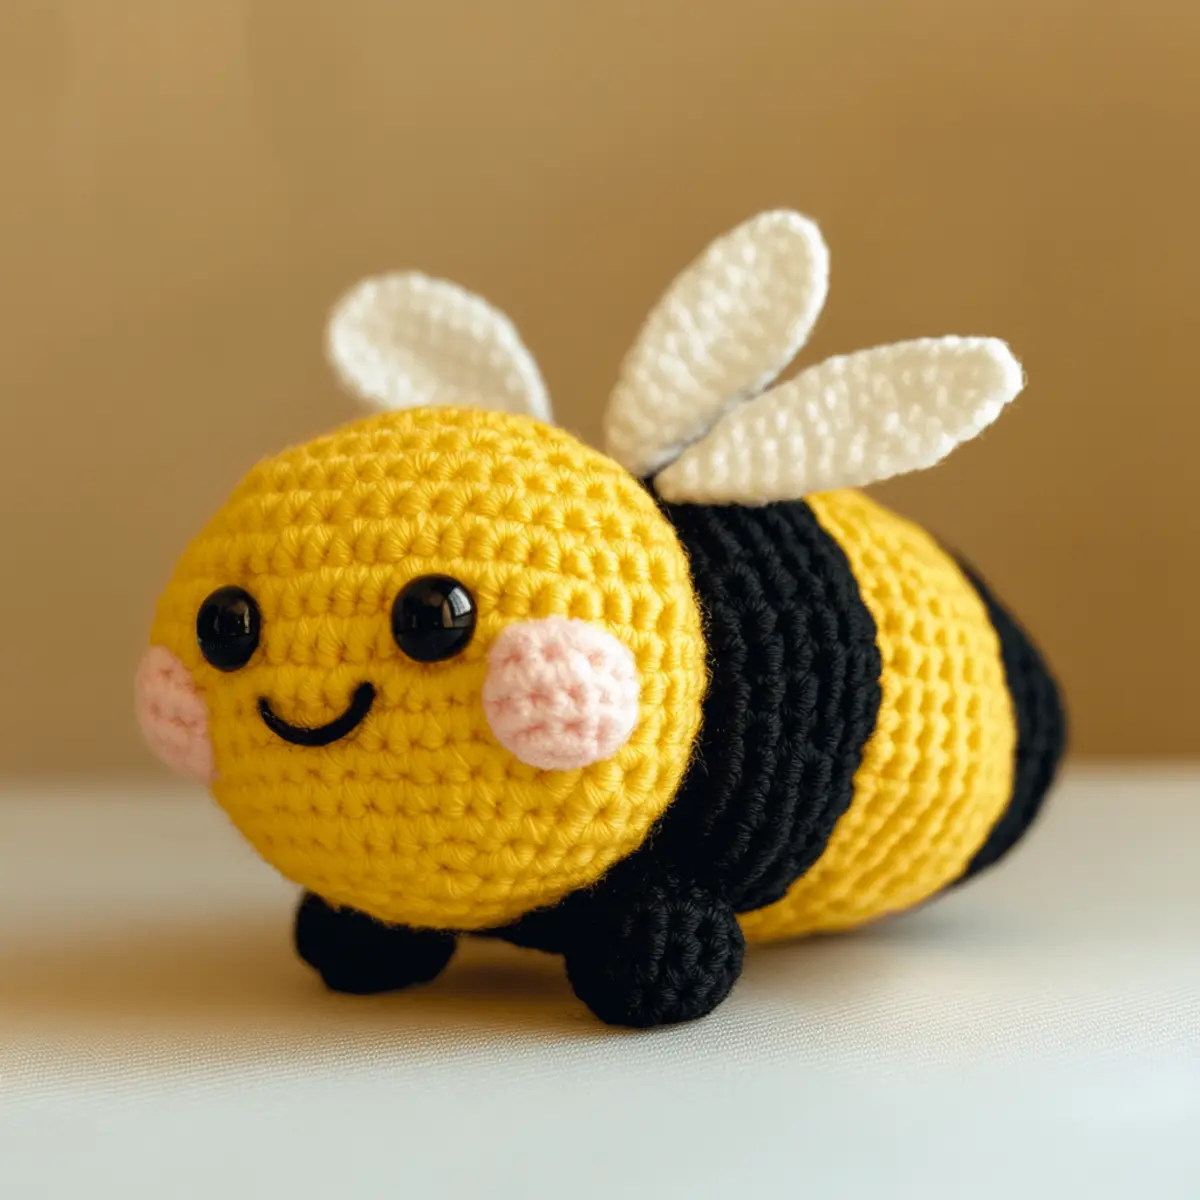
Crochet Bee Pattern Materials & Tools
Yarn
- Plush or Chenille Yarn – Opt for a soft yarn to create a cuddly texture; approximately 100-150 yards needed for the entire crochet bee pattern.
- Light Yellow Yarn – This will form the head and body of your bee; ensure it’s a cozy shade for an inviting look.
- Black Yarn – Perfect for the adorable stripes that define your bee’s personality.
- White Yarn – Use this for the wings to create contrast and detail.
Tools & Notions
- 4.0 mm Crochet Hook (Size G) – A must-have for achieving tight stitches, crucial for solid amigurumi pieces like this crochet bee.
- Safety Eyes (12 mm) – Choose these to give your bee friendly facial features that add to its charm.
- Polyester Stuffing – Ensures your bee is plush and huggable.
- Yarn Needle – Essential for sewing parts together securely during assembly.
- Scissors – Have these handy for cutting your yarn at the end of your project.
What Makes This Bee Pattern So Special?
Crafting this crochet bee pattern is not only a fun experience but also an opportunity to delve into the wonderful world of amigurumi. Its simplicity makes it approachable for beginners while providing enough fun details to keep seasoned crocheters engaged. You can customize this pattern in countless ways! Use different yarn types—try a plush texture for the body or vibrant colors for stripes that really pop. The pattern encourages creativity through options, like adding a whimsical flower accessory, which enhances both the aesthetic appeal and charm. What’s even better is that this crochet bee pattern acts as a fantastic stash-buster, allowing you to utilize yarn leftovers effectively. Plus, amigurumi projects are generally quick to finish, giving you that instant gratification we all crave. The result is an adorable, squeezable bee that stands out as a lovely decoration or a heartwarming gift for someone special.
Gauge & Sizing Notes for crochet bee pattern
Checking your tension is vital for this crochet bee pattern to achieve a plush and hug-able finish. For this amigurumi project, the standard gauge is approximately 4×4 inches (10×10 cm) with a working stitch count of 6 sc to a width of 1 inch. If the gauge swatch does not match, adjust your hook size either up or down, ensuring it fits your desired tension and look. For resizing the bee, simply make your initial chain length longer or shorter according to your preference; this allows for a bee that matches your unique vision. Each row contributes to the overall size, and you can easily add or reduce rounds to create a smaller or larger bee as desired. Taking these steps ensures that your crochet bee pattern turns out just right, making it not only beautiful but functional as well.
Step-by-Step Pattern for crochet bee pattern
Row 1: Start with a Magic Ring
Begin your crochet bee pattern by creating a magic ring (MR). This will form the center of the bee’s head. Pull the yarn through the loop, and single crochet (sc) 6 times into the ring (6 sc).
Row 2: Increase the Circle
For the next round, crochet 2 sc in each stitch around to increase the circle size. You should now have a total of 12 stitches. Remember, it’s crucial to maintain tight tension to keep the stuffing inside coverd. (12 sc)
Row 3: Adding More Stitches
In this row, sc in the first stitch, then 2 sc in the next. Repeat this pattern around the circle. This will create gradual enlargements for a smooth shape. You should now have 18 stitches total. (18 sc)
Row 4: Shape the Head
Continue with sc in the first two stitches, followed by an increase (2 sc in the next stitch). Repeat this pattern until you complete the round. The head should start looking bulbous. You should have 24 stitches here. (24 sc)
Row 5: Transition to the Body
For the fifth row, sc in the first three stitches, then inc the next. Keep working around the bee’s head and down into the body part, maintaining the shape. Now you should have 30 stitches. (30 sc)
Row 6: Begin the Stripes
Switch to your black yarn to start creating the bee’s stripes. Work 5 sc with yellow, then switch to black yarn and inc in the next stitch. This playful color transition keeps the bee looking vibrant. (30 sc)
Row 7: Continue Stripes
For this round, alternate between 5 yellow sc and 1 black inc around the body. This will solidify the striped pattern on your amigurumi bee, making it easy to visually balance the colors. (36 sc)
Row 8: Adding Legs
In this row, begin shaping the arms and legs. Crochet your body shape, leaving space for where you will attach arms later on. Don’t forget to keep counting evenly. You’ll want to have about 36 stitches here, too. (36 sc)
Row 9: Attach the Legs
Crochet 2 sc for each leg in their respective spaces as you transition to the next round. Focus on maintaining a clean joint to keep the legs secure for soft play. (18 legs, 36 total)
Row 10: Make the Wings
To form the delicate wings, start with a MR, then chain 3 and make 3 dc in the ring, followed by a sl st to finish. This creates a wing shape perfect for your bee. Do this for 2 wings. (Each wing: 3 dc)
Row 11: Building Antennae
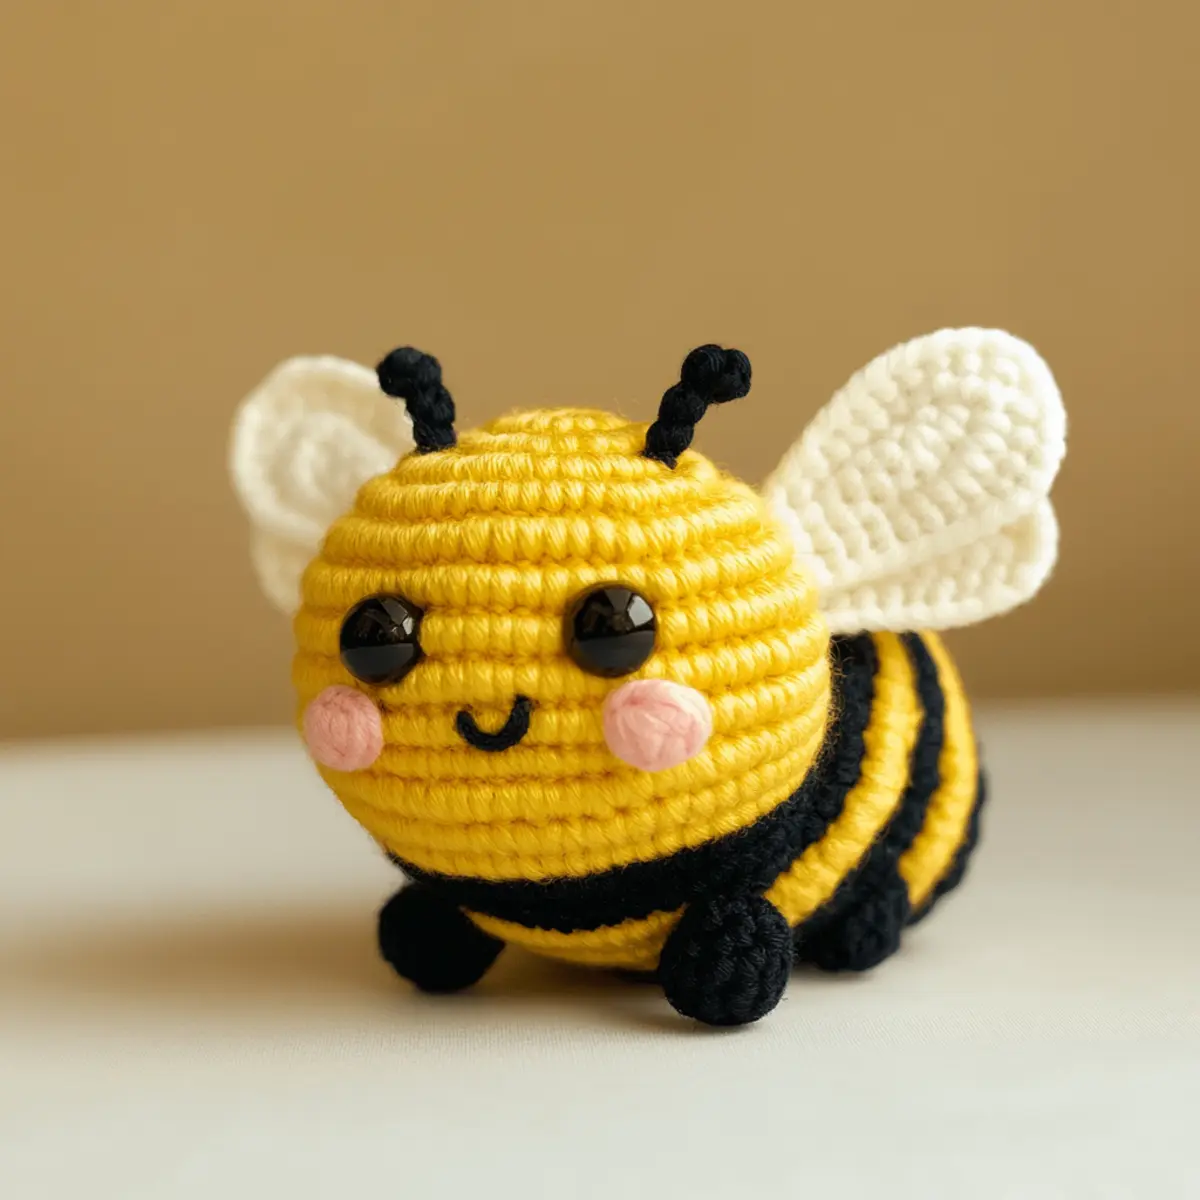
For the antennae, chain 5 and sl st back in the first stitch to make a small loop. Determine where to attach these on the head, ensuring they stick out playfully. Make 2 antennae. (2 pieces)
Row 12: Assemble Your Bee
Finally, it’s time to put your charming crochet bee together! Sew on the wings and antennae carefully using a yarn needle. Secure any loose ends and stuff the body gently, ensuring everything looks plush and inviting. Stand back and admire your adorable creation.
How to Wash and Care for Your Crochet Bee
Machine Washing: If necessary, place your crochet bee in a mesh garment bag, select a gentle cycle, and use lukewarm water to avoid damage.
Hand Washing: For best results, hand wash using mild detergent, avoid wringing, and gently agitate in water to keep the plush texture intact.
Drying: Always lay flat to dry after washing to maintain the shape of your crochet bee; avoid hanging, as this may distort its form.
Storage: Keep your crochet bee in a cool, dry place. If you’re storing it long-term, consider a breathable bag to protect it from dust.
Helpful Tricks for Crochet Bee Pattern
Count Stitches: Always keep track of your stitch count, especially during increases; this ensures proper shaping of your bee.
Use Good Yarns: Opt for plush or chenille yarn; these materials help create a huggable texture that enhances the appearance of your crochet bee pattern.
Magic Ring Mastery: Perfect your magic ring technique as it sets the foundation for the bee’s head, preventing gaps and ensuring a neat finish.
Consistent Tension: Maintain even tension throughout the project to avoid distortion, especially around the head and body sections of your crochet bee pattern.
Secure Seams: Join parts securely during assembly, avoiding loose fittings that might affect the bee’s integrity. This will help it withstand hugs and playtime.
Experiment with Colors: Don’t hesitate to mix yarn colors, materials, and textures. Your crochet bee pattern can be unique by trying different palettes!
crochet bee pattern variations
Feel free to let your creativity buzz by customizing your bee!
- Mix Colors: Experiment with vibrant neon hues or pastel shades to fit your style or occasion.
- Different Yarns: Substitute plush yarn with cotton for a firmer texture or try a bamboo blend for a unique feel.
- Size Adjustments: Change your hook size (larger or smaller) to create a bee that matches your intended display size.
- Textured Wings: Consider using a textured yarn for the wings to add an artistic element, like a shimmery finish that will catch the light.
- Add Accessories: Crochet a tiny flower or leaf to attach for a delightful garden theme!
By mixing and matching these variations, you can personalize your craft in endless ways. Maybe try a contrasting color on the belly or multiple shades for the stripes! These adjustments not only allow you to express your artistic flair but also make this project ideal for various occasions—whether it’s a gift or part of a cozy home decor setup. Don’t forget to check out our color guide for more inspiration!
Crochet Bee FAQs
Can I use different yarns for this pattern?
Absolutely! You can experiment with various yarn types. Plush or chenille yarn is ideal, but cotton blends can work too. Just be mindful of the texture!
What if my crochet bee starts curling?
Don’t panic! Curling may happen if your stitches are too tight. Adjust your tension or hook size as needed, and remember to stuff your bee evenly to help with shape.
How can I adjust the size of the bee?
To resize, alter the initial chain length. You can add or reduce rounds throughout the body too. This flexibility allows you to create either a large or smaller crochet bee that fits your vision.
What hook size should I use?
A 4.0 mm crochet hook (size G) is recommended for this project. It creates tight stitches essential for amigurumi. If your fabric feels too loose, consider switching to a smaller hook.
How do I avoid dropped stitches?
Focus on counting and maintaining tension throughout your project. Dropped stitches can be a hassle, so check each round to ensure stitches are intact before moving on!
Can I personalize my crochet bee?
Absolutely! Customize colors and add accessories like flowers or crowns. Let your creativity shine through to make your crochet bee pattern truly unique!

Leave a Reply