
As I settled into my favorite crochet nook, I couldn’t help but feel a spark of excitement with each twist of the yarn. Today, I’m thrilled to share my latest pattern: the charming crochet monkey pattern! This delightful project combines whimsical designs with the joy of crafting, making it the perfect addition to your amigurumi collection. What’s more, this pattern is not just about creating an adorable plush toy; it also serves as a wonderful way for both beginners and seasoned crafters alike to expand their skills and techniques in a fun way. Picture the smiles on little ones’ faces as they cuddle their new friend! This project is a fantastic stash-buster, allowing you to dip into those extra yarns sitting unused and transform them into something magical. You’ll be playing with textures and colors for a unique touch. Whether you’re crafting for a gift or simply for yourself, this crochet monkey will add a delightful flair to your home. Are you ready to jump into a world of crochet and creativity?
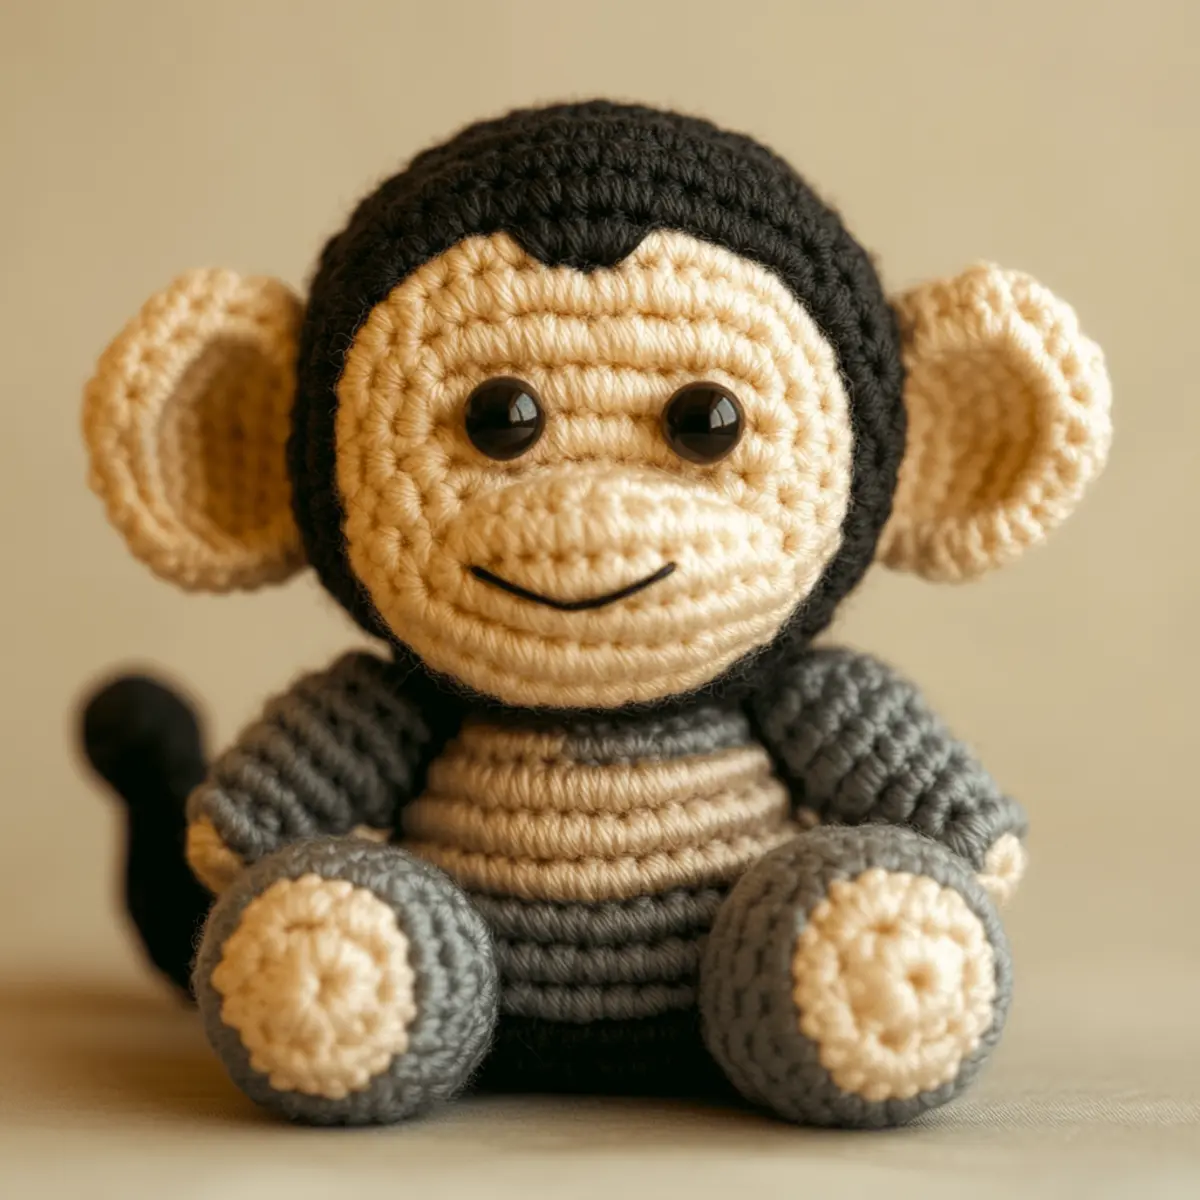
Crochet Monkey Pattern Materials & Tools
Yarn
Medium-weight yarn – You will need about 150-200 yards to complete your crochet monkey pattern beautifully. Aim for a blend of cream, dark gray, and a hint of red for face details.
Safety Eyes – Choose 12mm safety eyes for a sweet yet charming expression on your monkey’s face.
Stuffing – Use polyester fiberfill to give your monkey the perfect plushy feel without excessive stretching.
Tools & Notions
4 mm crochet hook – Essential for creating tightly stitched rounds, this size will help maintain the plush effect.
Yarn Needle – To weave in ends and assemble the different components securely. It’s especially useful for stitching the limbs to the body.
Stitch Markers – Handy for tracking rounds, particularly during color changes or larger sections of stitches. This keeps your work tidy and organized.
Scissors – Sharp scissors will help you cut yarn cleanly during the project.
Why You’ll Love This Pattern
Crafting this crochet monkey pattern is a unique experience ripe with benefits! First off, it’s ideal for all skill levels, making it a fantastic choice whether you’re a novice honing your skills or an experienced crocheter looking for a rewarding project. Plus, the soft and squishy finish of this amigurumi toy is perfect for little hands, ensuring it’s both a cuddle buddy and a stylish decor piece! Additionally, the versatility of this design opens doors to customization; you can mix and match colors to create a monkey that reflects your personality or your child’s favorite hues. And let’s not forget, it serves as a perfect stash-buster, allowing you to use up leftover yarn from previous projects. If you love expanding your crochet repertoire, check out our Bear Crochet Pattern and Crochet Bee Pattern. This beginner-friendly project provides a great balance of challenge and relaxation, resulting in a playful creation that’s sure to bring joy to anyone who receives it!
Gauge & Sizing Notes for Crochet Monkey Pattern
Getting the gauge right is essential when creating your crochet monkey pattern, especially to ensure a snug and soft finish. Aim for a standard gauge of 5 sc = 1 inch for a 4×4 inch (10×10 cm) square. If your swatch does not match the gauge, consider adjusting your hook size; use a larger hook to loosen stitches or a smaller one to tighten them up. The body of the complete monkey is expected to measure around 10-12 inches tall, depending on your personal tension and yarn choice. If you want a larger or smaller toy, adjust your starting chain or the number of rounds as appropriate. This flexibility allows you to tailor the crochet monkey pattern to your preferences, optimizing enjoyment and results!
Step-by-Step Pattern for Crochet Monkey Pattern
Row 1: Head Shaping
Begin by creating a magic ring and work 6 sc into the ring. Pull the ring tight to close. This will form the base of the head. (6)
Row 2: Increasing the Head
Work 2 sc in each sc around for a total of 12 stitches. The head starts to take shape with the increase making it fuller and rounder. (12)
Row 3: Continue Increasing
Inc in the first stitch and sc in the next stitch around, repeating until complete. This row helps to widen the head, achieving 18 stitches total. (18)
Row 4: More Head Rounds
Sc around the whole round, keeping the tension even for a smooth finish. This step preserves the lovely round shape of the monkey’s head. (18)
Row 5: Final Head Shaping
Repeat Row 4 to solidify the shape by working 1 more sc round. You will continue to build the height of the head. (18)
Row 6: Begin to Shape the Body
Change yarn color to dark gray. Start with 1 sc in the first stitch and 2 sc in the second around, creating a gentle curve as you transition to the body. (27)
Row 7: Forming the Body
Continue with 2 sc in the first stitch, followed by 1 sc in the next 2 stitches all around. This gradual increase gives the body a nice shape. (36)
Row 8: Body Rounding
Work one full round of sc without any increases to give depth to the body, maintaining your consistent gauge. (36)
Row 9: Starting the Limbs
For each limb, create 12 sc in a magic ring. This will make the arms that will connect to the body, keeping the monkey’s proportions in check. (12)
Row 10: Shaping Limbs
Sc around in the round for 8 rounds, ensuring that each limb is filled well with stuffing during assembly. The limbs should be plump and cuddly. (12)
Row 11: Creating Ears
For the ears, start with 5 sc into a magic ring. This step creates the adorable ears that will enhance the monkey’s charm, making it extra cute. (5)
Row 12: Completing the Tail
With the same color, chain 2 and make 6 hdc in the second chain from the hook for a spiraled tail. Make sure it remains roly-poly just like the monkey pattern intends. (6)
Crochet Monkey Pattern Variations
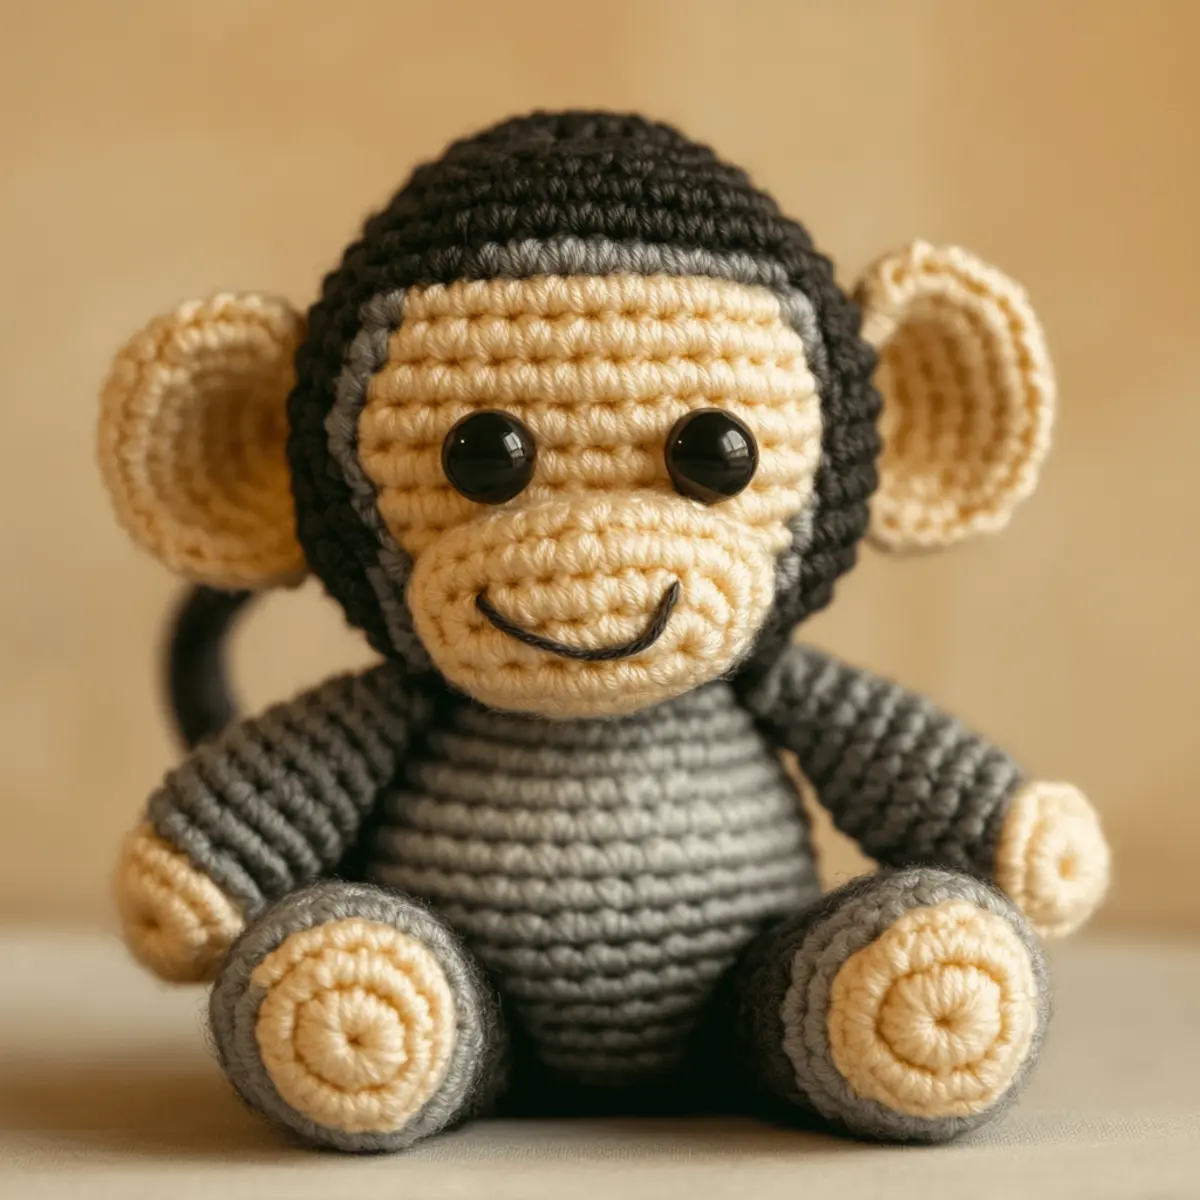
Feel free to add your unique twist and flair to this adorable monkey project!
- Color Swaps: Try using a vibrant color palette or pastels to create a bright, eye-catching monkey.
- Yarn Textures: Experiment with different textures; for example, a soft chenille yarn will give your monkey a luxuriously plush feel.
- Size Alteration: Switch to a lighter or heavier yarn to adjust the finished size; a chunky yarn can yield a giant cuddly monkey for a plush toy.
- Accessories: Add a scarf or tiny hat for an engaging look. Personalizing your monkey will make it stand out.
- Facial Features: Play with the eye size or use colorful embroidery for the mouth to give your monkey a distinctive expression.
- Pattern Mix: Combine elements from different amigurumi patterns, such as this Bear Crochet Pattern or Crochet Bee Pattern, to expand your collection. This allows for creativity and fun, resulting in a unique character each time.
- Use of Glitter Yarn: For special occasions, consider using metallic or glitter yarn to make a festive monkey that’s great for parties or gifts.
- Safety Modifications: Create a version without safety eyes for younger children by embroidering the eyes instead.
Expert Tips for Crochet Monkey Pattern
Stay Focused: Keeping track of your stitch count is essential to avoid losing count, which can lead to uneven shapes.
Use Stitch Markers: These are a lifesaver when working with extensive rounds, especially during color changes. They help ensure precision in your crochet monkey pattern.
Don’t Overstuff: It’s important to stuff your monkey firmly, but not excessively, to maintain its plush shape without stretching the yarn too much.
Foundation Chain: Make sure your foundation chain isn’t twisted before continuing to round one. This mistake can cause shape issues later.
Tension Matters: Maintaining even tension is vital for a consistent plush effect. This affects the squishiness and overall look of your finished monkey.
Experiment with Yarns: A variety of yarn textures and colors can transform your project. Try mixing yarn weights like worsted and DK for unique results.
How to Wash and Care for Your Crochet Monkey Pattern
Machine Washing: If needed, place your monkey in a mesh laundry bag and wash on a gentle cycle with cold water to avoid agitation that could distort shape.
Hand Washing: For best results, hand wash your monkey in cold water with mild soap. Gently squeeze, don’t wring.
Drying: Always lay your monkey flat to dry. Avoid hanging as this can deform its shape.
Storage: Keep your completed crochet monkey in a cool, dry place to prevent mold and protect from any potential pests like moths. Always ensure it’s clean before storing.
Crochet Monkey Pattern FAQs
Can I use a different yarn for this crochet monkey pattern?
Absolutely! While the suggested medium-weight yarn works great, you can substitute other yarns if you adjust your hook size accordingly. Just ensure it’s still durable and soft to maintain the cuddly quality.
What if I want to make the monkey bigger or smaller?
If you’re looking to adjust the size, use heavier yarn and a larger hook for a bigger monkey. Conversely, a lighter yarn will help you create a smaller version without altering the pattern significantly.
How do I fix a dropped stitch?
Don’t panic! You can actually pull your yarn back to the last stitch, pick up your dropping stitch with your crochet hook, and carry on. Just ensure you maintain the overall tension throughout.
What size hook should I use for this pattern?
For this crochet monkey pattern, a 4 mm (G/6) hook is ideal. It helps create the tight stitches necessary for a plush finish, ensuring you don’t see stuffing poking through.
Why is my monkey curling at the edges?
This usually happens if you’re crocheting too tightly or having uneven tension. Make sure to evaluate your tension as you work and relax your grip when necessary.
Can I add accessories to my crochet monkey?
Absolutely! Adding hats, scarves, or other embellishments is a great way to personalize your monkey, making it even more delightful. Have fun experimenting with different designs!

Leave a Reply