
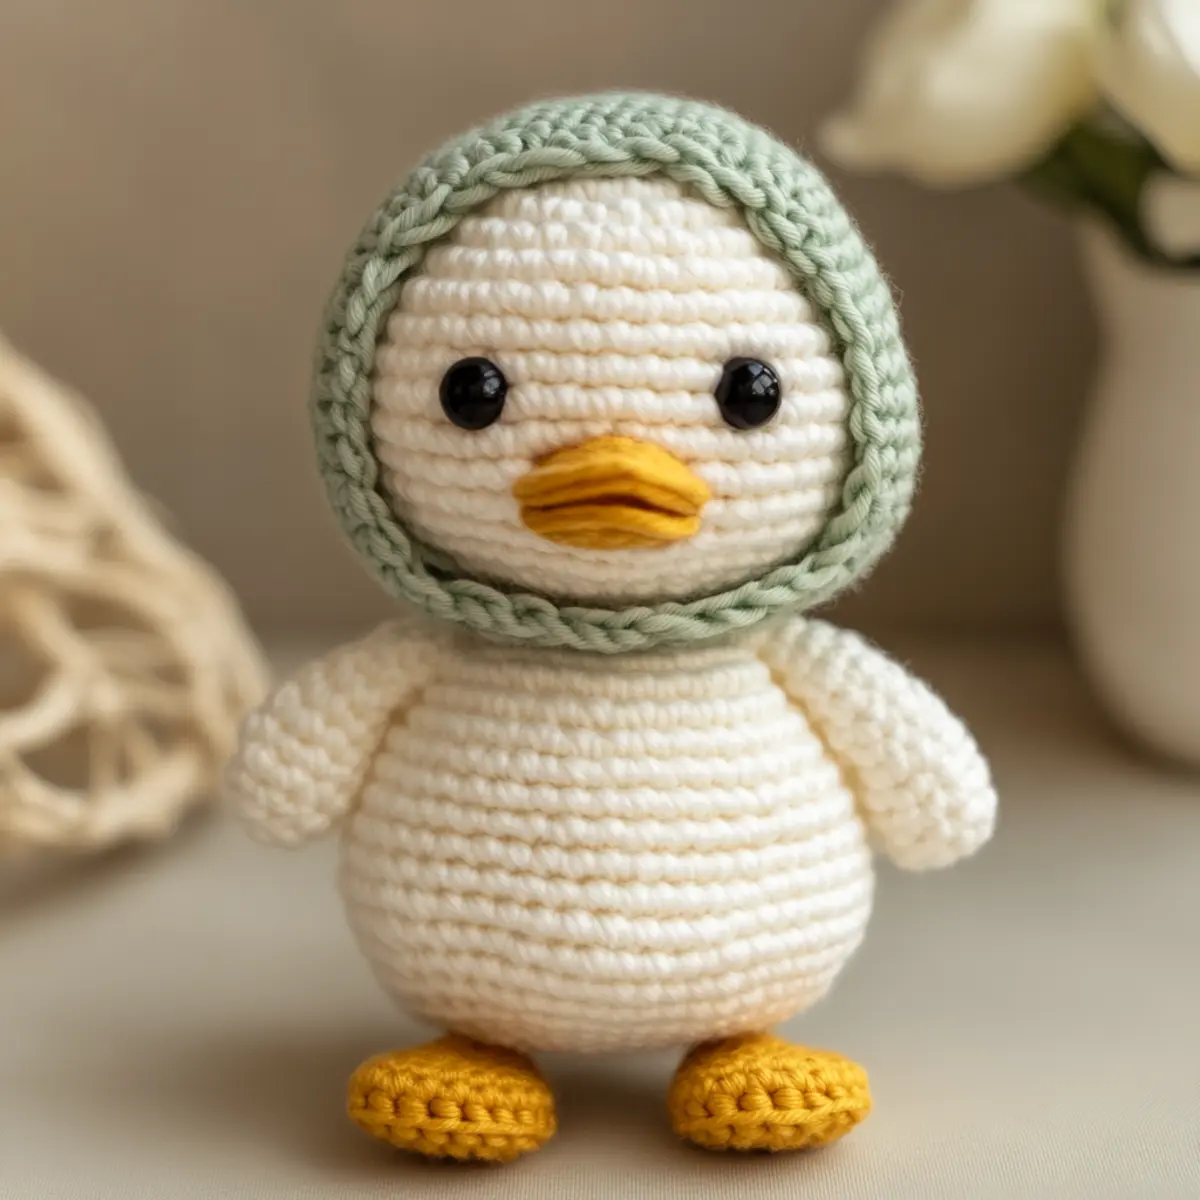
Surprise! I recently discovered a charming crochet duck pattern that’s not only easy to whip up but also a delightful projet for beginners like me. This lovely duck, with its plush texture and whimsical design, promises a gratifying crafting experience. Best of all, it’s a quick stash-buster that allows you to use up those leftover skeins you have lying around. The joy of crafting this duck lies not just in creating an adorable amigurumi, but also in the cozy memories it evokes, like the innocent toys of childhood. This project is perfect for aspiring crafters looking to enhance their skills with basic stitches. Interested in creating this soft companion that can double as a treasured gift or a charming decor piece? Let’s dive into the joys of crochet and explore how to bring this duck to life!
Crochet Duck Pattern Materials & Tools
Yarn
- Plush or Velvet Yarn – Choose a suitable yarn for amigurumi projects to create a soft, comfy texture. Approximately 100-150 yards will work well for your crochet duck pattern.
- Accent Yarn – For the beak and feet, opt for yellow or orange hues to add a cheerful touch to your design.
Tools & Notions
- 5.0 mm Crochet Hook – This size is perfect for working with plush yarn, providing a comfortable tension for beginners.
- Safety Eyes – Add charm to your duck’s face; ensure they are securely attached to avoid any mishaps with young children.
- Yarn Needle – Essential for weaving in the ends and assembling your duck.
- Stitch Markers – Useful for tracking rounds during assembly, keeping your work organized as you crochet your duck.
Why You’ll Love This Pattern
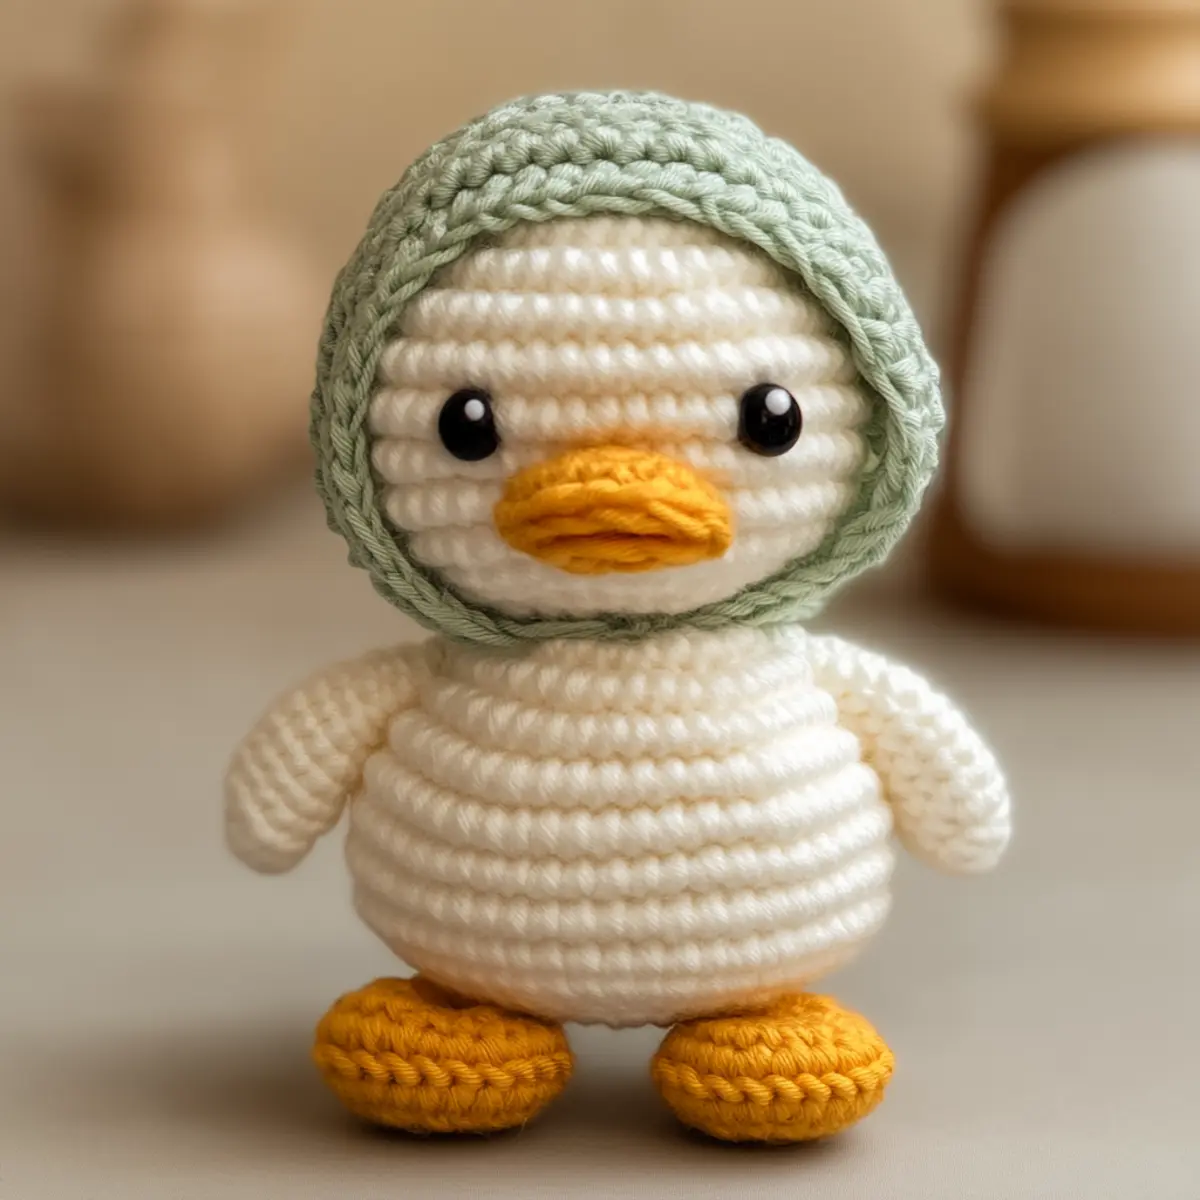
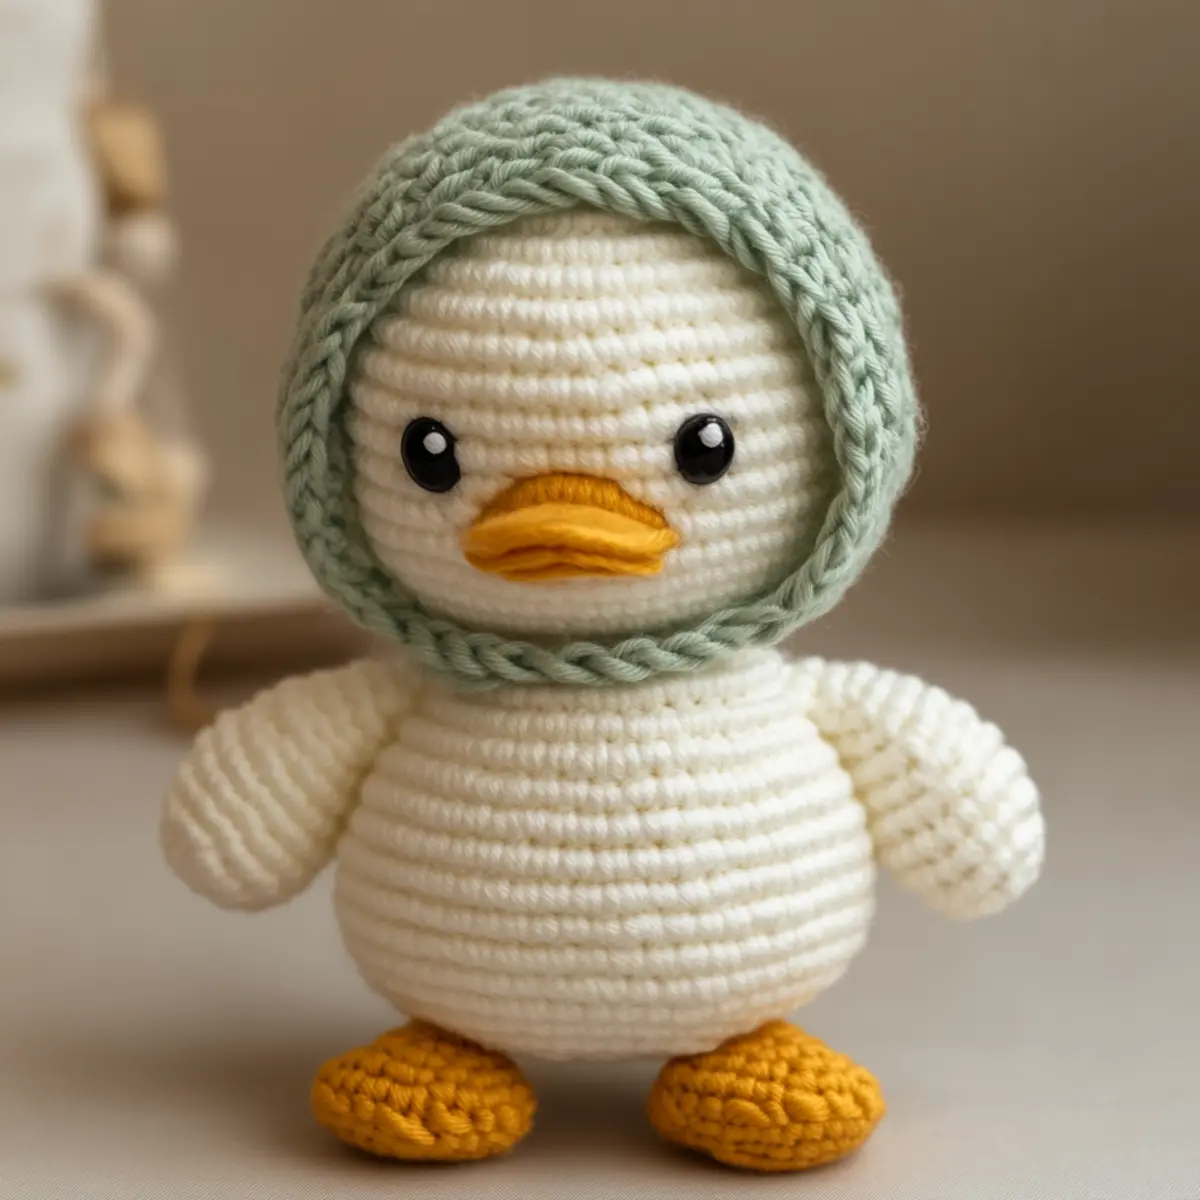
Crafting this charming crochet duck pattern is a fun and whimsical experience that’s sure to be rewarding. Beginner-friendly, it guides you through each step with easy-to-follow instructions. Texture is a major highlight; using plush yarn results in a soft, cuddly toy. Additionally, it’s incredibly stash-friendly, as you can use leftover yarn from past projects. The customization potential is also a bonus—you can experiment with colors or even add a distinctive bonnet for a unique touch. Plus, the quick finish time means you can have your very own adorable amigurumi duck ready for playtime or decoration in no time! Want to explore more patterns? Check out our Crochet Duck Pattern or for a furry friend, try the Bear Crochet Pattern.
Gauge & Sizing Notes for Crochet Duck Pattern
Checking your tension is crucial for creating the perfect crochet duck pattern. The recommended gauge for this project is 4×4 inches (10×10 cm) with a measurement of 5 sc by 6 rows in single crochet. Make sure your stitches are tight enough to prevent any stuffing from peeking through your work. If the gauge doesn’t match, use a different hook size or adjust your yarn tension accordingly. To adjust the size of the finished duck, you can modify the starting chain or rounds during assembly. For instance, simply add or deduct a few stitches in the initial rounds of the body to achieve a smaller or larger duck. This project will yield a delightful plush toy when made correctly, with finished dimensions of about 18-20 cm (7-8 inches). Crafting with care ensures that your crochet duck pattern will be a cherished toy or decor for years to come.
Step-by-Step Pattern for Crochet Duck Pattern
Row 1: Start the Head Begin with a magic ring. Ch 1, then work 6 sc into the ring, pull tight to close. (6)
Row 2: Increase the Head Ch 1, inc in each sc around. This will create a nice rounded shape. (12)
Row 3: Build Head Shape Ch 1, sc in next sc, inc in next sc repeat around. Continue to form the head. (18)
Row 4: Shape the Head Ch 1, sc in next 2 sc, inc in next sc repeat around. Make sure to keep your tension consistent for a smooth finish. (24)
Row 5: Continuing the Head Ch 1, sc in each sc around. This is a solid round to keep the tension tight. (24)
Row 6: Eyes and Safety In this round, you might want to add safety eyes between rows 2 and 3 for a cute face.
Row 7: Finish Head Shaping Ch 1, sc in next 3 sc, inc in next sc this adds a fuller shape to the head. (30)
Row 8: Starting the Body After finishing the head, ch 1 and sc around. Create necessary rounds to blend smoothly from head to body. (30)
Row 9: Form the Body Ch 1, sc around. Make sure to adjust your tension if needed to avoid any stuffing peeking through. (30)
Row 10: Rounding the Body Ch 1, sc in next 4 sc, inc in next sc this helps form the body shape. (36)
Row 11: Body Continuation Ch 1, sc in each sc around, keeping an eye on your stitch count. (36)
Row 12: Completing the Body Ch 1, sc in next 5 sc, inc in next sc and fully round out the body. (42)
Row 13: Begin Beak Shape Using your accent yarn, ch 1 and inc in each sc around. Then create a smaller piece for the beak, adjusting rounds as needed. (6)
Row 14: Attach Beak After finishing the beak, attach it to the head securely using sl st. Make sure it’s centered.
Row 15: Create Wings Ch 1, then work 8 sc across for each wing. Repeat 2 times. Attach each wing using sl st to the sides of the body.
Row 16: Add Feet Using your yellow or orange accent yarn, create small rounds of 4 sc for each foot. Make sure they are proportionate and attach firmly.
Row 17: Final Assembly Using your yarn needle, sew together all pieces while ensuring each section is secure and positioned properly.
Row 18: Finishing Touches Check over your crochet duck pattern for any loose ends or adjustments, ensuring that cuddly companion is complete. You’ll love the final result!
How to Wash and Care for Your Crochet Duck Pattern
- Machine Washing: If you must machine wash, use a gentle cycle with cold water. Place the duck in a mesh laundry bag to protect its shape.
- Hand Washing: For best care, hand wash your crochet duck using mild soap and lukewarm water. Gently swish; do not agitate or twist aggressively.
- Drying: Always lay the crochet duck flat to dry. Avoid hanging, which can stretch the yarn and deform its shape.
- Storage: Store your duck in a cool, dry place, ideally in a breathable cotton bag to avoid moisture buildup that can harm plush yarn.
Expert Tips for Your Crochet Duck Pattern
- Stay Focused: Always keep a close eye on your stitch count; losing track can lead to uneven shaping or an unintended disaster.
- Count Out Loud: Counting your stitches out loud or using stitch markers can help avoid dropped stitches and maintain consistency throughout the project.
- Use Tighter Tension: Ensure that your tension is consistent and tight enough to prevent stuffing from showing through the yarn, especially around the head and body.
- Avoid Twists: When starting your foundation chain, make sure it’s not twisted to prevent issues later; lay it flat as you work into it.
- Check Your Hook Size: Use a 5.0 mm crochet hook (US size H) as recommended for plush yarn, making it easier to achieve the desired softness and texture.
- Practice with Leftovers: This crochet duck pattern is great for using up leftover yarn—experiment with colors to personalize your adorable amigurumi companion!
crochet duck pattern variations
Feel free to make this project your own with these fun variations!
- Color Swaps: Use various bright or pastel colors to create a rainbow of ducks that each tell a different story.
- Yarn Choices: For a sturdier toy, consider using cotton yarn instead of plush, making it less squishy yet just as adorable.
- Size Adjustments: You can easily change the size of your duck by switching yarn weights and using corresponding hook sizes for a mini or oversized look.
- Accessorize: Craft unique hats or bows for your ducks; these cute touches can add personality and charm!
- Textured Effects: Enhance the duck’s body with bobble or popcorn stitches for added texture and visual interest.
- Bonnet Variations: Change the bonnet’s design altogether, opting for stripes or polka dots using vibrant colors that complement the main body.
- Other Characters: Adventure beyond ducks! Why not create a bear using a pattern like our Bear Crochet Pattern to form a delightful family?
- Embellishments: You can add tiny embellishments like buttons or embroidered patterns for decorative appearances, making your crochet duck truly unique!
Crochet Duck Pattern FAQs
Can I use a different yarn for this pattern?
Absolutely! While plush yarn is recommended for texture, you can experiment with cotton or acrylic yarn to create a unique finish. Just adjust your hook size accordingly.
How can I adjust the size of the duck?
You can change the size by using different yarn weights and corresponding hook sizes. Adding or deducting a few stitches in the initial rounds can also yield a smaller or larger duck.
What if my crochet duck is curling?
If your project curls, it’s often due to tension being too loose. Ensure you’re keeping a consistent stitch tension, or try working with a smaller hook to create tighter stitches.
How do I fix a dropped stitch?
Don’t panic! Simply pull the yarn to unravel and return to the last complete row before the drop. Carefully re-crochet that stitch while maintaining proper tension.
What hook size should I use?
For this crochet duck pattern, a 5.0 mm crochet hook (US size H) is ideal for achieving the plush texture with ease. Ensure it’s suitable for your chosen yarn type.
Can I add facial features easily?
Yes! Adding safety eyes is simple. Just secure them between the second and third rows of the head to give your duck a cute and charming face. Remember to check the placement before attaching them for the perfect look.

Leave a Reply