
There’s something truly magical about creating your own plush toys, and my latest project, the crochet chameleon, brings that magic right into your hands. This vibrant little creature is not only a delightful stash-buster but also a fantastic beginner-friendly project that can easily elevate your crocheting skills. With its playful design and charming features, this chameleon will inspire your creativity and give you a sense of accomplishment as you bring it to life. Plus, it’s ready to be transformed into your very own unique color palette: whether you’re in the mood for bright, whimsical hues or perhaps something a bit more subtle, the possibilities are endless. As you run your fingers over the soft, cozy yarn, the experience is both fulfilling and relaxing. The best part? You’ll have a wonderful new friend to show off at the end of your crafting journey. I can’t wait to tell you more about how to make this adorable crochet chameleon and hope you’re just as excited as I am to dive into this vibrant world of color and creativity.
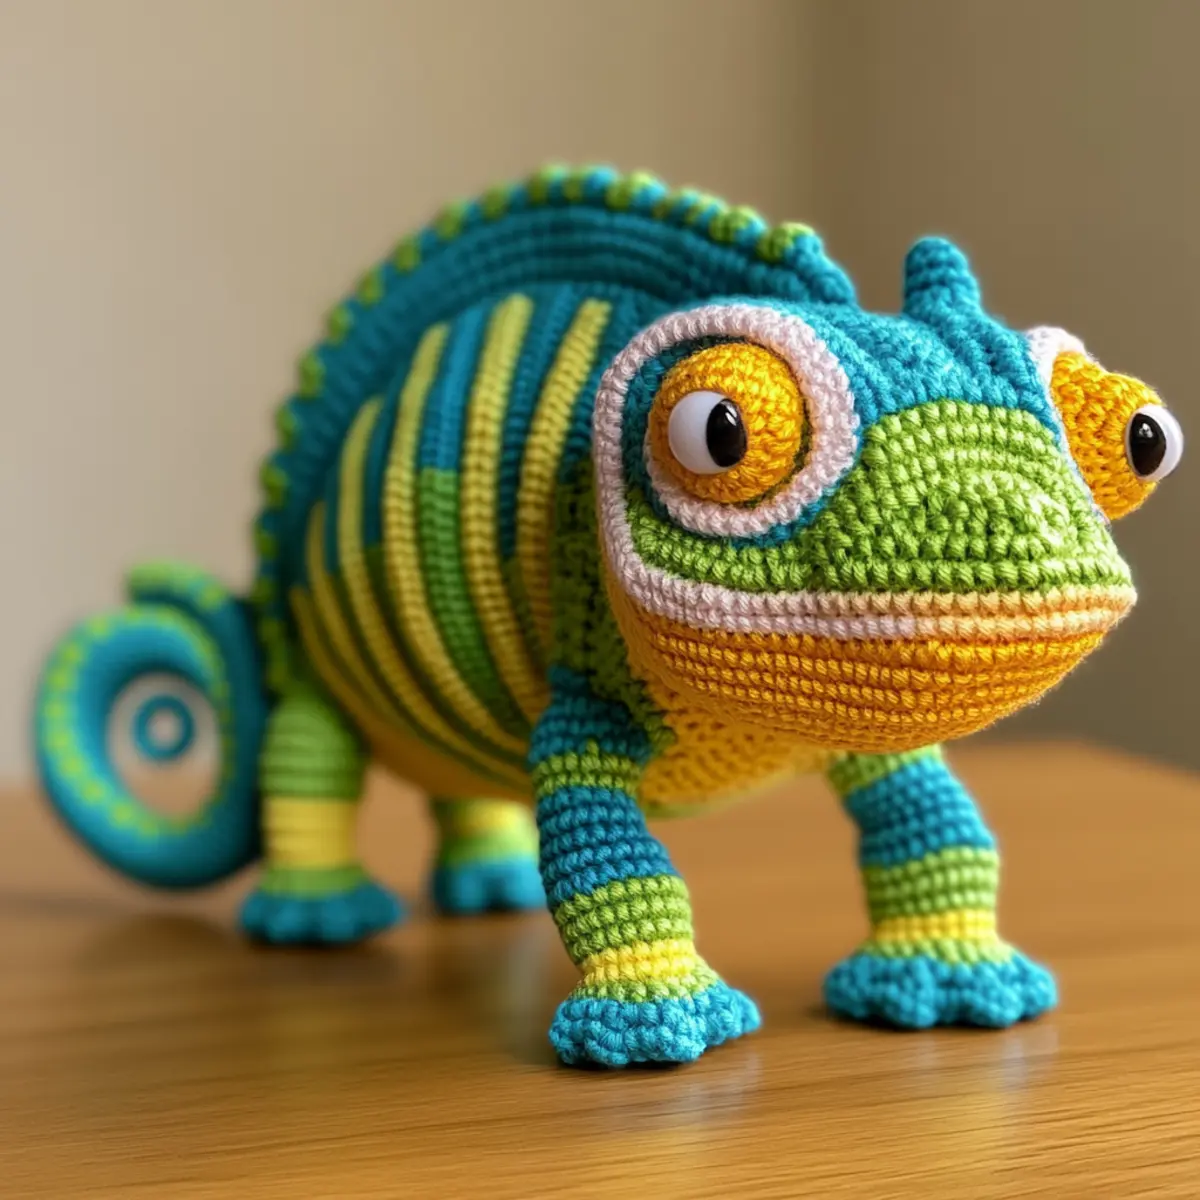
Crochet Chameleon Materials & Tools
Yarn
- Bulky Chenille Yarn – Approximately 150-200 yards total in assorted colors for your crochet chameleon, ensuring a soft and squishy finish.
Tools & Notions
- 4 mm Hook – Use a G hook for maintaining the correct tension and shape in your project.
- Safety Eyes (12 mm) – Gives your chameleon a playful and friendly face.
- Polyester Stuffing – Provides that plush feel, making your chameleon perfect for cuddles.
- Yarn Needle – Essential for weaving in ends and assembling your crochet chameleon.
- Scissors – Keep them handy for cutting yarn at the end of your project.
Why You’ll Love This Pattern
Simplicity is at the heart of this crochet chameleon pattern; each stitch is straightforward, making it easy to follow along even for beginners. Textured chenille yarn enhances the cuddly appeal of the toy, offering a soft touch that’s perfect for little hands or as a decorative piece on your shelf. What makes this project even more satisfying is its stash-friendliness; you can use leftover yarn scraps, creating a one-of-a-kind look while reducing waste. Ready to explore more? The Crochet Monkey Pattern also offers a playful project that complements your chameleon. Customizable color options allow you to experiment with shades that suit your style, and you can even time-save by working in rounds, speeding up your crocheting experience dramatically. Lastly, its aesthetic appeal can’t be understated—create a whimsical companion that adds joy and personality to any space.
Gauge & Sizing Notes for Crochet Chameleon
Checking your tension is essential for the crochet chameleon to ensure it maintains its adorable and toy-like shape. For this project, a standard gauge measurement of 4×4 inches (10×10 cm) should yield approximately 10 sc across and 10 rows high in your chosen bulky chenille yarn. If your swatch does not match, consider adjusting your hook size or modifying your yarn tension before committing to the entire chameleon. If you want to resize your toy, increase the starting chain for the body or add an additional row of sc. Keep in mind that the finished crochet chameleon will measure around 8 inches tall, with a body length of about 10 inches, and a tail length of 6 inches when fully curled. Don’t hesitate to customize by experimenting with different yarn textures or even embellishments to make the toy uniquely yours!
Step-by-Step Pattern for Crochet Chameleon
Row 1: Start the body Begin with a magic circle, then work 6 sc into the circle. Pull tight to close the circle, ensuring there’s no hole. This forms the base for the crochet chameleon. (6)
Row 2: Increase body size Work 2 sc in each st around to create a wider body base, reflecting the fullness of your chameleon. Count your stitches to maintain consistency and proper shape. (12)
Row 3: Shape the body Continue with 1 sc in the next st, inc in the next st. Repeat this pattern around for a slight increase, building the plush body for your crochet chameleon. (18)
Row 4: Further increases Work 2 sc in the next st followed by 1 sc in the next 2 sts; repeat till the end of the round, enhancing the body size even more. Your toy is starting to take on a charming form! (24)
Row 5: Accentuate the body Repeat the previous step once more, increasing your stitch count and creating a rounder shape for better support. It’s important to maintain good tension to keep the stuffing hidden. (30)
Row 6: Preparing for the head Sc around for 2 rows, focusing on keeping your work tight and uniform. This section is crucial for transitioning smoothly from the body into the head of the crochet chameleon. (30)
Row 7: Round the head Switch to the head formation by working 1 sc in the next 3, inc. Go around, ensuring your chameleon has a fuller head to showcase its adorable features. (36)
Row 8: Final head shape Now, do 1 sc in the next 4, inc. This gradual increase will provide the extra room needed to attach the facial details for your crochet chameleon later on. (42)
Row 9: Attach the eyes Insert safety eyes (12 mm) between Rows 7 and 8, about 6 stitches apart. Be sure they are secure for safety, creating the playful expression your chameleon will have!
Row 10: Form the legs Switch to leg creation: ch 2 for your leg and work sc in each st around. After reaching the end, use a slip stitch to secure your leg to the body. Repeat for all 4 legs, ensuring symmetrical attachment. (total of 4 legs)
Row 11: Craft the tail Ch 10 and then work 1 hdc in the second ch from the hook, followed by 1 hdc in each ch till you reach the end. The tail should have a natural curl, so you can adjust the tension as needed here. (tail length = 6 inches)
Row 12: Final assembly Secure the head onto the body, attach arms and legs, and stitch the tail into place. Use yarn needle to weave in any remaining ends and tweak the features like the mouth and nostrils for added charm. Enjoy your completed crochet chameleon!
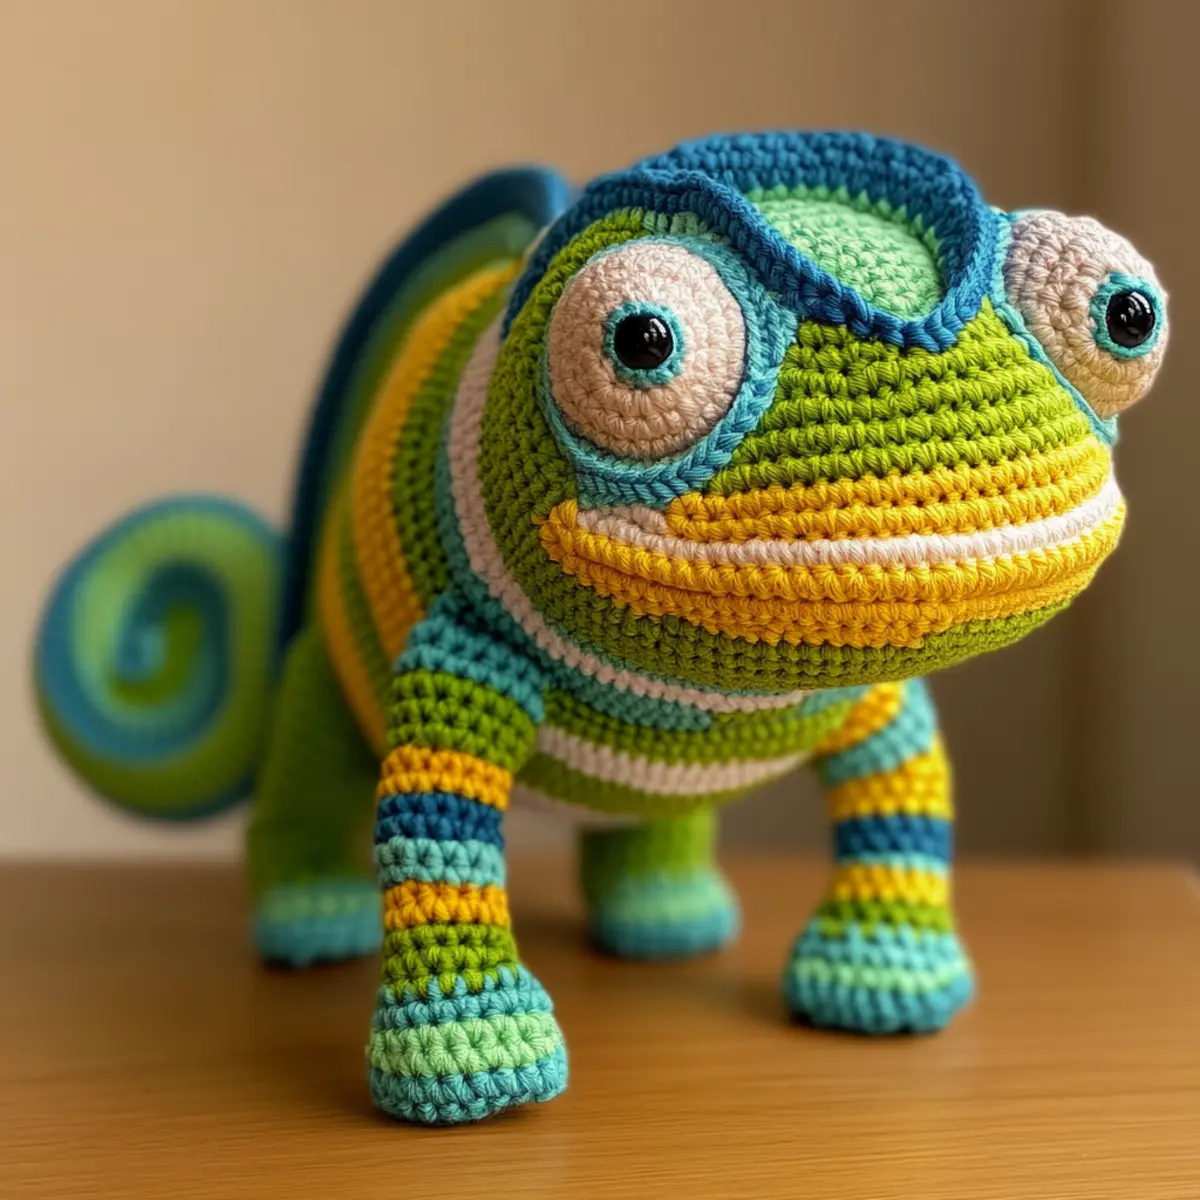
Expert Tips for Crochet Chameleon
Stitch Counting: Always count your stitches at the end of each round to maintain the correct shape of your crochet chameleon. Consistency is key!
Foundation Chain: Avoid twisting your foundation chain; it’s essential for a clean start. Lay it flat before joining to ensure it’s even.
Color Changes: If changing colors, learn the right methods to avoid visible yarn tails. Try using a magic knot for neat transitions.
Tension Control: Keep your tension consistent throughout the project. A tighter gauge will help maintain the shape, preventing stuffing from showing through.
Use Safety Eyes Properly: When attaching safety eyes, double-check their placement. Secure them between the right rows for an adorable chameleon face.
Finishing Touches: After assembly, embroider the mouth and nostrils to give your crochet chameleon the perfect whimsical expression. Don’t skip this step for optimum charm.
crochet chameleon variations
Looking to add a personal touch to your crochet chameleon? Explore various ways to customize this delightful project!
- Color Swaps: Choose a more subdued palette with shades of gray and white for a realistic chameleon look. Perfect for mature decor themes.
- Yarn Textures: Experiment with cotton or wool yarn; each fiber adds unique textures and feels. Your chameleon will have a different character depending on your choice!
- Size Adjustments: To make a giant chameleon, simply use a thicker yarn and the corresponding larger hook. Imagine a cuddly 18-inch friend!
- Embellishments: Add beads or sequins for a delightful sparkle effect. It will enhance your chameleon’s playful personality and catch the eye of admirers.
- Fantasy Creatures: Instead of a chameleon, transform the pattern into other creatures like a whimsical unicorn or a friendly dragon! Simply adjust the shape and add horns or wings for a unique twist.
Crafting your own crochet chameleon opens a world of possibilities! The freedom to customize enhances your crafting experience while allowing you to showcase your creativity.
- Mixed Media: Incorporate elements like fabric scraps or faux fur for added dimension. This can generate a stunning mixed-media amigurumi that attracts attention, adorning any space as a lovably quirky feature.
- Personalized Designs: Add initials or names using embroidery; perfect for a cherished gift! Personalizing enhances its sentimental value, making it a perfect surprise for loved ones. Don’t forget to revisit Crochet Monkey Pattern for further inspiration!
How to Wash and Care for Your Crochet Chameleon
Machine Washing: If machine washing, use a gentle cycle with cold water. Place the chameleon in a pillowcase for extra protection.
Hand Washing: For best results, hand wash your crochet chameleon in cold water with mild detergent. Gently squeeze and avoid wringing out.
Drying: Lay your chameleon flat to dry on a clean towel. Avoid hanging it up as this can distort its adorable shapes and features.
Storage: Keep your crochet chameleon in a dry, cool space. Avoid direct sunlight to maintain vibrant colors and prevent fading.
Crochet Chameleon FAQs
Can I use different yarn types for this project?
Absolutely! While bulky chenille yarn is recommended for softness, you can experiment with cotton or wool for varied textures. Just adjust your hook size accordingly.
What if my chameleon has curling edges?
Don’t panic! Curling is often a sign of inconsistent tension. Check your gauge and ensure you’re maintaining even tension throughout your project. Also, a gentle steam block can help reshape if needed.
How do I adjust the size of my crochet chameleon?
You can increase the starting chain for the body or use a thicker yarn with a larger hook, allowing you to create a bigger chameleon easily. Just be cautious with the stitch count to maintain proportion.
What size hook should I use?
A 4 mm (G) hook is recommended for this pattern. However, if your gauge doesn’t match the specified tension, adjust your hook size to ensure the body retains its lovely shape.
How to fix dropped stitches?
Don’t worry! If you notice a dropped stitch, you can use your crochet hook to pull the yarn back through and secure it in place. Just be careful to maintain your tension afterward.
Can I add embellishments to my crochet chameleon?
Of course! Adding beads or sequins can give your crochet chameleon a fun flair while enhancing its playful nature. Just ensure any additions are securely attached for safety!

Leave a Reply