
While browsing through my yarn stash recently, I stumbled upon some light brown yarn that instantly sparked a delightful idea—a cozy crochet bear pattern! This pattern, perfect for beginners, offers a delightful journey into the world of amigurumi. Not only is it a fantastic stash-buster, but it also allows you to craft a personalized toy that will warm hearts for years to come. As you delve into this project, you’ll enjoy the satisfaction of creating a cuddly bear that exudes charm and whimsy. The joy of crafting something unique and fulfilling is unmatched, and this crochet bear pattern is designed to make that experience accessible and enjoyable. What will your bear look like? Maybe it’ll sport a pastel hue for a whimsical vibe or stick to a classic neutral tone that enhances its timeless appeal.
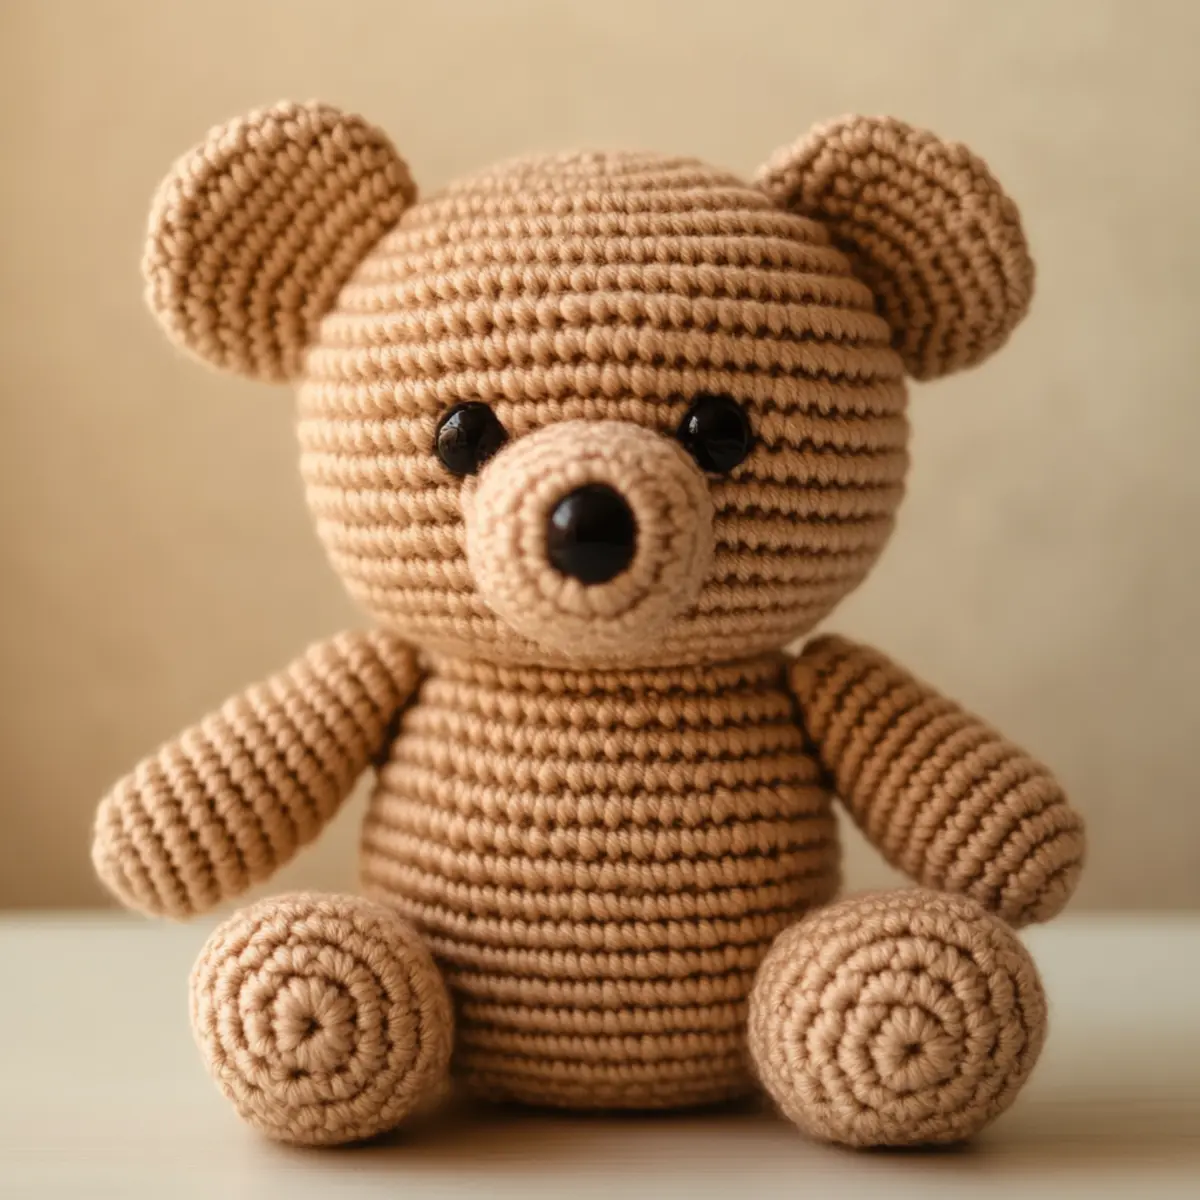
Crochet Bear Pattern Materials & Tools
Yarn
Light brown medium worsted weight yarn – approximately 200 yards for a complete bear. Ideal for a soft and structured feel.
Black safety eyes – pick a size that provides a charming look for your bear’s face.
Stuffing – polyester fiberfill works best to give your bear a huggable shape.
Tools & Notions
4.0 mm (G/6) crochet hook – perfect for achieving tight stitches and a neat finish.
Yarn needle – necessary for sewing pieces together and weaving in ends.
Scissors – keep handy for trimming yarn ends while making your crochet bear pattern.
Why You’ll Love This Pattern
Crafting a plush teddy bear has never been simpler! This pattern stands out for its simplicity, making it perfect for novice crafters who are eager to learn. The texture creates a delightfully cuddly finished toy that can’t help but bring smiles. As a stash-buster, this project allows you to utilize leftover yarn, transforming odds and ends into cherished keepsakes. Additionally, you can explore customization options, like dressing your bear in unique colors, hats, or scarves—check out the Crochet Teddy Bear for more ideas! Value for time is another perk; with just a few hours of work, you’ll complete an adorable companion. Lastly, this project appeals not only to children but also to adults, making it an ideal handmade gift for all ages. Why settle for ordinary when you can infuse joy into your crochet endeavors?
Gauge & Sizing Notes for Crochet Bear Pattern
Checking your gauge is essential for the crochet bear pattern to turn out just right. A standard gauge is around 4×4 inches (10×10 cm) equals 12 sc across and 12 rows down for a dense, cuddly bear. If your swatch doesn’t match, you may need to adjust your hook size or starting chain. To resize your finished bear, you can change the number of initial rounds or stitches, adjusting the starting chain accordingly. If your swatch is too loose, consider going down a hook size to achieve that tighter, plush feel. Remember, keeping consistent tension while you crochet will lead to a uniform look for your adorable bear.
Step-by-Step Pattern for Crochet Bear Pattern
Row 1: Create Magic Ring
Start by making a magic ring. Ch 1, then work 6 sc into the ring. Pull the tail to close the ring tightly (6). This is the foundation of your crochet bear’s head and body.
Row 2: Increase Round
In this round, you’ll want to increase. 2 sc in each stitch around (12). Remember to place a stitch marker to keep track of your rounds as you work the crochet bear pattern.
Row 3: Continue Increasing
Continue increasing evenly across the round, placing 1 sc in the first stitch then 2 sc in the next (18). This helps form the round shape of your bear’s head and body.
Row 4: Form the Body Shape
Work 1 sc in each stitch around (18). By keeping this round stitch count consistent, you’re creating the main section of the bear that will hold everything together nicely.
Row 5: Create Body Depth
Begin to add depth to the body by working 1 sc in each stitch around again (18). This is crucial to ensure your bear has a plush feel and maintains its structure.
Row 6: Start Decreasing
Now we will transition. Work 1 sc in the first stitch and then 1 dec in the next (12). This forms the bottom rounding of your crochet teddy bear, making it more stable for sitting.
Row 7: Close the Body
Continue decreasing: 1 sc in the first stitch, then 1 dec in the next (6). At this point, the bear will start taking shape in terms of both form and proportion.
Row 8: Stuff and Finish Body
Before fully closing the body, make sure to stuff it lightly with polyester fiberfill for a huggable feel. Complete this round using 1 sc in the first stitch and 1 dec in the second (3).
Row 9: Create the Head
To form the head, chain up and work in the same way as the body, but you will stop increasing sooner. Work 1 sc in each stitch around until you feel it measures well (8). Ensure it’s proportionate to the body.
Row 10: Structure the Head
Maintain the head’s shape by working several more rounds of 1 sc in each stitch around without increases (8). The head should feel rounded and soft; this is where your crochet skills shine!
Row 11: Add Ears to Bear
Next, let’s make the ears. Create a magic ring, then chain up and increase by placing 6 sc in the ring before securing it and fastening off. Repeat to create the second ear.
Row 12: Attach Ears and Face
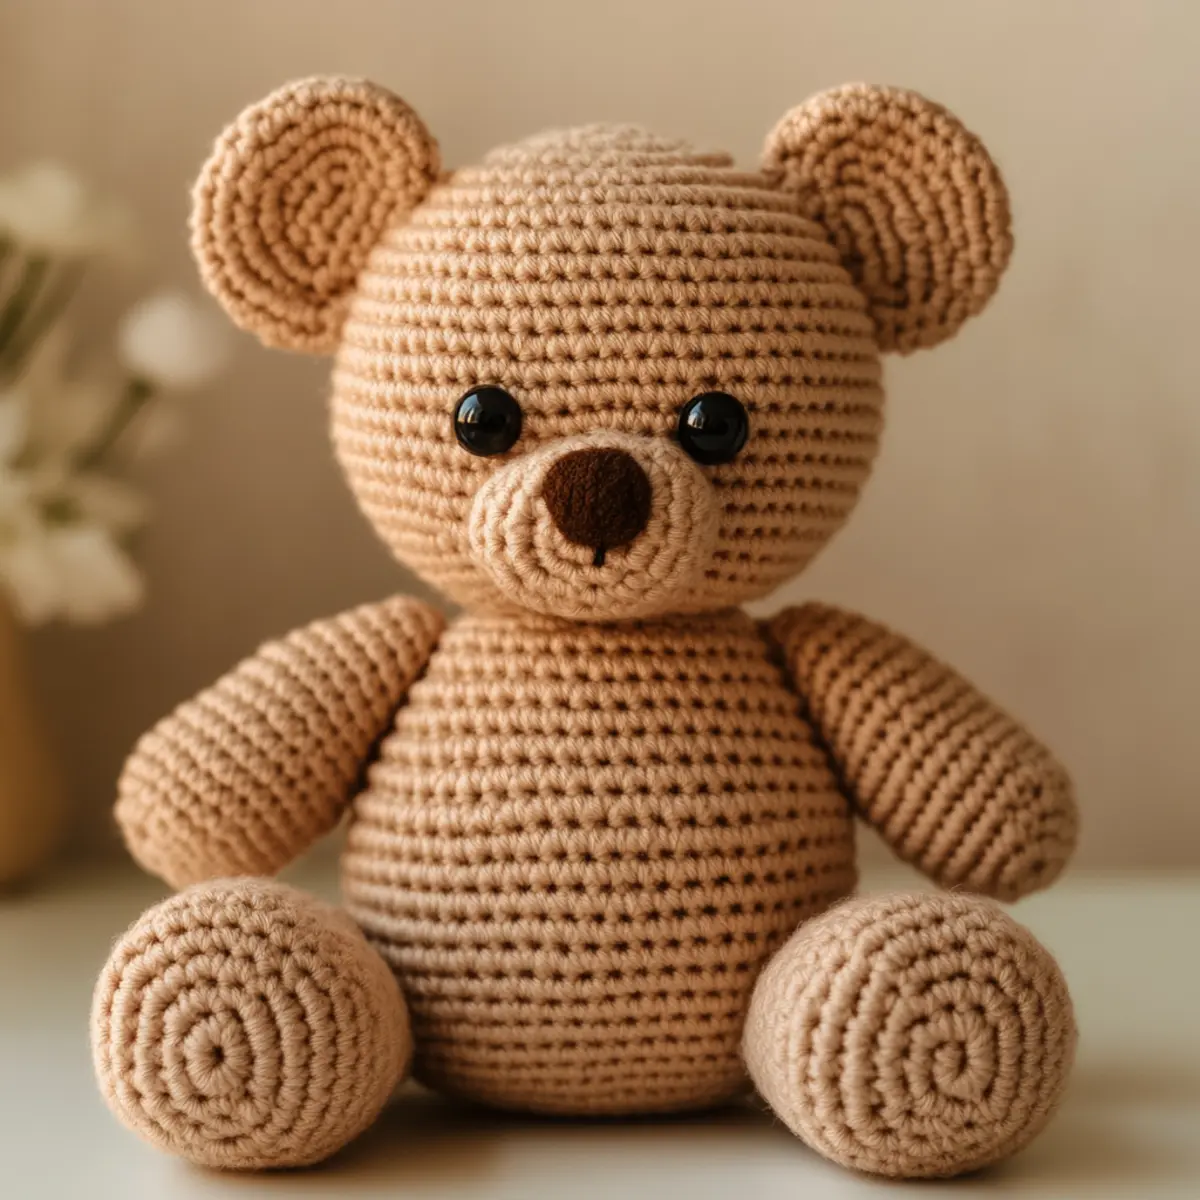
Place the ears at the top of the head, sewing them securely with the yarn needle. Attach safety eyes to give your crochet bear character and a charming look. You can also create a small muzzle by crocheting a few extra rounds before completing assembly.
Expert Tips for the Best Crochet Bear Pattern
Consistent Tension: Keep your tension consistent throughout your stitches to ensure a uniform and even look for your crochet bear.
Accurate Counting: Make sure to count your stitches carefully, especially when creating the limbs and body, to avoid any misproportions in your bear.
Track Rounds: Use a stitch marker to keep track of your rounds while working on the crochet bear pattern, preventing mix-ups and missed increases or decreases.
Proper Stuffing: Lightly stuff each part with fiberfill to ensure your bear maintains its shape without becoming overly firm.
Avoid Twisting: Be cautious when creating your foundation chain; ensuring it isn’t twisted will help form a perfect starting point for your bear’s body.
Experiment with Colors: Don’t be afraid to use different colors or yarn types to create unique variations of your crochet bear pattern that reflect your personal style.
crochet bear pattern variations
Feel free to customize your adorable teddy bear by exploring these fun alternatives!
- Color Choices: Swap the light brown yarn for vibrant colors. Pastel shades create a whimsical vibe, while deep tones provide a classic twist.
- Yarn Type: Experiment with cotton or even chunky yarn for a different texture. Each type gives a unique feel that can alter your bear’s character.
- Texture Modifications: Incorporate fun yarns like boucle or pom-pom yarn for added texture. This not only enhances visual appeal but gives your bear a playful touch.
- Size Adjustments: Use a smaller hook to create a mini version for adorable keychains or a larger hook for a huggable giant bear. This way, you can cater to all ages!
- Holiday Theme: Add seasonal flair by using holiday-themed yarns (e.g., reds and greens for Christmas). You can even make themed accessories like a hat or scarf!
- Accessory Enhancements: Personalize with accessories like a crocheted scarf or a removable hat. This not only makes your bear unique but allows for style changes!
- Minimalist Version: Create a simplified design by reducing the number of stitches. This quick project is perfect for beginners practicing basic amigurumi skills.
- Facial Expression Options: Use different button sizes or even embroidery for varied facial expressions. Personalizing emotions can significantly impact the bear’s charm.
Don’t hesitate to innovate and make this project truly yours! Check out the Crochet Teddy Bear pattern and Baby Bear Crochet for more ideas!
How to Wash and Care for Your Crochet Bear
Machine Washing: If you choose to machine wash, use a gentle cycle with cold water and place the bear in a laundry bag to protect its stitches.
Hand Washing: It’s best to hand wash your crochet bear in cool water using mild soap, then gently squeeze out excess water without twisting.
Drying: Always lay your crochet bear flat on a towel to dry instead of hanging it, as this maintains its shape and prevents stretching.
Storage: Keep your bear in a cool, dry place when not in use, avoiding direct sunlight to prevent fading its charming colors.
Crochet Bear FAQs
Is this crochet bear suitable for beginners?
Absolutely! This crochet bear pattern is designed specifically for beginners, making it a fun and easy project to practice basic crochet skills.
What yarn can I use for this bear?
You can use any medium worsted weight yarn, but light brown is recommended for a classic teddy bear look. Feel free to experiment with colors or types, like cotton.
How can I adjust the size of my bear?
To resize, simply adjust the number of initial rounds or stitches in the starting chain. You can also use a smaller or larger crochet hook to modify the bear’s dimensions.
What should I do if my teddy bear has curling edges?
Don’t panic! If your bear is curling at the edges, make sure you’re not working too tightly. You might need to adjust your tension or use a larger crochet hook for looser stitches.
What type of stuffing should I use?
Polyester fiberfill is ideal for stuffing your crochet bear, as it provides a soft, huggable texture while retaining shape. Avoid using cotton or other materials that may clump.
What hook size is best for this pattern?
A 4.0 mm (G/6) crochet hook is recommended for this crochet bear pattern to achieve a neat finish with tight stitches, resulting in a plush teddy bear.

Leave a Reply