
Surrounded by colorful yarns and the gentle rhythm of my hook, I found myself captivated by the Cozy Floral Granny Square Pattern. Each square is more than just a project; it is a delightful fusion of creativity and comfort, seamlessly blending skill building with fun. This granny square pattern is both stash-buster and beginner-friendly, making it an ideal project for anyone looking to indulge in some relaxing crochet time. What’s most exciting is how quickly these squares come together, allowing you to create vibrant pieces for your home or thoughtful gifts for friends. The joy of crafting is not only in the finished product but in the journey itself—transforming simple yarn into beautiful squares that reflect your unique style. I can’t help but wonder, what amazing color combinations will you choose for your own floral squares?
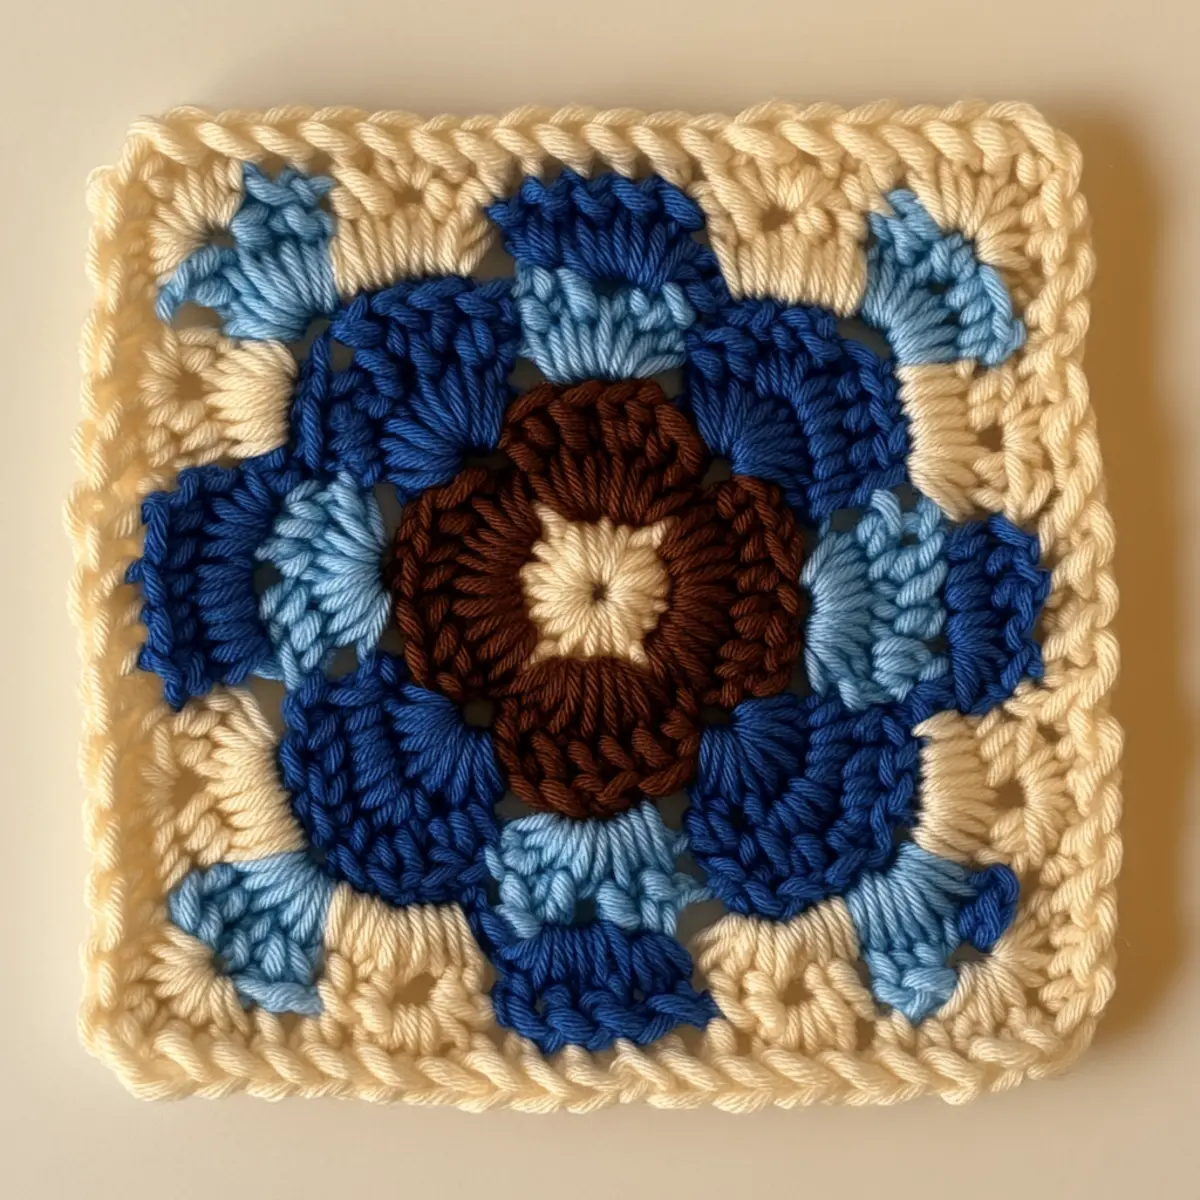
Granny Square Pattern Materials & Tools
Yarn
- Acrylic or cotton yarn – Choose worsted weight, approximately 100 to 200 yards for making several squares.
- Colorful scraps – Great for using up leftover yarn to create diverse looks.
Tools & Notions
- 5.0 mm (H-8) crochet hook – Ideal size for achieving the perfect tension in your granny square pattern.
- Stitch markers – Helpful for marking the start of rounds, especially when working with double crochet stitches.
- Tape measure – Useful for ensuring your squares reach the desired dimension of 6 to 8 inches per side.
- Scissors – For trimming yarn ends neatly at the finish.
- Blocking mats – Perfect for shaping and setting the final look of your granny squares.
Why Will This Pattern Inspire You?
Versatile in its design, this granny square pattern allows for endless creativity, making it perfect for various décor styles. Texture is another standout feature, as the layered stitches give each square a lovely tactile quality that invites touch. Plus, it’s a wonderful stash-friendly project, enabling you to use up scraps of yarn while experimenting with surprising color combinations. The simplicity of the construction makes it beginner-friendly, inviting crafters of all levels to push their boundaries. These squares also offer a fantastic opportunity for customizability; explore different stitch types to create unique looks and fit your personal aesthetic perfectly. Be sure to check out our guide on joining granny squares for tips on construction, and don’t forget to experiment with color as discussed in our post on choosing yarn colors to make your blanket truly one-of-a-kind!
Gauge & Sizing Notes for Granny Square Pattern
Checking your tension with this granny square pattern is crucial for achieving a consistent and beautiful result. A standard gauge measurement of 4×4 inches (10×10 cm) should yield approximately 12 dc and 6 rows for a solid design. If your swatch doesn’t match, adjust the hook size or yarn weight to reach the desired tension. This will ensure that each square measures about 6 to 8 inches per side. Adjust your starting chain or rounds to modify the square size, enabling a personalized fit for your project. Experimenting with the number of rounds or the thickness of the yarn provides flexibility in design, allowing crafters to create larger squares for blankets or smaller ones for coasters. Remember, consistent tension throughout your crafting will greatly enhance the finished product, so take the time to test your gauge as you delve into this delightful granny square pattern!
Step-by-Step Pattern for Granny Square Pattern
Row 1: Start the Magic Circle Begin with a magic circle, leaving a tail for later sewing. Chain 3 (counts as 1 dc) and work 11 dc into the ring, then pull the tail to close. Join with a sl st to the top of the first ch-3 (12 dc).
Row 2: Create the V-Stitch Chain 3 (counts as 1 dc) and work 1 dc in the same st. Next, (ch 1, 2 dc in the next st) in the gaps around the circle. Continue this until you have created 6 V-stitches, joining with a sl st to the top of the ch-3 (12 dc + 6 ch-1 spaces).
Row 3: Expand the Floral Design Chain 3 (counts as 1 dc) and in each ch-1 space from the previous row, work (2 dc, ch 1, 2 dc) in the same space. Repeat around, joining with a sl st to the top of the first ch-3 (24 dc + 6 ch-1 spaces).
Row 4: Adding More Petals Chain 3 (counts as 1 dc) and work 1 dc in the same st. Skip the first ch-1 space, and in the next ch-1 space, work (2 dc, ch 1, 2 dc). Repeat this pattern, skipping spaces as needed, until you join back with a sl st (12 petals).
Row 5: Color Change For a beautiful visual, change colors. Begin with a new color, chaining 3, and (2 dc in ch-1 space, ch 1) for each petal space. Join this round with a sl st to the top of the starting ch-3 for a total of 30 stitches.
Row 6: Continue Floral Expansion Keep expanding with your new color; chain 3, then (2 dc, ch 1, 2 dc) in each ch-1 space. Remember to keep track of your increases, ensuring a smooth transition with sl st each round. Finish with a total of 12 V-stitches at the end of this round.
Row 7: Outer Border Start the border by chaining 1 and working 1 sc in each stitch around. Ensure to place 3 sc in each corner for adequate turning room. This will help shape your square into perfection. End the round with a sl st.
Row 8: Final Touches Finish your granny square pattern by creating a final outer round. Use a contrasting color for a pop, chaining 1, and adding 1 sc, 1 hdc, and 1 dc in the same stitch for the corners. Join seamlessly and fasten off.
Row 9: Weave in Ends Use scissors to trim your yarn, leaving a short tail for weaving. Take your tapestry needle and weave in all ends to secure the stitches. This step is vital to keep your granny square sturdy.
Row 10: Blocking To enhance your squares, it’s recommended you block them. Lay them flat and spray with water, adjusting corners to create crisp edges. This elevates the visual appearance and helps in sewing them together later.
Row 11: Experiment with Color Feel free to mix colors at any round to achieve unique designs. Pastels yield soft themes, while bold hues create a cheerful vibe. Playful color choices can elevate the basic granny square pattern into a stunning design.
Row 12: Join Squares Once you have made several granny squares, it’s time to join them! Use a whip stitch or slip stitch method between the edges to create your blanket or desired project. This adds to the adventure and joy of your creative journey.
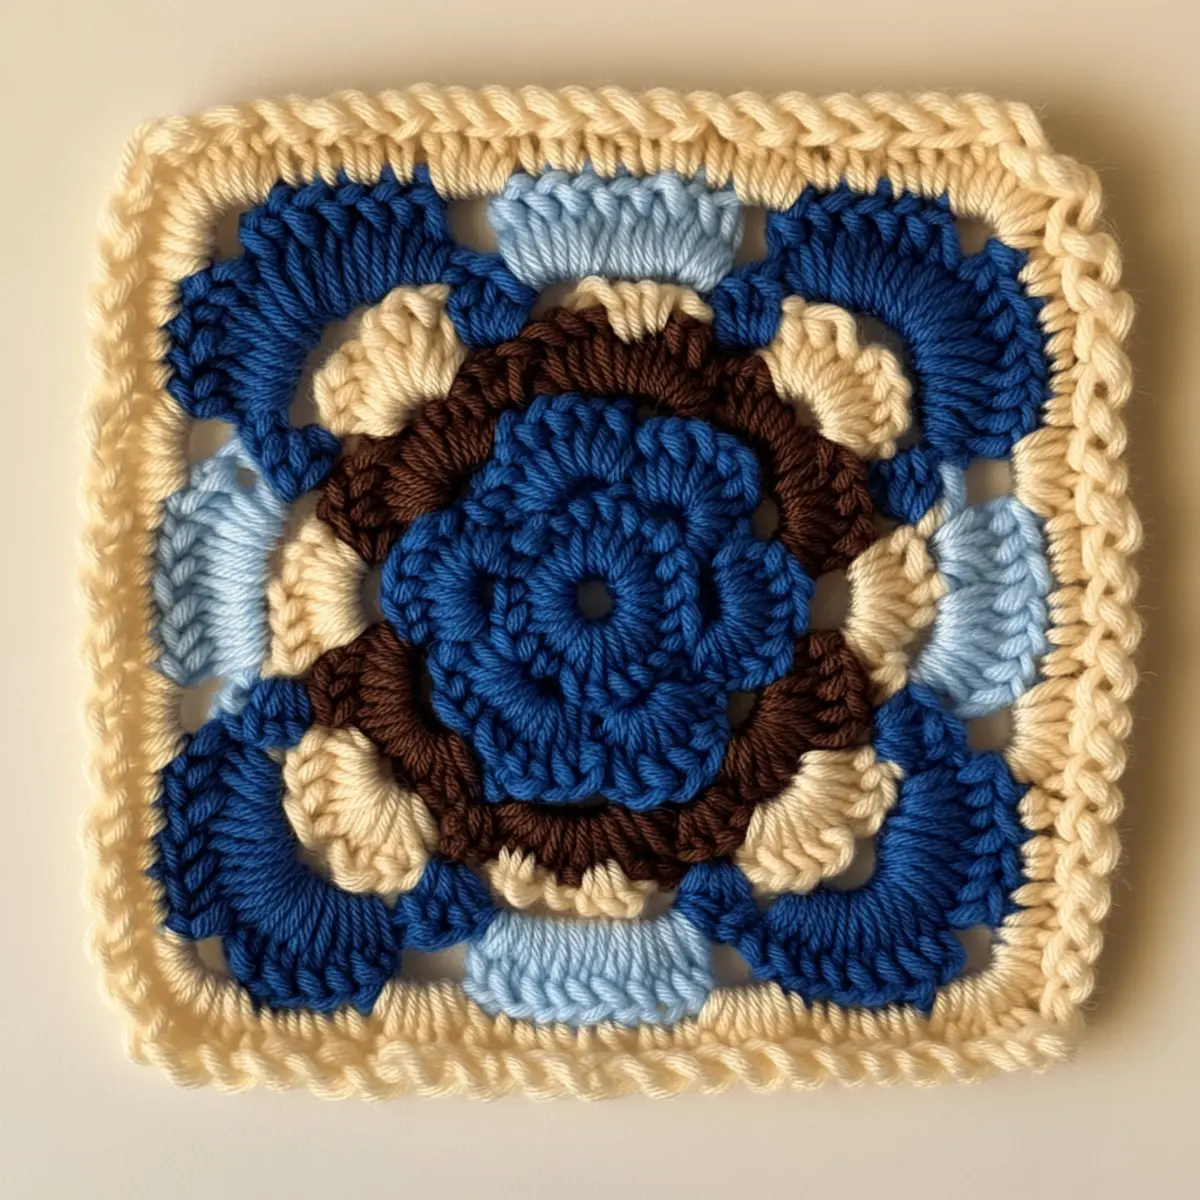
How to Wash and Care for Your Granny Square Pattern
Machine Washing: Use a gentle cycle and cold water to maintain the integrity of the yarn. Avoid harsh detergents that could affect color vibrancy.
Hand Washing: If cleaning your granny squares by hand, soak them in cool water with mild soap, gently swishing to avoid agitation that can distort shapes.
Drying: Lay your squares flat to dry instead of hanging, as this helps preserve their dimensions and shape.
Storage: Store your finished squares in a dry, cool place, away from direct sunlight to prevent fading and avoid moisture that can damage fibers.
Expert Tips for the Best Granny Square Pattern
Count Carefully: Always keep track of your stitch count to avoid losing your place, which can lead to uneven squares.
Stitch Markers: Use stitch markers at the start of each round to prevent dropped stitches and maintain consistency throughout your granny square pattern.
Consistent Tension: Maintain a steady tension while crocheting; fluctuations can cause some squares to be larger or smaller than others. This ensures a uniform size for all squares.
Avoid Twisting: When creating the foundation chain, ensure that it lies flat and is not twisted to prevent issues later in your granny square pattern assembly.
Experiment Freely: Don’t hesitate to try out different colors and stitch types within the floral design. This adds a personal touch and uniqueness to each granny square you create.
Block for Perfection: After finishing, consider blocking your squares to define their shape and enhance their overall appearance.
Granny Square Pattern Variations
Feel free to get creative! Each variation allows you to personalize your crochet project and make it uniquely yours.
- Yarn Swaps: Use cotton or bamboo yarn for different textures and finishes.
- Color Blocking: Alternate between vibrant and pastel colors to give your squares an entirely new look.
- Texture Modifications: Integrate popcorn or bobble stitches in the floral design for a textured touch.
- Larger Squares: Opt for bulky yarn to create larger, cozier squares for winter projects.
- Seasonal Themes: Experiment with seasonal colors—soft pinks and greens for spring, or rich oranges and browns for fall.
- Ombre Effect: Transition shades of a single color from light to dark for a modern look.
- Add Embellishments: Consider adding sewn-on flowers or buttons in the center for extra flair. A bold center can redefine the entire square.
You can mix and match these variations to create a range of sizes and designs, allowing for ample opportunities to experiment and showcase your crochet skills. Don’t forget to check out our guide on color combinations for inspiration!
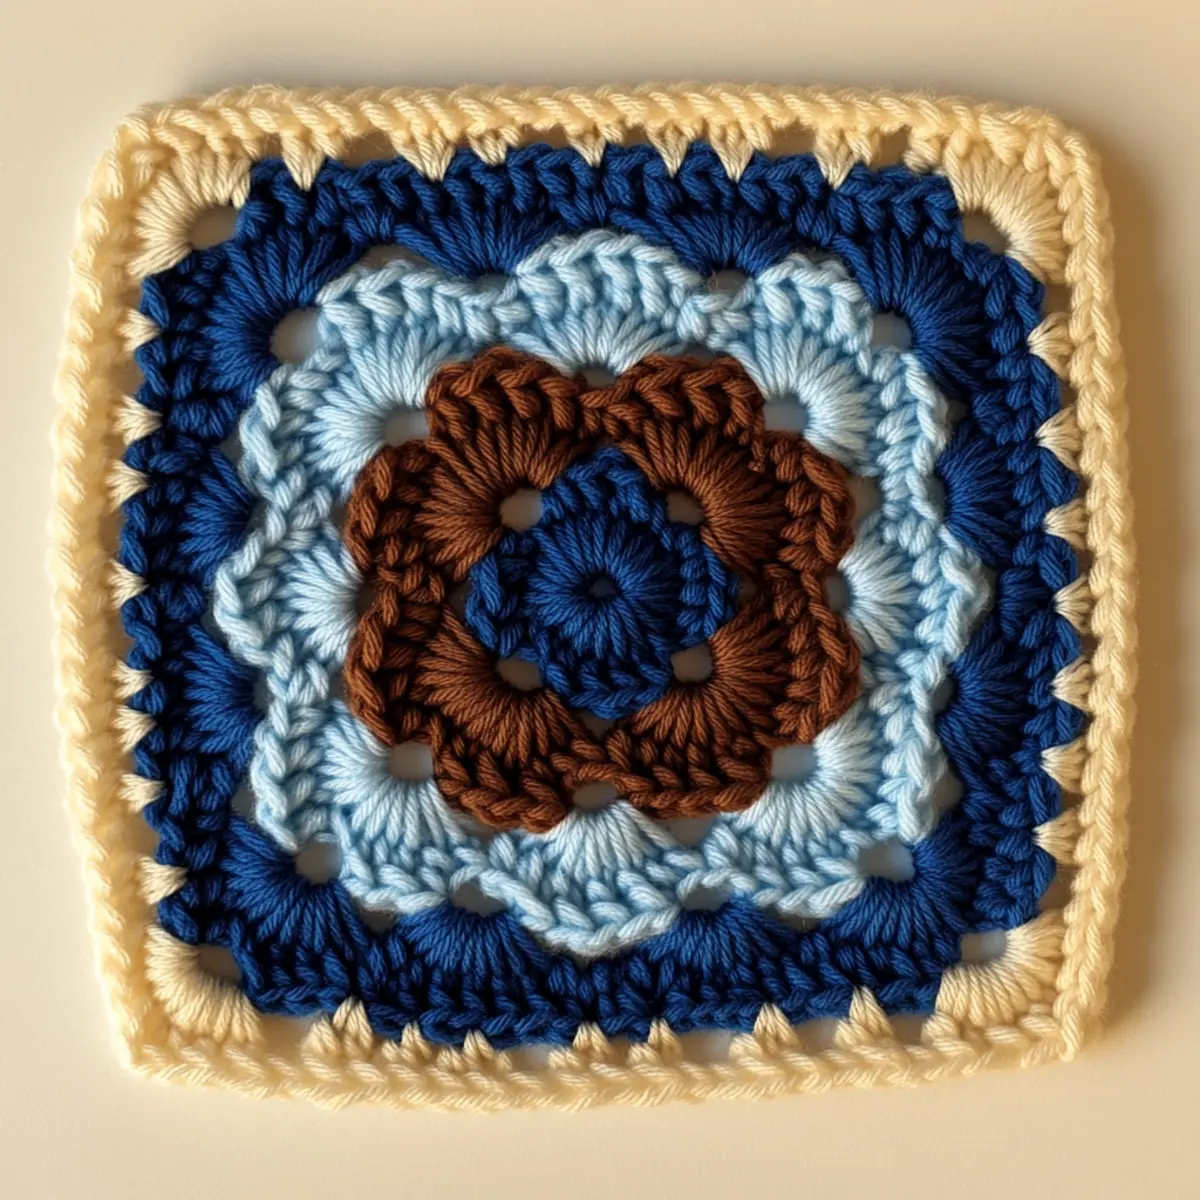
Granny Square Pattern FAQs
Can I use different yarn weights?
Absolutely! You can adjust the yarn weight to create larger or smaller squares, but be mindful of maintaining a consistent tension for the best results.
What if my granny square curls at the edges?
Don’t panic! Edge curling can happen due to uneven tension. Try blocking your finished squares flat, which helps relax the stitches and corrects the shape.
How do I adjust the size of my granny square?
You can modify the size by changing your hook size or the number of rounds you work. For larger squares, add more rounds; for smaller ones, reduce them accordingly.
What’s the best hook size for this pattern?
A 5.0 mm (H-8) crochet hook is ideal for achieving a nice tension with worsted weight yarn, but your actual hook size may vary based on personal tension preferences.
Can I add embellishments to my granny square?
Certainly! You can incorporate buttons, beads, or additional decorative stitches to personalize your granny squares. This is a great way to showcase your creativity!
How should I join my granny squares?
There are various methods, such as whip stitch or slip stitch. Choose one that best fits your style and the look you wish to achieve in your final project.

Leave a Reply