
The moment I first held a delicate crochet pansy flower in my hands, I knew I stumbled upon something special. This charming crochet pansy flower pattern not only showcases vibrant colors and intricate stitches but also serves as a fantastic way to expand your crochet skills. One of the best aspects of this project is its versatility – it can easily transform everyday items like hats, bags, or scarves into eye-catching pieces of art. Plus, it’s a wonderful stash-buster, allowing you to use up leftover yarn and create breathtaking blooms that can blossom in any corner of your home. With this pattern, beginners will find themselves weaving joyfully through the rows, guided by simple instructions and a bloom that promises a satisfying experience. Can you picture a bouquet of these cheerful flowers decorating your projects? Let’s dive into the details and uncover the beauty of crocheting these pansies together.
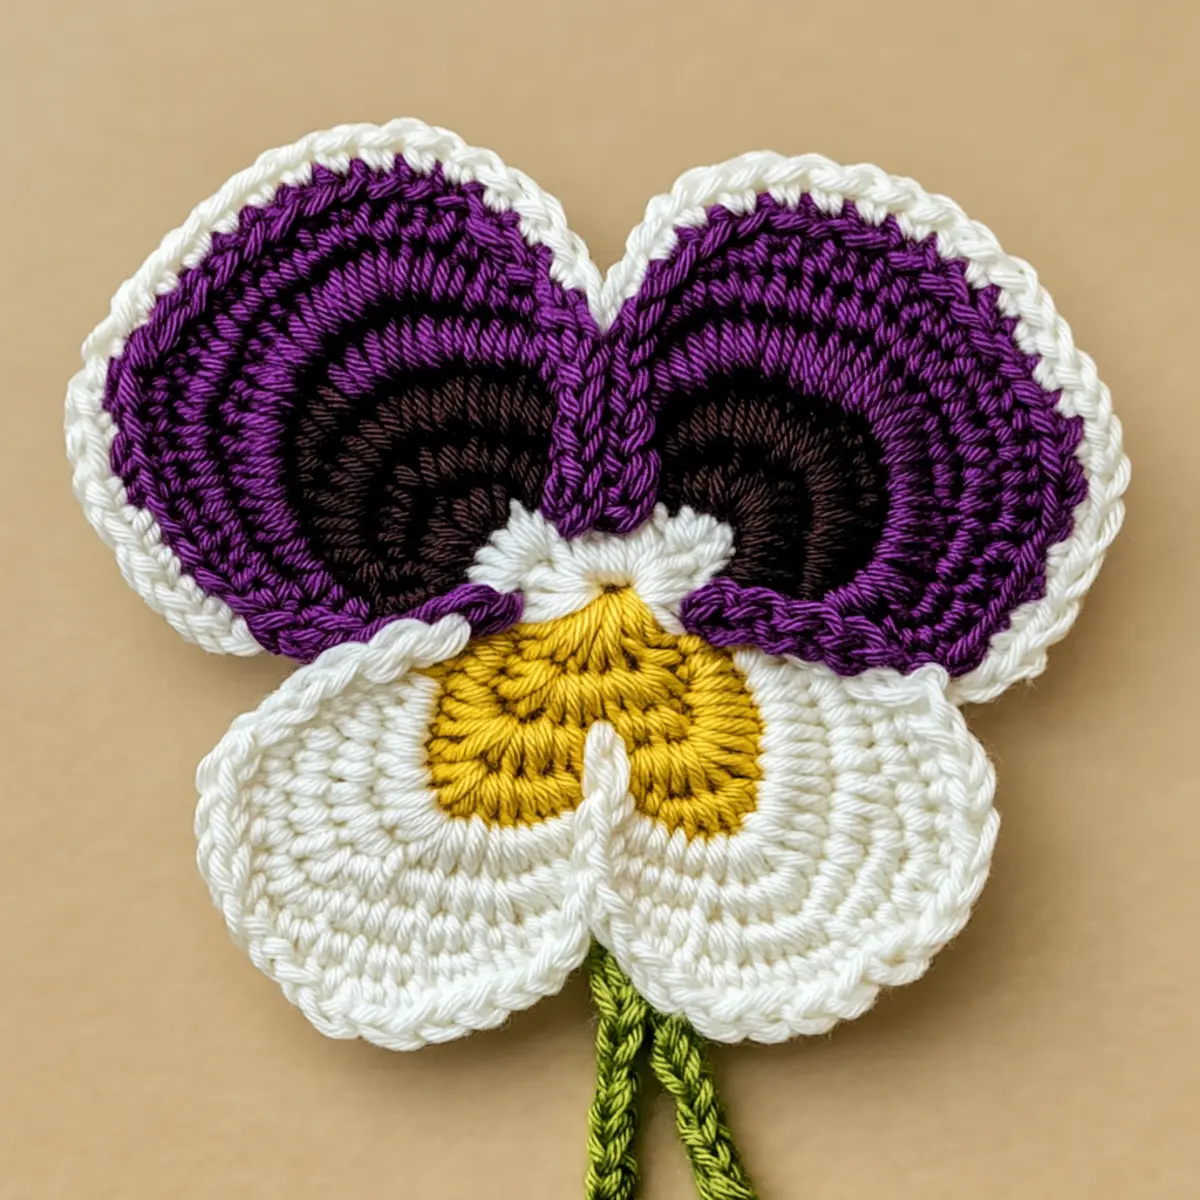
Crochet Pansy Flower Materials & Tools
Yarn
- Medium Weight Yarn – Approximately 100 yards total for multiple flowers; consider 100% cotton or a cotton blend for comfort.
- Vibrant Colors – Embrace variations; experiment with blue and yellow, or even pink and white for your crochet pansy flower.
Tools & Notions
- 4.5 mm (G) Hook – This size perfectly suits the worsted yarn, ensuring a tight and structured hold.
- Yarn Needle – Essential for weaving in ends, achieving a tidy finish for your flower.
- Green Yarn – A must for creating the stems, enhancing the overall botanical flair.
- Optional Buttons or Embellishments – Add a personal touch to your finished pansy flower, making it uniquely yours.
What Makes This Pansy Pattern Unique?
Simplicity is at the core of this design, making it accessible even for those stepping into the crochet world. The straightforward instructions make it an enjoyable experience while achieving stunning results. Textured elements are introduced within the petals and center using techniques like popcorn stitches, giving your pansy a lifelike quality. What’s more, it’s a perfect stash-buster – you can combine leftover yarns to create unique flower combinations. Want to get creative? With a little improvisation, you can customize the size using different yarn weights as outlined in the materials and tools section. The aesthetic appeal of the pansy adds a charming touch to home decor, and when showcased against soft pastels, it’s sure to brighten any space. And don’t forget, the elegance of these flowers can even be enhanced with embellishments, transforming them beyond mere crochet into stunning decorative pieces.
Gauge & Sizing Notes for Crochet Pansy Flower
Checking your gauge is essential when working on your crochet pansy flower to ensure that each flower maintains a consistent size and beautiful drape. The standard gauge measurement for this project is 4×4 inches (10×10 cm), achieved by creating a sample swatch using your chosen yarn and the specified 4.5 mm (G hook). If your swatch does not meet the gauge, you can adjust your starting chain or rounds to resize the flower accordingly; for example, if you want a larger flower, you might consider using a thicker yarn or increasing your hook size. Conversely, to create smaller versions, use lighter yarn and reduce the number of initial chains or rounds. When crocheting the petals and center, be consistent with your stitch counts to maintain symmetry in your crochet pansy flower. If your tensions differ across sections, gently block the finished flower for a polished finish and to help the petals lay flat. This ensures that your decorations showcase their intricate details effectively.
Step-by-Step Pattern for Crochet Pansy Flower
Row 1: Create the Petal Base Begin by making a magic ring, then ch 3 (counts as first dc) and work 11 more dc into the ring. Pull tight to close the ring and join with a sl st in the top of the ch-3. (Total 12 dc)
Row 2: Form the First Petal Ch 1, then work 2 hdc in the first dc, 2 dc in the next, 1 dc in the following dc, and 2 dc in the next dc. Repeat around for a total of 6 petals. Join with a sl st. (6 petals)
Row 3: Build Tension For each petal, work 1 dc into each of the next 5 stitches, and in the last stitch, work 2 dc. This establishes the shape and texture of the petals. Join with a sl st. (Total 12 stitches)
Row 4: Create Color Variation Change to a contrasting color for your flower. First, ch 1, then sc in the same stitch, followed by working 1 sc across each dc of the petals. This adds depth and character. (Total 12 sc)
Row 5: Angle the Petals Continue in the first established stitch; work 1 sc, then inc in the next stitch. This begins to create the natural curve of your pansy flower. Repeat around, ensuring even spacing. (Total 18 stitches)
Row 6: Define the Floral Shape Change colors again; ch 1 and work 1 dc, 1 hdc, and 2 dc in the first stitch to add a nice curve to your petals. Continue this around the circle for a full, rounded look. (Total 24 stitches)
Row 7: Craft the Petal Edges Incorporate a decorative edge by working 1 dc in each stitch around. As you complete this round, appreciate how the edges start to define the pansy’s shape and create texture. (Total 24 dc)
Row 8: Make the Center Switch to a different shade for the center; use a new magic ring to start. Work 6 sc into the ring, establishing the center of your pansy. This will be a focal point, enhancing the flower’s visual interest.
Row 9: Increase the Center Size Ch 1, then work 2 sc in each stitch around. Pull tight to close the ring. This will give volume and a prominent look to the center of your flower. (Total 12 sc)
Row 10: Add Texture to the Center To create texture, work popcorn stitches: In the first sc, work 5 dc, then drop the loop off the hook and insert it back in the first dc to create the popcorn. Repeat this around the flower center to add dimension and character.
Row 11: Attach the Center Align the center with the flower petals and use sl st to attach securely, ensuring it sits well against the back of your pansy flower. This step is crucial for overall stability.
Row 12: Finish with the Stems Using green yarn, create a foundation chain that is the width you desire for your stem. Use sc for the additional rows after the first to achieve the desired thickness. Ensure that the stem is long enough to hold the flower upright in arrangements. This final touch completes the crochet pansy flower beautifully.
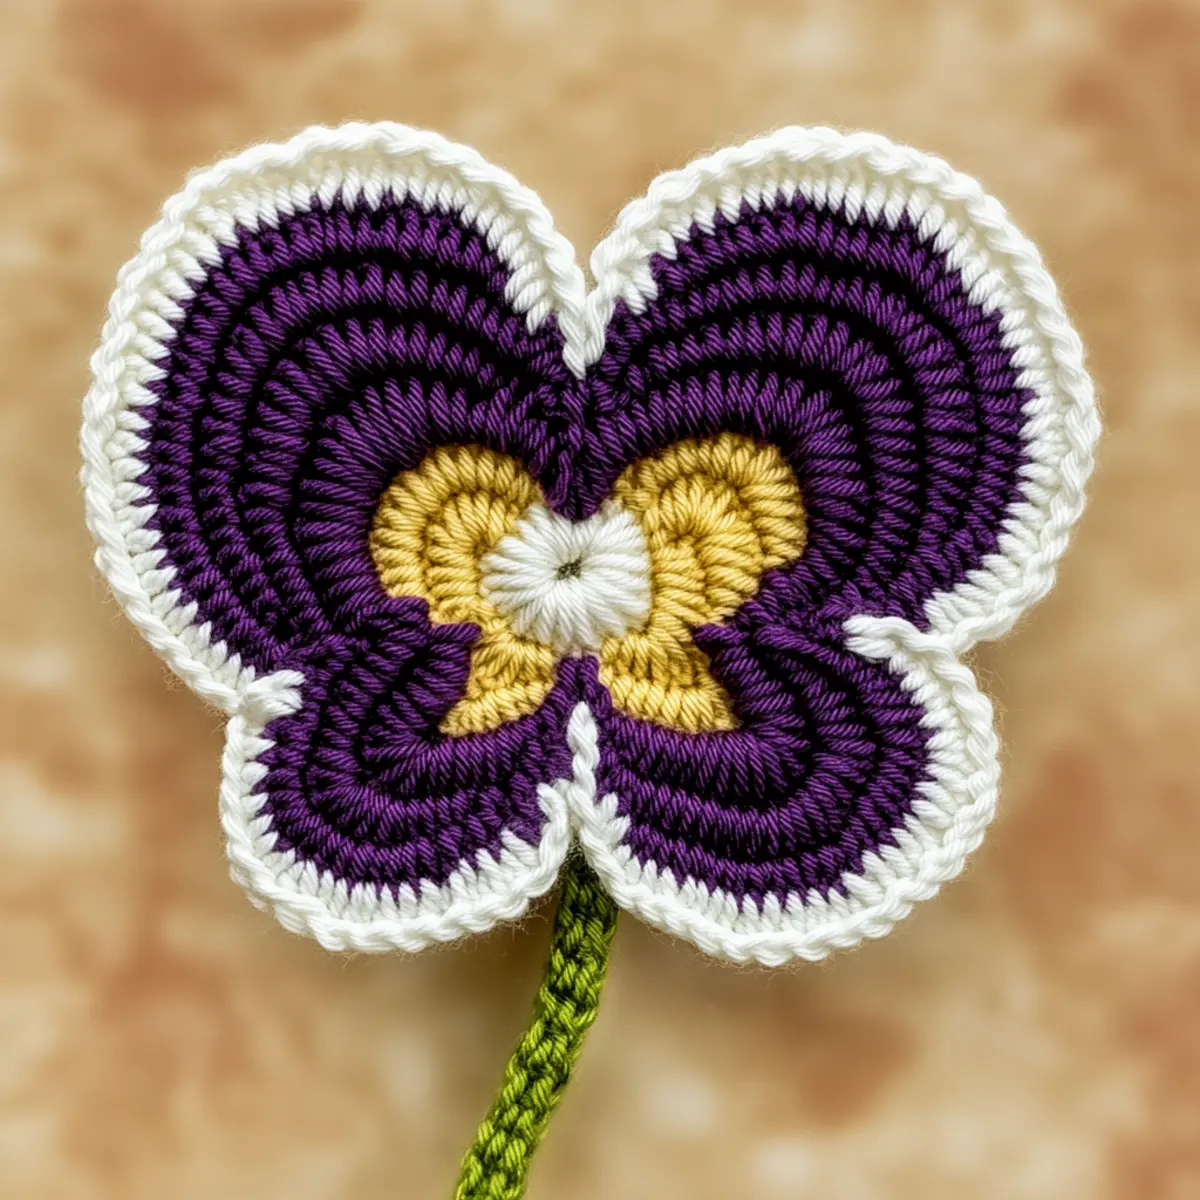
Crochet Pansy Flower Variations
Feel free to customize your crochet pansy flower with these delightful variations!
- Color Combinations: Experiment with pairs like red and yellow or purple and pink for striking contrast. Bold choices can turn heads!
- Yarn Types: Swap cotton for a bamboo blend for a softer touch, or consider acrylic for a more budget-friendly option. Each fiber offers a unique drape.
- Petal Shapes: Use shells or bobbles in place of standard petals to create texture. The added interest can dramatically enhance your flower’s aesthetic.
- Size Adjustments: Opt for a bulky yarn and larger hook for oversized pansies, perfect for centerpieces or standout decor. Conversely, go for lace weight to craft miniatures as embellishments.
- Embellishments: Add beads or sequins to the center of your flower for eye-catching details. Subtle touches elevate the overall charm.
- Texture Variations: Play with different stitches in the petals such as front post or feather stitches to add dimension. The outcome can range from elegant to whimsical.
- Layered Look: Create a bunch by stacking multiple flowers with varying sizes for a full bouquet effect. Use wire stems for flexibility in arrangement.
- Blocked Designs: Experiment with blocking techniques to enhance petal shapes. This can make each bloom look professional and crisp.
With these alterations, you can make each crochet pansy uniquely yours, letting your creativity blossom!
Expert Tips for the Best Crochet Pansy Flower
Stay Counted: Keep a close watch on your stitch count while crocheting the petals and center to maintain symmetry. It’s easy to lose track, especially with color changes.
Foundation Focus: Ensure your foundation chain is not twisted before you start. A twisted foundation can lead to a crooked flower that doesn’t lay flat.
Consistent Tension: Check your tension regularly. An even tension across stitches will elevate the overall look of your crochet pansy flower.
Blocking Necessity: After finishing, block your flower to set its shape. This helps each petal lay flat, showcasing the detailed stitch work beautifully.
Experiment with Colors: Don’t hesitate to mix and match colors for your flower’s petals. Vibrant combinations can bring a unique flair to your crochet pansy flower.
Try Different Yarns: You can get creative and use different yarn weights or textures. Thicker yarn can create oversized flowers, while lighter weights are perfect for smaller versions.
How to Wash and Care for Your Crochet Pansy Flower
Machine Washing: Use a gentle cycle in cold water if you decide to machine wash. Always place your flower in a lingerie bag to prevent snagging.
Hand Washing: It’s best to hand wash your crochet pansy flower in cold water with mild detergent. Avoid agitation to keep the shape intact.
Drying: Lay your finished crochet pansy flower flat to dry. Hanging it could cause stretching, so ensure it maintains its lovely shape.
Storage: Store your crochet pansy flower in a cool, dry place. Avoid compressed spaces to maintain its form, especially if you want it fresh for decor.
Crochet Pansy Flower FAQs
Can I use different yarn types for this project?
Absolutely! You can substitute with various yarns like a cotton blend or even acrylic. Just ensure the weight is similar to the recommended worsted yarn to maintain the shape of the crochet pansy flower.
How do I adjust the size of my pansy flower?
To alter the size, simply use a thicker yarn and a larger hook for bigger flowers. For smaller versions, choose lighter yarn and reduce the stitch count in your initial chain or rounds.
What should I do if my petals curl?
Don’t panic! If your petals curl, it can usually be fixed by blocking. Wet your flower and gently reshape the petals before allowing it to dry flat.
What’s the ideal hook size for this pattern?
The recommended hook size is a 4.5 mm (G hook), which provides a good balance for working with worsted weight cotton yarn and helps achieve the necessary stitch definitions.
How can I troubleshoot dropped stitches?
If you notice dropped stitches, retrace your steps to the last complete round. Use a stitch marker if you’re likely to forget your place, especially during complex stitch work.
Can I embellish my crochet pansy flower?
Definitely! Adding buttons or using metallic threads can elevate your flower’s appearance. You can even incorporate additional beadwork for a delightful texture.

Leave a Reply