
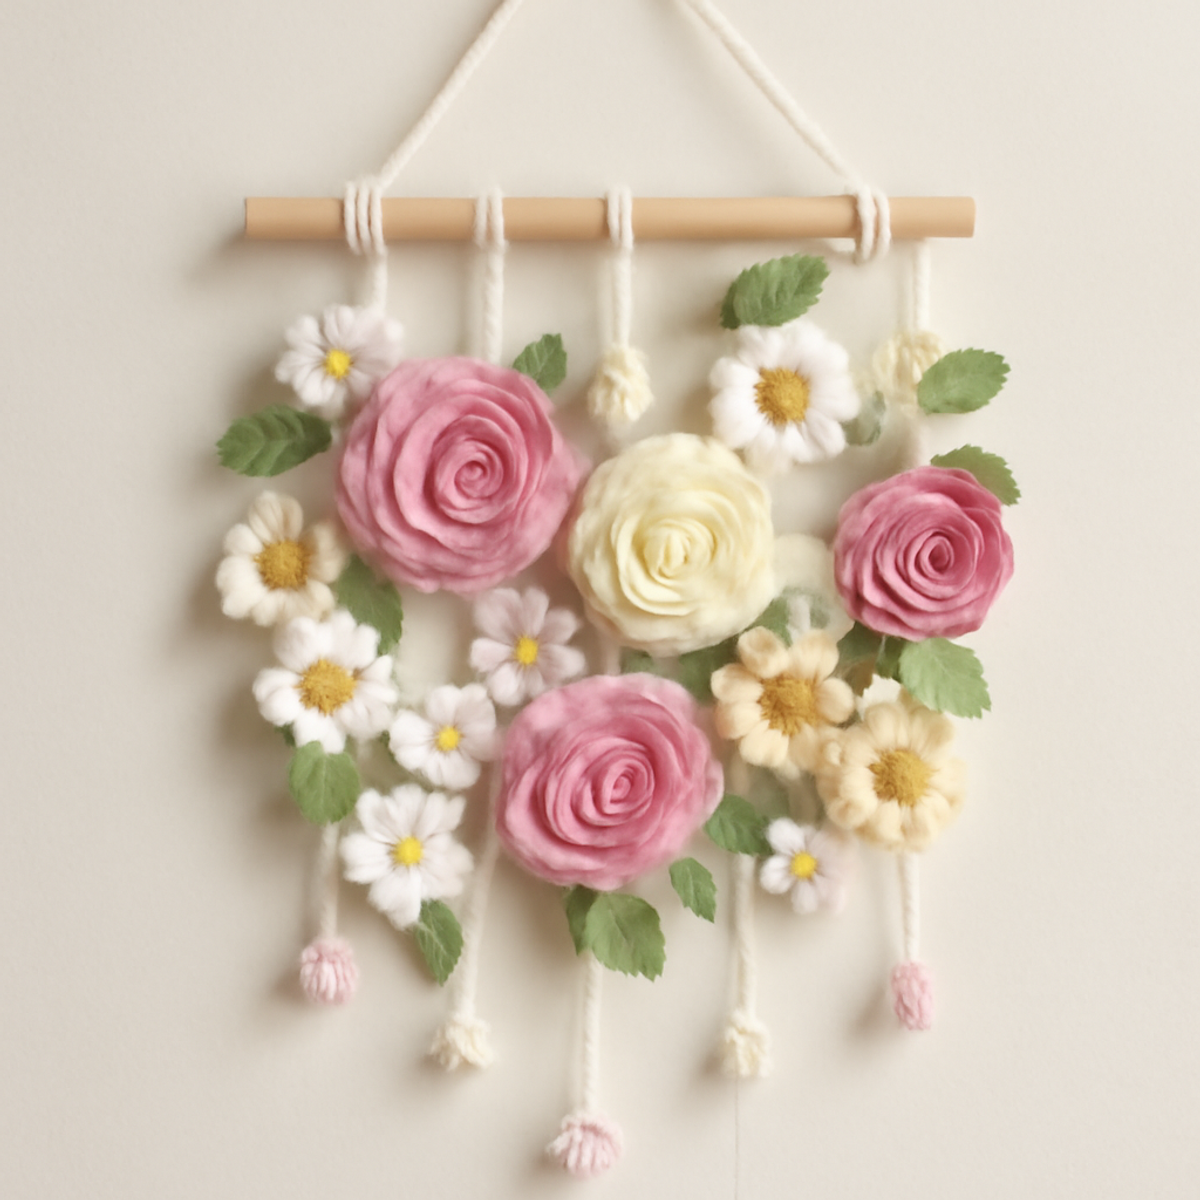
As I sat in my favorite nook, the soft yarn wrapped around my fingers, I couldn’t help but dream of a vibrant cascade of flowers brightening up a wall in my home. The crochet flower wall hanging I’m sharing today isn't just about beautifying your space; it’s a delightful project that offers both a chance to experiment with color combinations and the satisfaction of creating something truly special. Perfect for those with a bit of crochet experience, this whimsical wall decor adds a playful touch to gardens, children’s rooms, or makes for a heartfelt gift for any flower enthusiast. With just the right blend of cotton and acrylic yarn, you'll find that this project works up beautifully, giving you an eye-catching focal point without feeling overwhelming. So, gather your materials, and let’s dive into the world of stitches and petals together!
Crochet Flower Wall Hanging Materials & Tools
- Worsted Weight Yarn – A blend of cotton and acrylic is ideal for durability and ease of care, with an estimated yardage of 300-400 yards for multiple flowers.
- 5.0mm (H) Hook – This size is perfect for working up the flower designs with a nice, cozy drape.
- Buttons or Beads – Use these to embellish the flower centers, bringing a delightful touch of charm.
- Stitch Markers – Handy for tracking rounds and keeping your work organized throughout the project.
- Wooden Dowel – Essential for creating the hanging structure; ensure it’s sturdy enough to support your beautiful floral display.
Why Craft a Crochet Flower Wall Hanging?
Versatile decor piece: This crochet flower wall hanging adds a whimsical touch to any room, making it perfect for children's spaces or cozy gardens.
Creative expression: With a variety of flower designs and color palettes at your disposal, you'll have the opportunity to showcase your unique style.
Engaging techniques: Dive into different crochet methods—each flower presents an exciting new challenge, enhancing your skills in a fun way.
Eye-catching centerpiece: The vibrant cascade of flowers brings an uplifting charm to your decor while being artfully crafted to draw attention.
Thoughtful gifting: Personalize your wall hanging with initials or special colors, making it a cherished gift for flower lovers and crafters alike!
Gauge & Sizing Notes
Don't skip the gauge swatch! Checking your crochet gauge is essential for ensuring your crochet flower wall hanging turns out just right. For this project, a standard gauge is approximately 4×4 inches (10×10 cm) should yield about 14 double crochets by 8 rows, but remember that individual tensions may vary. If you're looking to adjust the size, you can make the hanging wider by increasing your starting chain in multiples of 6. If your tension does not match the gauge, and your swatch is smaller, try going up a hook size, or if it's too large, consider using a smaller hook. Avail yourself of these adjustments for a beautifully customized crochet flower wall hanging!
Step-by-Step Pattern for Crochet Flower Wall Hanging
Row 1: Foundation Chain for Dowel Hanger
Begin by creating a slip knot and ch 50. This will serve as the base for your crochet flower wall hanging. Ensure the chain is not too tight; you want it to hang gently. Once finished, join with a sl st to the first ch to form a loop. Your work should have a nice drape for easy hanging (50 sts).
Row 2: Create Loops for Dowel
Ch 1 and sc into the first chain, then continue making sc in each chain around. This creates a solid base for attaching to the wooden dowel. When you reach the end, join with a sl st to the first sc. You should have a sturdy loop that can easily support the flowers that will hang from it (50 sts).
Row 3: Flower Petal Base
To start your first flower, use a magic ring and ch 3 (counts as your first dc). Into the ring, work 11 more dc, and pull the ring tight. This will create a petal base for your flower. Join with a sl st in the top of the initial ch 3. The round should create a circular shape (12 sts, your flower base should look full and fluffy).
Row 4: Create Flower Petals
Ch 3, then work 1 dc in the next stitch, followed by 2 dc in each stitch around. This will form the petals of your flower. Once completed, join with a sl st to the top of the ch 3. The petals should stand out and form a lovely shape, creating visual interest for your crochet flower wall hanging (24 sts).
Row 5: Flower Centers
Switch colors to create the flower centers. In the next round, ch 1 and sc in each stitch around. This tightens the flower’s center and provides a fresh pop. At the end of this round, join with a sl st in the first sc. The center should be compact, adding dimension to your flower (24 sts).
Step 6: Leaves Creation
For leaves, use your green yarn and ch 10. In the 3rd ch from the hook, work 1 dc, 1 hdc, and 1 sc into the same stitch to form a leaf shape. Next, work back along the chain with sc, hdc, and dc into the remaining stitches. Fasten off and leave a long tail for attaching. Your leaf should have a nice curve, complementing the flowers beautifully.
Step 7: Assembly of Blooms
To assemble your crochet flower wall hanging, position the flowers and leaves along the looped foundation chain. Use a long tail from the flowers to attach each securely to the dowel. Use a needle and thread if necessary for added stability. Ensure flowers are spaced attractively so they create a cascade effect.
Step 8: Edging and Finishing Touches
For a finished look, add a border around the base of the flower wall hanging with a decorative border stitch like crab stitch (reverse sc) along the foundational chain. This will finish off the piece nicely, giving it a polished appearance. Your crochet flower wall hanging is now complete and ready to beautify your space!
How to Wash and Care for Your Crochet Flower Wall Hanging
Machine Washing: Use a gentle cycle with cold water to keep your crochet flower wall hanging vibrant. Avoid using fabric softeners to maintain the yarn's original texture and shape.
Drying/Blocking: Lay flat to dry in a shaded area to avoid color fading. Lightly blocking can help the flowers retain their lovely shapes and enhance your wall hanging's overall appearance.
Storage: When not in use, store your crochet flower wall hanging in a cool, dry place. Avoid crushing it to preserve the beautiful detail and texture of each flower.
Embellishments: If your wall hanging has buttons or beads, check their safety during washing to prevent damage. Always handle with care to preserve the delicate elements of this crochet flower wall hanging.
Crochet Flower Wall Hanging Variations
Unleash your creativity and personalize your crochet journey with delightful variations that bring your unique design to life!
-
Color Palettes:
Play with pastel shades for a soft, dreamy vibe or switch to bold colors for a modern, eye-catching look. -
Yarn Substitutions:
Try using bamboo or silk yarn for a luxurious feel and different textures that can elevate the overall design. -
Flower Sizes:
Experiment with varying flower sizes, creating larger blooms for a dramatic effect or smaller ones for a more delicate appearance. -
Texture Modifications:
Add a playful touch with pom-poms or tiny tassels attached to flower centers, enhancing visual interest and whimsy. -
Fringe Edging:
Incorporate fringe along the bottom of your wall hanging for a bohemian flair that adds movement and personality to the piece. -
Incorporate Initials:
Personalize flowers by crocheting initials or names in the center, turning this wall hanging into a heartfelt gift. -
Mixed Fiber Blend:
Use a blend of acrylic and cotton to strike a balance between softness and durability, perfect for a vibrant wall display. -
Varying Leaf Styles:
Create different leaf shapes—some large and bold, others small and intricate—allowing for a rich tapestry of floral life.
Expert Tips for Crochet Flower Wall Hanging
-
Consistent Tension: Make sure your tension is uniform across all flowers. Inconsistent tension can lead to an uneven appearance that detracts from the lovely decorative effect.
-
Utilize Stitch Markers: Use stitch markers to keep track of your flower centers or the start of each round. This ensures you don’t lose count, especially during complex flower shapes.
-
Lightly Block: After finishing, lightly block your flowers to help them maintain a symmetrical shape. This enhances the overall drape of your crochet flower wall hanging and makes the petals bloom beautifully.
-
Secure Assembly: When attaching flowers and leaves, ensure they are firmly secured to the dowel. This prevents any of your hard work from falling and keeps the piece intact for years to come.
-
Final Shape Check: Before finishing, step back and assess the spacing and positioning of flowers. Adjust them if necessary to create that perfect cascading effect throughout your crochet wall hanging.
What to Pair with Whimsical Flower Cascade Wall Hanging
As you embrace the joyful colors of your crochet flower wall hanging, why not explore additional projects that can blend beautifully into your decor?
-
Charming Flower Pot Covers: Create delightful accents for your potted plants, echoing the vibrant colors of your wall hanging.
-
Cozy Throw Pillow Covers: Whip up pillows adorned with matching crochet flowers to create a warm and inviting atmosphere.
-
Floral Keychains: Make sweet, small flower keychains that can be gifted alongside your wall hanging, perfect for friends or family.
-
Delicate Table Runner: Enhance your indoor space by crocheting a table runner featuring smaller flowers, creating a lovely cohesive look.
-
Joyful Garland: Craft a cheerful garland of flowers that can drape across a mantel or window, perfectly complementing the wall hanging's whimsy.
Whimsical Flower Cascade Wall Hanging FAQs
Can I substitute yarn types for this crochet flower wall hanging?
Absolutely! While a worsted weight yarn blend of cotton and acrylic is recommended for durability and drape, you can experiment with different fibers. For instance, using a bamboo yarn will give your flowers a lovely sheen, while a soft acrylic can add warmth and texture. Just be mindful to check your gauge to ensure the final piece maintains its intended look.
How can I adjust the size of the flowers in the wall hanging?
Don’t panic! To make your flowers larger, simply increase the number of stitches in your starting magic ring and add more rounds for petal formation. Conversely, if you want smaller flowers, you can decrease the stitch count in the initial rounds. The beauty of crochet is in its flexibility; just remember to keep track of your new numbers!
Why is my crochet flower wall hanging curling at the edges?
It's an easy fix! Curling can often happen if your tension is too tight, especially in the petals. To remedy this, try to loosen your grip as you crochet. Additionally, blocking your finished piece can help smooth out the edges and give it that soft finished look. Just lay your flowers flat, dampen them lightly, and allow them to dry in shape.
What hook size should I use for this project?
You should use a size H (5 mm) crochet hook for this project, as it's ideal for working up the floral designs with just the right amount of coziness. If you find that your stitches are too tight or too loose, you may consider going up or down a hook size to achieve your desired tension. Experimenting can be fun!
How do I fix a dropped stitch while working on my wall hanging?
If you notice a dropped stitch, don’t worry! Simply take your hook and carefully pull the dropped stitch back up to the current row. If you’re unsure how to secure it back, you can use a tapestry needle to weave the yarn back through, catching the rows beneath to anchor it in place. It helps to keep a close eye on your work to avoid this in the first place!
Can I add other decorative elements to my crochet flower wall hanging?
Absolutely! Personalizing your crochet flower wall hanging can make it even more special. Consider adding beads or buttons in the centers of the flowers, or incorporate additional embroidery stitches to create texture. Using different yarn types in a few flowers can also enhance the visual interest and make your project stand out beautifully!

Leave a Reply