
Cozy Snapshot: The sun poured into my living room as I settled into my favorite chair, yarn in hand, with the perfect project on my mind – the Charming Crochet Floral Garland. This delightful piece not only serves as a joyful burst of color, but it’s also a chance to enhance my crochet skills. The project is utterly stunning and a fantastic way to utilize leftover yarn in your stash while creating something beautiful. Imagine transforming your space into a whimsical haven suitable for any occasion, from brightening up a dull corner to adding charm for a seasonal party. With this crochet flower garland, you can effortlessly bring warmth, charm, and a personal touch to your home décor. Whether you’re gifting it for a birthday or showcasing it at your next gathering, this delightful garland promises to earn its keep. Plus, as you navigate through different stitches to craft each flower, you’ll find yourself honing your skills without feeling overwhelmed. So, are you ready to add a dash of crochet magic to your home? Let’s dive right in and explore how to create this charming masterpiece!
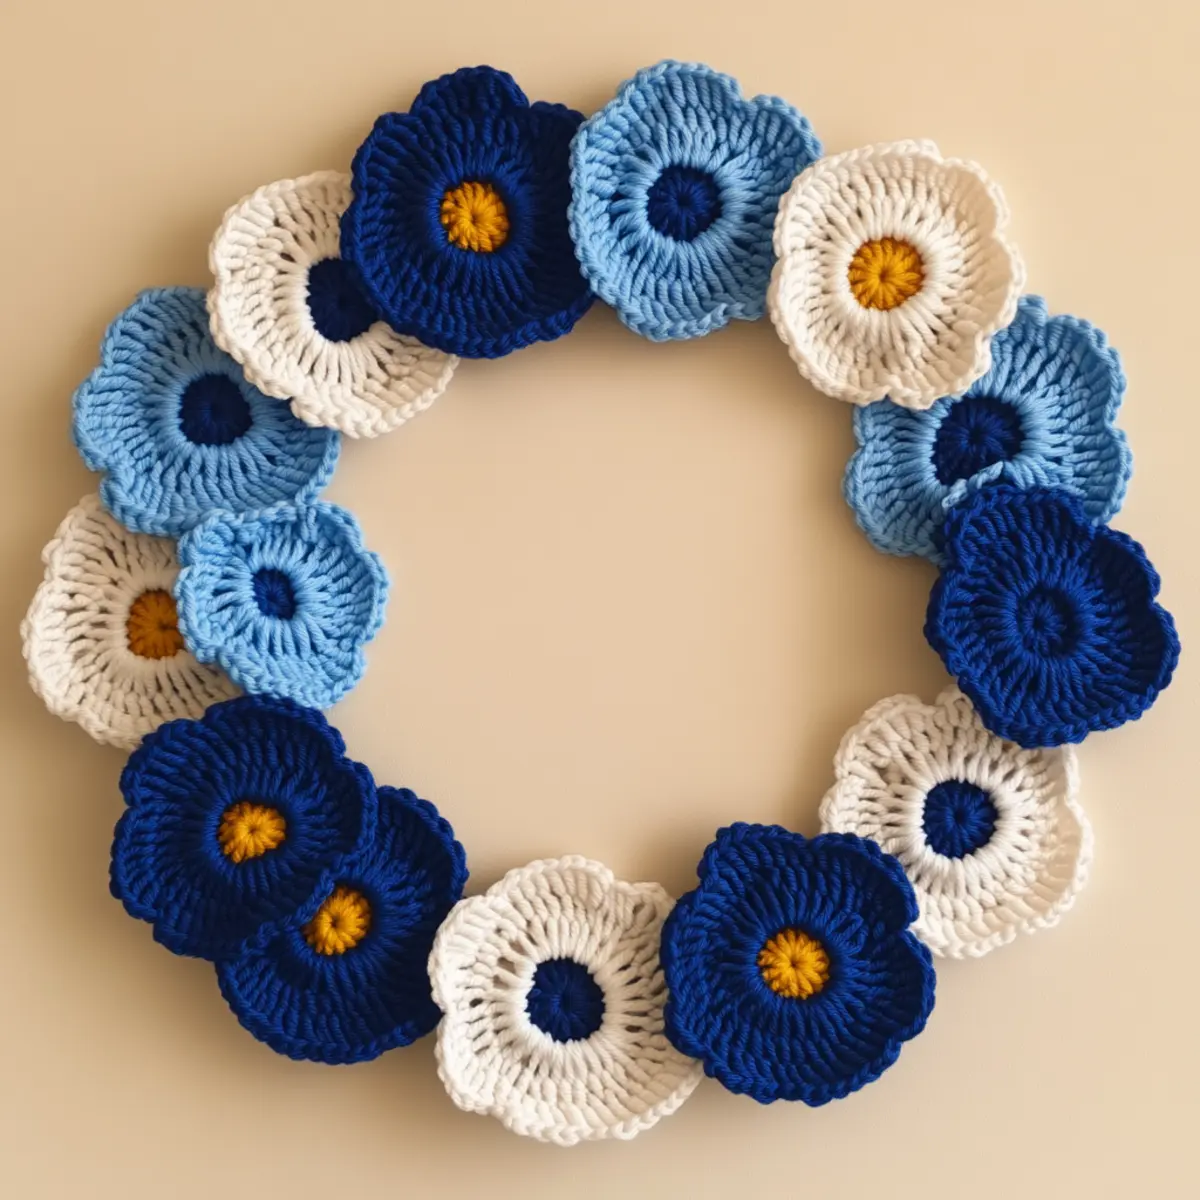
Crochet Flower Garland Materials & Tools
Yarn
Lightweight cotton or acrylic blend – Approximately 200 yards of each color, allowing for various color combinations throughout the crochet flower garland.
Tools & Notions
Crochet hook (E/4) – Use for creating delicate flowers that maintain their shape while avoiding bulkiness.
Stitch markers – Helpful for marking color changes to maintain accuracy and ease in your project.
Tapestry needle – Necessary for weaving in ends and securing flowers together seamlessly.
Blocking tools – Consider using them post-completion to preserve the flowers’ shapes and enhance the final look of your crochet flower garland.
Experiment with a variety of shades to see what works best within your décor. Coloring may range from pastel to vibrant, making the crochet flower garland a fetching addition to every setting!
Why You’ll Love This Pattern
Crafting the Charming Crochet Floral Garland is more than just a project; it’s an experience! First, the pattern offers simplicity—each flower is created with basic crochet stitches, making it beginner-friendly while still engaging for seasoned crafters. Second, the texture of the final product is delightful, with soft petals that dance in the light, showcasing your skill and creativity. Third, it’s a stash-buster—use up your leftover yarn to create a stunning decor piece. You’ll love how each flower carries its own personality, blending colors and styles as you see fit. Not only is it great for personal use, but it’s an excellent choice for a thoughtful, handmade gift that adds a personal touch to celebrations. Plus, if you’re intrigued by other crochet projects, check out these beginner-friendly patterns to supplement your crafting journey. Finally, this garland is incredibly versatile—ideal for a myriad of occasions, from festive gatherings to everyday decor. Don’t miss out on making something uniquely yours!
Crochet Flower Garland Gauge & Sizing Notes
Checking your tension is crucial for the crochet flower garland to ensure each flower maintains a consistent shape and size. The recommended gauge is 3.5 stitches per inch (stitches may vary depending on the yarn and hook size used), and for an accurate measurement, create a swatch that covers a 4×4 inch (10×10 cm) area. If your tension is too loose or tight, adjust your hook size accordingly; a smaller hook for tighter stitches, a larger hook for more spacious ones. If your swatch doesn’t match the gauge, your final flowers may appear smaller or larger than intended, affecting the overall look of your garland. To resize this charming project, simply adjust the number of chains or rounds in your base flower. Every flower ideally should measure about 6-8 inches in diameter, allowing you to scale the garland’s length according to how many flowers you create, which can be anywhere from 3 to 5 feet. Work with care and have fun experimenting with yarn, keeping in mind this lovely crochet flower garland can add whimsical joy to your spaces!
Step-by-Step Pattern for Crochet Flower Garland
Row 1: Create the Magic Ring Begin by making a magic ring to form the center of your flower. This creates a secure foundation that allows the petals to emerge from the center in a lovely round shape. You should be able to pull the tail of the yarn to tighten the loop as needed.
Row 2: Cluster the Base Work 6 single crochet (sc) stitches into the magic ring to form the flower’s base. Pull the magic ring tight to eliminate any gaps. This tight cluster serves as the nice, snug center from which your petals will bloom beautifully. (6 sc)
Row 3: Form Petals One Chain 2 to lift, then make 2 double crochets (dc) into the next stitch. Follow this with a chain space. Repeat in each of the remaining stitches around for the first petal. This first petal is essential to adding dimension to your floral garland, so take care to space them evenly. (6 petals)
Row 4: Continue Petal Creation Slip stitch (sl st) into the first petal’s base stitch to connect. For the next petal, repeat Row 3. Each petal should follow suit, ensuring that the final form is symmetrical and aesthetically pleasing. You want a vibrant, delightful flower with well-defined petals. (12 dc)
Row 5: Attach Yarn for Color Changes As you finish your fifth petal, switch to your next color by joining a new yarn at the base of the last petal. Secure with a slip knot and chain 1 to prepare for the next flower. Color changes lend vibrancy to each flower, allowing creative freedom.
Row 6: Start a New Flower Work another magic ring and repeat Rows 1 to 5 to make subsequent flowers. Maintain consistency in tension for uniformity in size and shape across all flowers in your crochet flower garland.
Row 7: Join Flowers Together Once your flowers are complete, choose one color yarn to create a long chain. Work a series of 30-40 sc following your desired spacing for the flowers along your chain. This also ensures that your garland maintains an overall balanced appearance.
Row 8: Secure the Flowers Begin attaching flowers to the chain by working a slip stitch (sl st) to secure each flower at even intervals. Ensure that they are closely placed yet spaced enough to allow for some overall flow in your crochet flower garland’s design.
Row 9: Add More Details After floral arrangement, consider adding leaves between flowers. Create simple leaf shapes using a combination of sc and dc stitches. This detail will enhance the natural look of your crochet flower garland.
Row 10: Finalize Shape Once all flowers and leaves are complete, hold the garland up to check for balance. If desired, block each flower to help maintain their shape and adjust the spacing. Blocking will also help smooth out your work and enhance the overall presentation.
Row 11: Finish Off & Weave Ends Trim any excess yarn and weave in ends using a tapestry needle. Confirm that all knots are secure, as your floral garland should be both beautiful and durable for long-term display purposes.
Row 12: Hang Your Decoration Finally, choose a charming spot to hang your crochet flower garland. This decorative piece will surely brighten any room while showcasing your creativity and craftsmanship. Think about seasonal themes to keep your spaces lively and colorful!
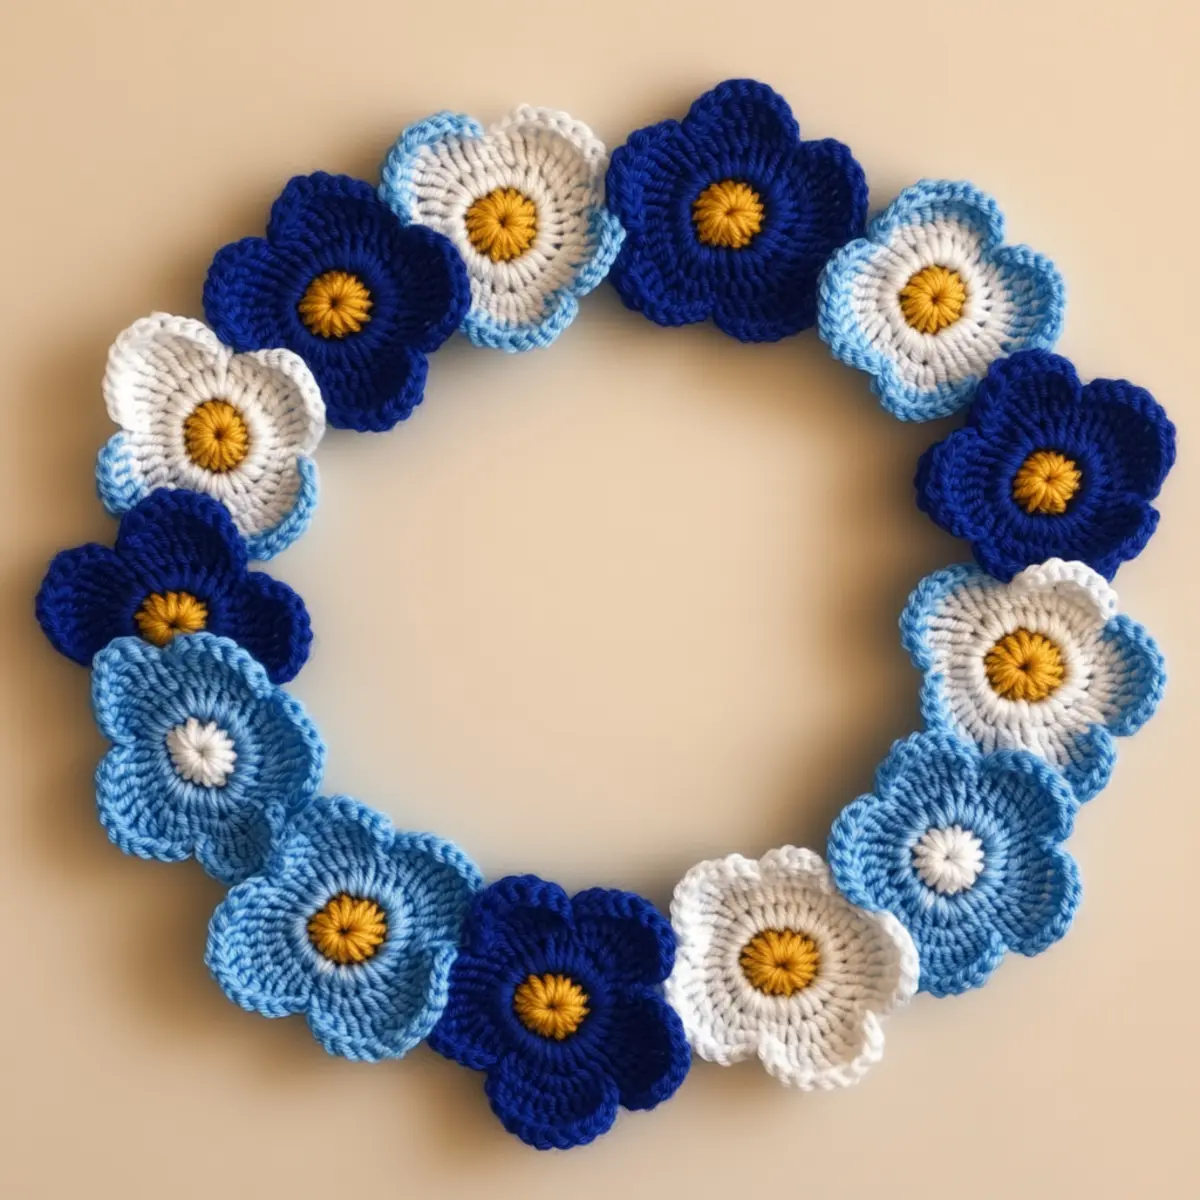
crochet flower garland Variations and Substitutions
Feel free to customize your crochet flower garland by trying out different materials and techniques!
- Bulky Yarn: Use a thicker yarn to create larger flowers for a more dramatic effect. Larger flowers make a bold statement in any room!
- Different Fibers: Swap your cotton yarn for a silk or linen blend for a more luxurious texture. This will give your flowers a unique sheen and drape.
- Color-Blocking: Experiment with different color groupings in each flower. Charming combinations can enhance the visual appeal of your garland, making it perfect for any party theme.
- Add Leaves: Crochet simple, leafy accents to complement your flowers. Leaves add depth and a natural look to your garland design, making it even more eye-catching.
- Seasonal Themes: Create a garland that matches seasonal colors or holidays. Think pastel shades for spring or rich reds and golds for autumn, adding festivity to your decor.
- Embellishments: Incorporate beads or buttons in the center of your flowers for added flair. This detail can elevate the garland’s overall aesthetic while showcasing your creative flair.
- Size Modifications: Scale the entire project up or down based on your space. If you want a statement piece, opt for larger flowers and longer chains to increase its presence.
- Alternative Techniques: Consider learning other crochet stitches to create a textured effect, such as popcorn or shell stitches. This will enhance the uniqueness of your crochet flower garland. Feel free to check out our Crochet Techniques section for inspiration!
Expert Tips for the Best Crochet Flower Garland
-
Count Carefully: Always keep track of your stitches to avoid losing count and maintaining the flower’s structure, especially when changing colors.
-
Use Stitch Markers: Mark your color-changing stitches with stitch markers to help spot where to switch yarn and avoid confusion while crocheting.
-
Tension Matters: Maintain consistent tension for evenly sized flowers. Adjust your hook size if flowers appear too loose or too tight for the desired outcome.
-
Block for Shape: Blocking the completed flowers is essential to ensure they hold their shape, particularly with cotton yarn, providing a polished look to your crochet flower garland.
-
Experiment with Colors: Don’t hesitate to play around with different color combinations to personalize your crochet flower garland, making it unique to your space.
How to Wash and Care for Your Crochet Flower Garland
-
Machine Washing: If needed, wash on a gentle cycle with cold water to prevent damage. Always secure with a mesh bag to avoid snagging.
-
Hand Washing: For delicate care, gently hand wash your crochet flower garland with cold water and mild detergent to retain the integrity of yarn.
-
Drying: Lay the garland flat on a clean towel to air dry, avoiding hanging to prevent stretching. Reshape the flowers as they dry to maintain their look.
-
Storage: Store your crochet flower garland in a cool, dry place, away from direct sunlight, to preserve colors and prevent any fabric deterioration.
Crochet Flower Garland FAQs
-
Can I substitute yarn for this project?
Absolutely! You can use different types of lightweight yarn, but be aware that the overall look and drape may vary with different fibers. -
What hook size should I use?
A size E/4 (3.5 mm) crochet hook is recommended, but feel free to adjust depending on your tension and yarn type to achieve the desired stitch appearance. -
How do I troubleshoot dropped stitches?
If you drop a stitch, don’t panic! Use a crochet hook to pick it up and rework the stitch seamlessly, ensuring it flows with the rest of your project. -
Can I adjust the size of the flowers?
Yes! To resize, simply change the number of rounds or chains in your base flower or switch to a different hook size, keeping gauge consistent. -
Why are my flowers curling?
Curling can occur if your tension is too tight. Blocking your flowers can help flatten them out and improve their appearance. Adjust tension in future projects for better results. -
How can I ensure even flowers?
Maintain consistent tension and use stitch markers to help keep track of your color changes and stitches throughout your crochet flower garland project.

Leave a Reply