
Surprise! A simple crochet project can evoke pure delight, especially the whimsical crochet baby bonnet that I recently crafted. As I watched this charming piece take form, I was smitten with its delightful blend of style and function. Perfect for warm weather, this crochet baby bonnet not only keeps little ones comfortable but also provides a layer of protection from the sun. It’s a fantastic project for both novice and seasoned crafters, bringing satisfaction in just a few hours. The best part? You can use up all those lovely yarn scraps hanging out in your stash! This design offers a cozy and handmade charm that’s bound to warm hearts and keep heads snug. Are you curious to discover how this enchanting piece can become a cherished gift or family heirloom? Let’s dive into the pattern together!
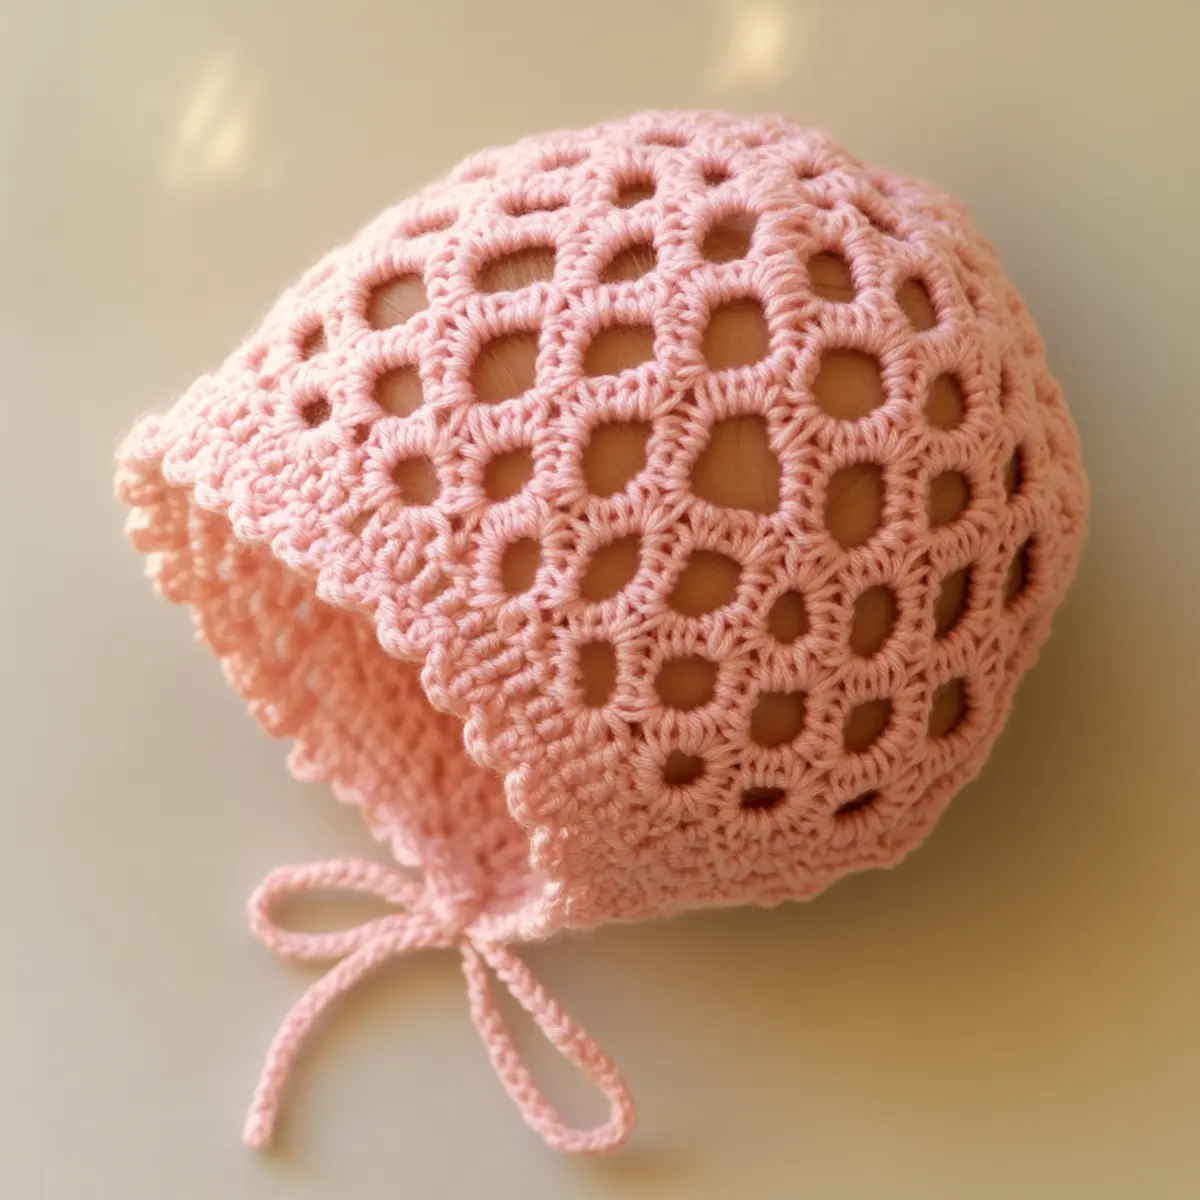
Crochet Baby Bonnet Materials & Tools
Yarn
- Worsted-weight yarn – Choose a soft, breathable fiber like cotton or acrylic; about 100-150 yards is perfect for this crochet baby bonnet.
Tools & Notions
- 4.5 mm (G/6) crochet hook – A standard size with optimal tension for lovely stitch definition.
- Stitch marker – Essential for tracking rows and maintaining your pattern.
- Scissors – For cutting yarn cleanly at the end of your project.
- Yarn needle – Great for weaving in ends and finishing touches.
- Optional: Decorative buttons or small safety eyes – Adds a personal flair to your crochet baby bonnet.
Why You’ll Love This Pattern
First, the whimsical design is an instant head-turner, making it the perfect accessory for any spring outing. Secondly, the open-work section creates a breathable fabric that keeps your little one comfortable in warmer weather, showcasing the lovely crochet stitches. Additionally, this project is stash-friendly—ideal for using up remnants of your favorite yarns. Whether you aim for pastel pinks or striking variegated hues, the customizability allows you to tailor the bonnet to fit personal styles or a special occasion. The quick construction ensures you’ll finish in a jiffy, making it an excellent choice for last-minute gifts. Explore more about making the most of your crochet with our guide on stashing yarn. This crochet baby bonnet brings together simplicity, aesthetic appeal, and practicality, making it a must-have in your crafting repertoire.
Gauge & Sizing Notes for Crochet Baby Bonnet
When creating a crochet baby bonnet, checking your tension is essential to ensure the right fit for your little one. Aim for a standard gauge of 5 dc x 4 rows per 4×4 inch (10×10 cm) swatch. If your swatch falls short or exceeds this measurement, adjust your hook size accordingly—either go down for tighter stitches or up for a looser fabric. This crochet baby bonnet is designed to fit approximately 14-15 inches around the head, which is suitable for newborns up to a year. If resizing is necessary, modify your starting foundation chain or adjust your rounds while maintaining stitch counts to achieve the desired size. A well-fitted bonnet will keep your baby cozy and stylish while providing sun protection, making this project both functional and fashionable.
Step-by-Step Pattern for Crochet Baby Bonnet
Row 1: Start the Foundation Chain
Begin by making a foundation chain with 42 ch. This chain will serve as the base for your bonnet’s band, ensuring a cozy fit around the baby’s head. Use a soft worsted-weight yarn for best results.
Row 2: Form the Band
Starting in the 2nd ch from the hook, work 1 hdc in each ch across to the end, totaling 41 hdc. This creates a snug band that wraps comfortably around the baby’s head. Don’t forget to turn your work after this row.
Row 3: Join and Turn
Next, fold the band in half and sl st the starting and ending edges together. This forms a continuous loop for the bonnet. Now, chain 3 (counts as dc) and prepare for the crown of the bonnet.
Row 4: Begin the Crown
Continue by working 1 dc into the same spot, followed by 1 dc in each stitch around the row (totaling 41 dc). This creates a rounded top part of the crochet baby bonnet, which will be crucial for a good fit.
Row 5: Add the Lacework
Now, for the charming open-work design, chain 4 and skip 1 dc before making 2 dc into the next stitch. Repeat this pattern: skip 1 stitch, (2 dc, ch 1) around. You should end with 20 lace sections at the top of the bonnet.
Row 6: Complete the Lace Detail
In the same manner, ch 1 and 2 dc in the ch-1 spaces around to increase the lace detail. Follow this step uniformly to maintain consistency throughout the project. You will have a total of 41 dc in this round for a beautiful airy look.
Row 7: Start the Scalloped Edge
To give your crochet baby bonnet a lovely scalloped edge, chain 3, then work (2 dc, ch 2, sl st) into the next ch-1 space. Repeat around the circumference for a delicate, wave-like finish. You should have scallops throughout to adorn the edge.
Row 8: Tie Straps
Cut a new strand of yarn around 20 inches long for each tie. Start your tie by creating a slip knot and chaining 70. This will ensure that the bonnet stays securely fastened under the chin.
Row 9: Attach Ties
Join the ties to the sides of the bonnet by using sl st. Ensure they are positioned securely, about 3 rows from the last scallop. This provides both stability and cuteness for your little wearer.
Row 10: Weave in Ends
Using your yarn needle, weave in any loose ends throughout the bonnet. This step is crucial to give a polished finish to your lovely crochet baby bonnet and to prevent any yarn from unraveling.
Row 11: Block the Bonnet
Take a moment to block your finished piece slightly. Lightly wet the bonnet and shape the edges to enhance the scallops. This final touch will ensure a beautiful drape and fit on your baby’s head.
Row 12: Final Fit Check
Lastly, make sure the bonnet fits comfortably on the baby’s head. The finished dimensions should be around 14-15 inches in circumference. If needed, adjust ties for a snug fit, ensuring the baby stays safe and cozy. Now your crochet baby bonnet is complete and ready for use!
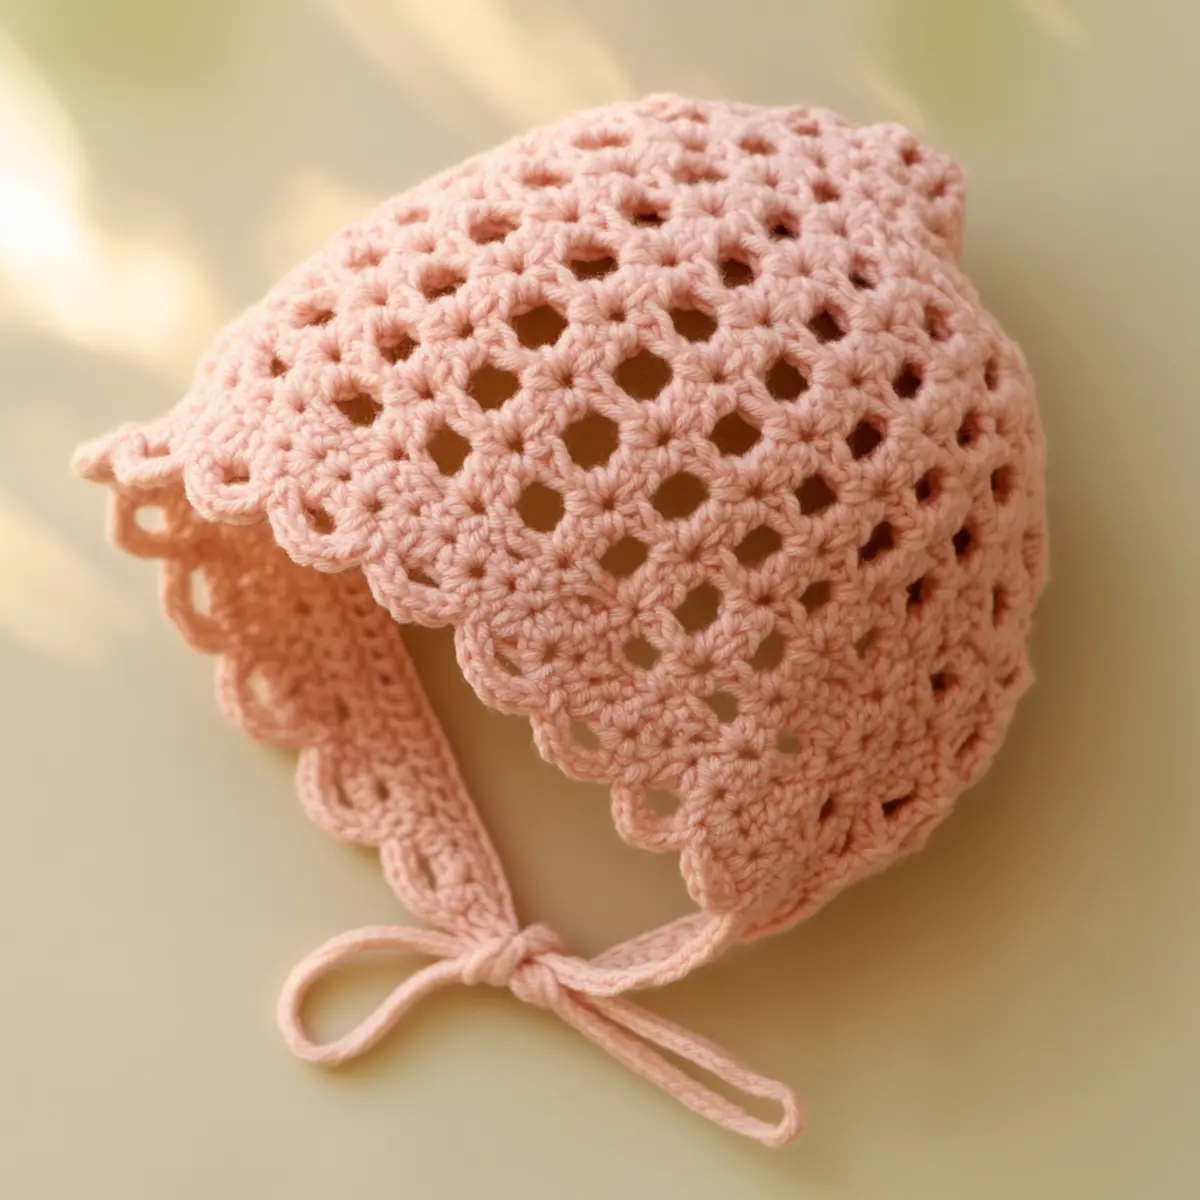
How to Wash and Care for Your Crochet Baby Bonnet
Machine Washing: Use the gentle cycle with cold water only, and place the bonnet in a mesh laundry bag to avoid snagging.
Hand Washing: For a more careful clean, gently soak the bonnet in lukewarm water with mild detergent for about 10 minutes before rinsing.
Drying: Lay the crochet baby bonnet flat on a clean towel to dry, avoiding direct sunlight to protect the colors and fibers.
Blocking: After washing, lightly block the bonnet again to maintain its shape and enhance the delicacy of the scalloped edges.
Crochet Baby Bonnet Variations
Feel free to explore different yarns and embellishments to make this project uniquely yours!
- Color Variations: Experiment with vibrant hues or pastel tones for different seasons, like sunny yellows or soft blues.
- Yarn Alternatives: Try using bamboo or linen yarn for a unique texture and breathability, ideal for summer wear.
- Size Modifications: Adjust the pattern for larger bonnets by increasing foundation chains or adding extra rows to fit older children.
- Embellished Designs: Add flowers or bows made from crochet scraps to give a personalized touch that enhances the charm.
- Textural Changes: Combine yarns for a color-blocked effect; alternating textures can add visual interest to your baby bonnet.
- Seasonal Add-ons: Work the bonnet in wool for winter warmth, treating the pattern with thicker yarns suitable for colder months.
Consider using a blend of cotton and acrylic for a soft, cozy feel with excellent drape. The open-work texture not only looks beautiful but also ensures a comfortable fit, keeping your baby snug and stylish. Don’t hesitate to check out more crochet tips and ideas on our blog for creative inspiration!
Expert Tips for the Best Crochet Baby Bonnet
Count Regularly: Consistently check your stitch count, especially during the lace section to avoid dropped stitches and maintain the desired shape.
Track Rows: Use a stitch marker to track which row you’re on to prevent losing count as you work through this intricate crochet baby bonnet.
Fondation Chain: Ensure you don’t twist your foundation chain; a twisted chain can lead to a misfitting bonnet that’s uncomfortable for the baby.
Check Tension: Keep an eye on your tension while crocheting, adjusting your hook size if your stitches feel too tight or too loose.
Block Lightly: After completing your project, don’t forget to block the crochet baby bonnet lightly to shape the scalloped edges perfectly and ensure a well-defined fit.
Choose Right Yarn: Opt for a soft, breathable yarn like a cotton blend, essential for the comfort and airflow in a crochet baby bonnet.
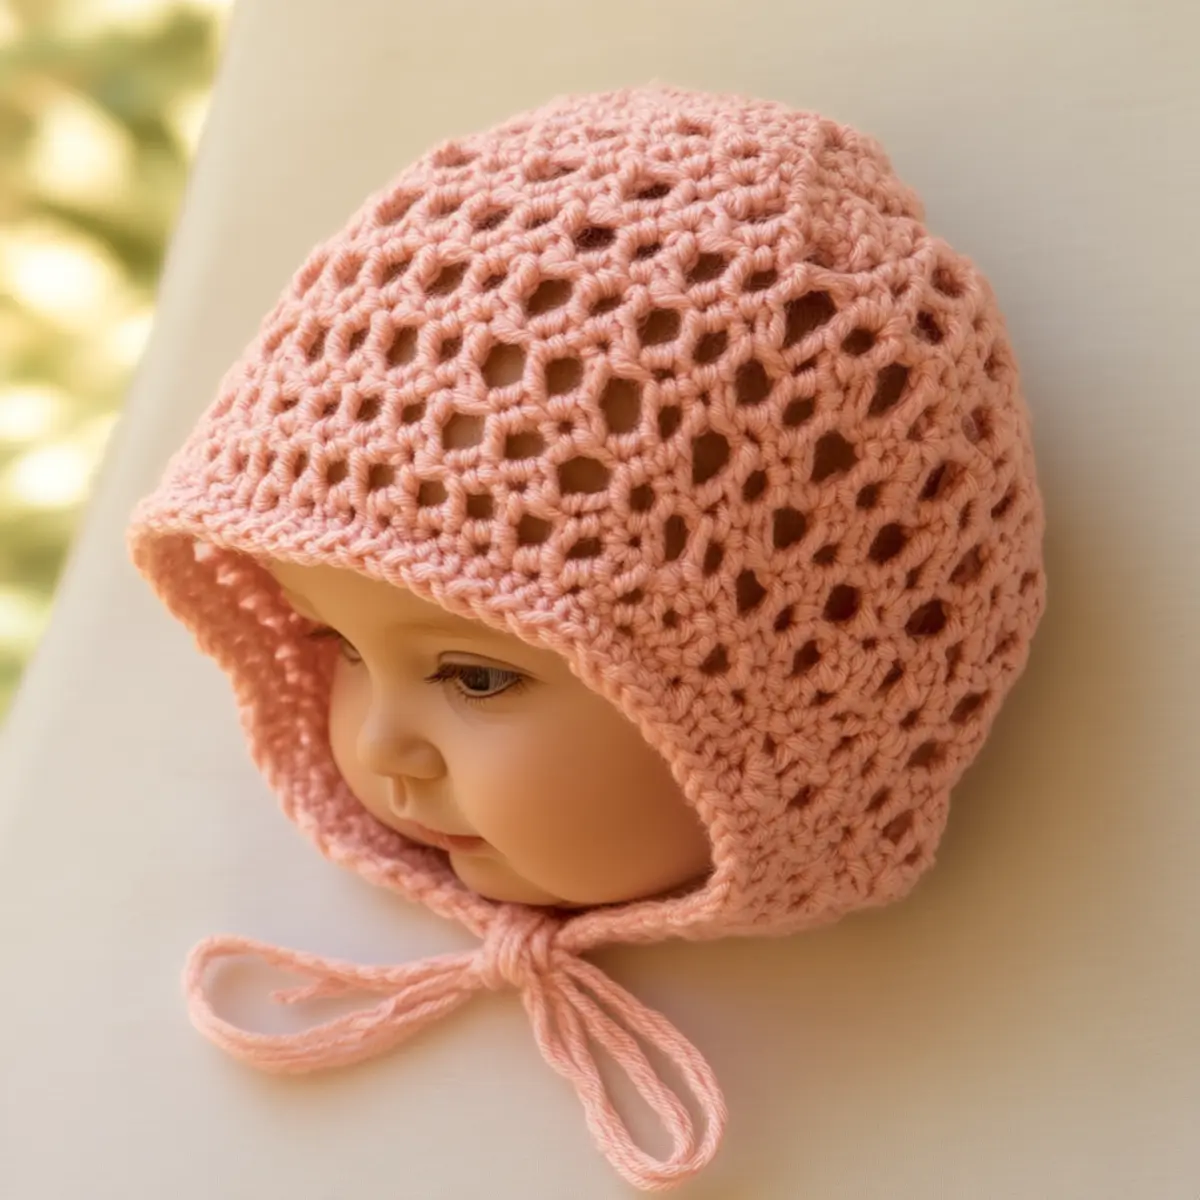
Crochet Baby Bonnet FAQs
Can I substitute yarn for this project?
Absolutely! While worsted-weight yarn is recommended, you can use other yarn types depending on your desired look, just adjust your hook size accordingly.
What size hook should I use?
For the crochet baby bonnet, a 4.5 mm (G/6) hook generally works best. If you find your stitches too tight or loose, consider trying another size.
How can I adjust the size of the bonnet?
To resize, you may increase or decrease the foundation chain. A few extra chains can fit a larger head, while removing chains is perfect for smaller babies.
What if my bonnet keeps curling at the edges?
If curling occurs, examine your tension and stitch pattern. A tighter tension might cause this issue, so try loosening your stitches or blocking the bonnet afterward to help eliminate it.
How can I personalize the bonnet?
You can personalize your crochet baby bonnet using different yarn colors and decorative elements like buttons, flowers, or even small bows to enhance the overall charm.
What’s the best way to store my crochet baby bonnet?
Store your finished bonnet in a cool, dry place away from direct sunlight. Avoid folding it to prevent creases; instead, lay it flat or place it in a breathable bag.

Leave a Reply