
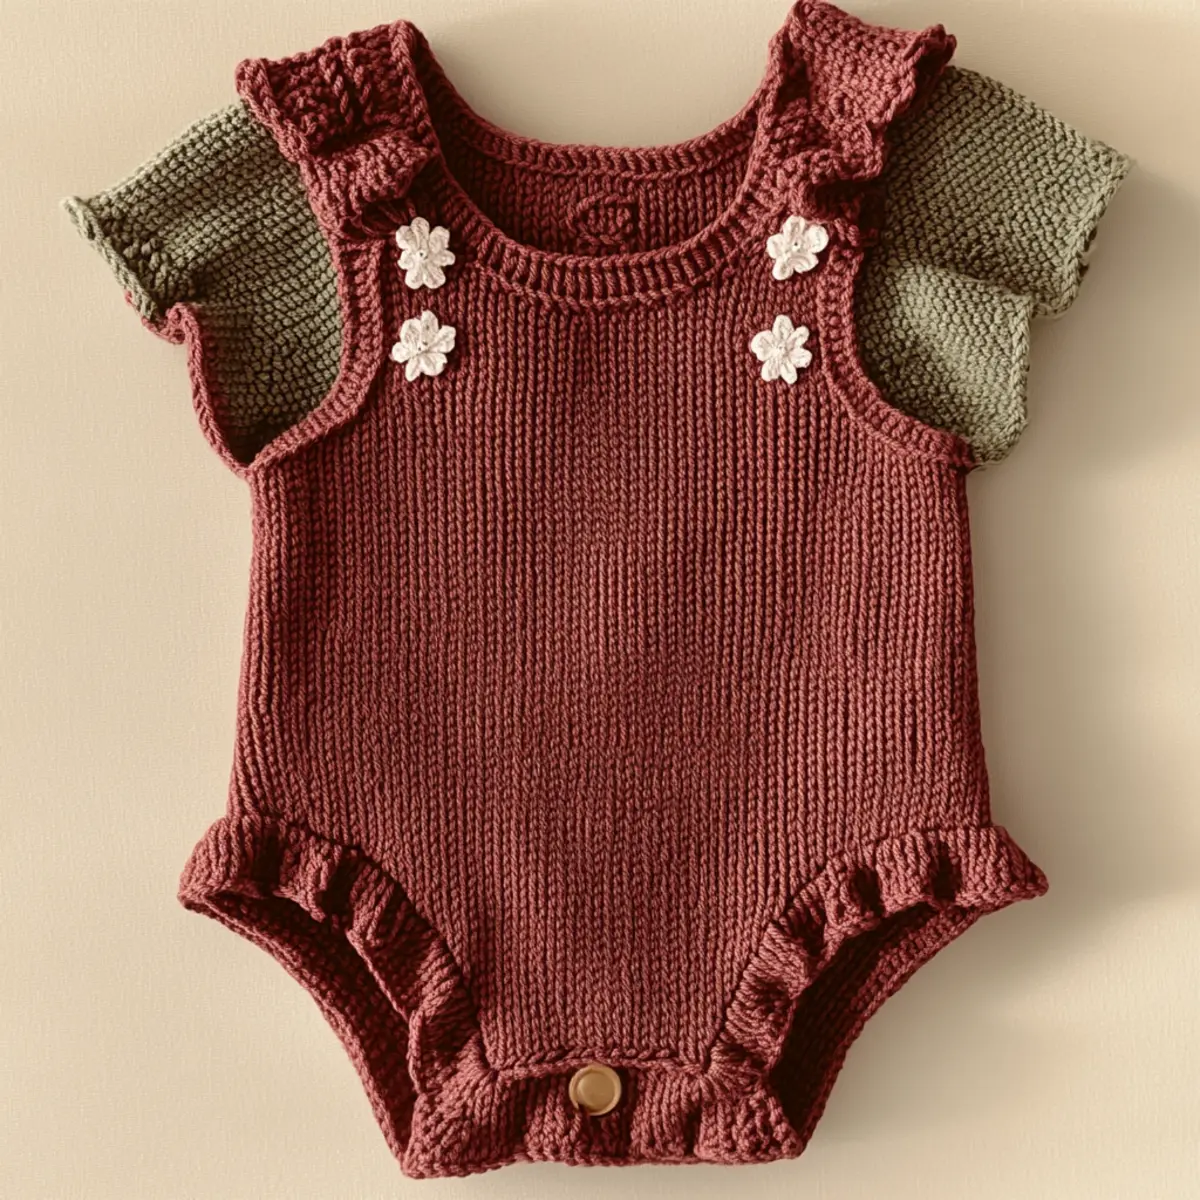
Cozying up with crochet projects always brings a spark of delight, especially when it involves crafting for little ones. Recently, I dove into making some whimsical baby rompers, a project that has become a personal favorite of mine. This cozy baby crochet romper pattern offers an enjoyable, quick experience that can help reduce your yarn stash while resulting in adorable outfits for your child or a loved one. These rompers are not only beginner-friendly, thanks to simple stitches and techniques, but they also allow for creative expression with floral accents that transform basic garments into charming masterpieces. Each stitch tells a story, and the joy of seeing a little one in your handmade creation is unlimited. As you delve into this cozy journey, I wonder what color combinations and embellishments will capture your imagination the most?
Baby Crochet Romper Materials & Tools
Yarn
- Medium weight yarn (size 4) – Approximately 300-400 yards are needed to create both rompers, ensuring comfort and durability for your baby crochet romper.
- Cotton or acrylic yarn – Both options provide a soft drape, perfect for babies while allowing room for embroidery and decorative elements.
Tools & Notions
- 4.5 mm crochet hook (G/6 US) – This size is ideal for creating the rompers with a snug yet comfortable fit.
- Small crochet flowers – Made from lighter yarn for added contrast, these embellishments add a charming touch to the romper’s design.
- Buttons – Choose buttons that match your yarn colors for closures, enhancing the overall aesthetic of your handmade garment.
What Makes This Romper Unique?
Gauge & Sizing Notes for Baby Crochet Romper
Checking your tension is crucial when crafting the baby crochet romper to ensure that the garment fits comfortably. The standard gauge to aim for is 4×4 inches (10×10 cm) with 15 sc stitches and 18 rows in single crochet. If your tension doesn’t match, you may need to adjust your hook size or yarn choice. To resize the romper, simply add or reduce the foundation chain in increments of 10-15 stitches, ensuring the leg openings and body dimensions are balanced accordingly. If your swatch doesn’t match the gauge, it’s essential to either go down a hook size for tighter stitches or up a size for looser stitches. Personalizing this cozy baby crochet romper with floral accents and vibrant colors further enhances its charm. As this project can cater to various sizes ranging from newborns to 6 months, adjusting the starting chain accordingly ensures a delightful fit for your little one!
Step-by-Step Pattern for Baby Crochet Romper
Row 1: Foundation Chain
Begin by creating a foundation chain that measures approximately 70-80 inches (depending on the size of the romper). Use a medium weight yarn with a 4.5 mm hook to ensure a soft drape. Join the end of the chain with a slip stitch (sl st) to form a circle, being careful not to twist it.
Row 2: Starting the Body
Work in single crochet (sc) around the chain to establish the body of the romper. Distribute your stitches evenly, making sure to place approximately 60-70 stitches total. Remember to place a stitch marker to denote the beginning of the round (70 total stitches).
Row 3: Establishing Rounds
Continue crocheting in single crochet for about 10-12 rounds. This will make up the torso of the romper, ensuring ample coverage for your little one. Make sure to check your tension throughout to maintain consistent sizing.
Row 4: Begin the Leg Openings
To create leg openings, start the round by working and then chaining 20 stitches for the first leg opening, skipping the next 20 stitches from the previous round. Slip stitch (sl st) into the first stitch to close the round, ensuring an even fit (40 total stitches).
Row 5: Crocheting the Legs
In this row, work around each leg opening in double crochet (dc). Add 3-4 additional rounds of dc to develop the length of the leg openings comfortably. You can use an increase (inc) after every 5 stitches to make them slightly wider to fit over diapers.
Row 6: Creating the Ruffles
To introduce ruffles to the legs, switch to a shell stitch pattern (5 dc in the same stitch, skip 1 stitch). Create this for 4-5 rounds to give a whimsical look to the romper. Switch back to regular sc for the following rounds to secure the ruffles.
Row 7: Shaping the Shoulders
Begin the shoulder straps by switching to half double crochets (hdc) for durability. Create a foundation chain of about 20 inches and then make 4-5 rows of hdc. Don’t forget to place buttonholes on one side before finishing the straps to attach to the body of your baby crochet romper.
Row 8: Attaching the Straps
Carefully attach the shoulder straps by stitching them to the back of the romper using slip stitches (sl st) for a neat finish. Ensure that the straps are securely fastened to withstand the playful movements of little ones.
Row 9: Adding Floral Accents
Using a contrasting lighter yarn, create small crochet flowers for embellishment. Work in different colors; typically, five petals using single crochet (sc) stitches for each flower suffices. Attach the flowers at the shoulder seams or along the torso for a charming effect.
Row 10: Final Touches
To complete the romper, add buttons at the strap ends for closures that complement your yarn choice. These buttons serve as both functional elements and cute additions to the overall look of the baby crochet romper.
Row 11: Blocking the Romper
After completing your romper, it’s important to block it. Wet blocking can help even out stitches while avoiding excessive stretching, especially around intricate design elements like the ruffles and flowers. Let it dry flat to maintain its shape.
Row 12: Last Inspection
Finally, perform a thorough inspection of your finished romper, checking for any loose threads or irregular stitches. Make adjustments where necessary and prepare for a baby to wear your lovely creation. The final romper should be snug but comfortable, allowing free movement for crawling or wiggling!
Baby Crochet Romper Variations
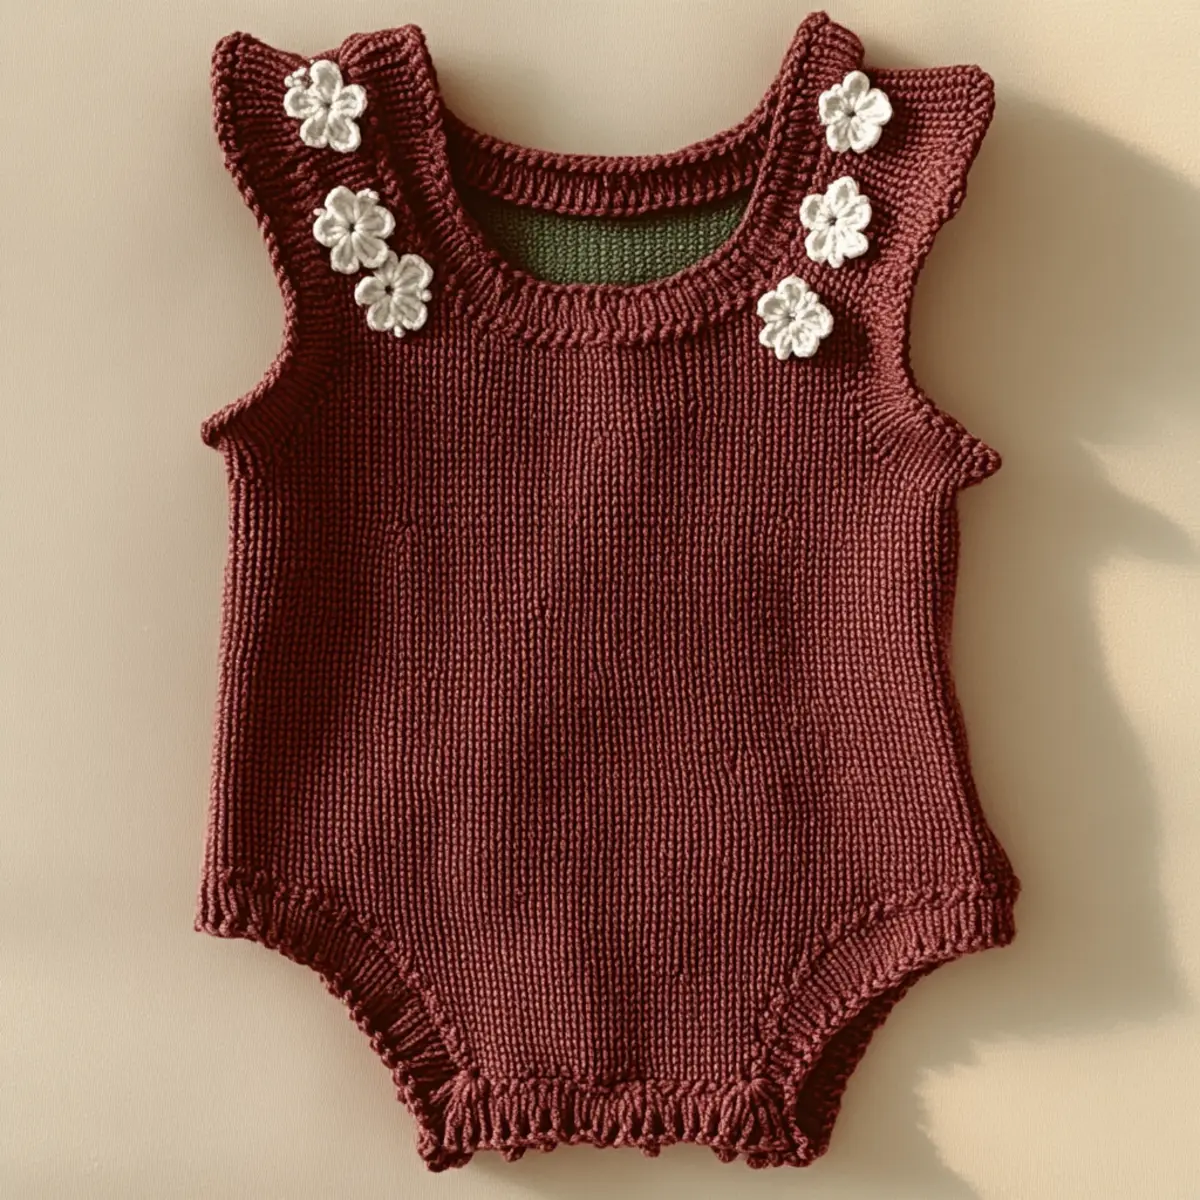
Feel free to let your creativity shine by customizing these rompers with different styles and elements!
- Color Blocking: Experiment with multiple color segments across the romper for a playful twist.
- Fabric Choices: Opt for bamboo yarn for a softer, eco-friendly alternative that’s gentle on baby skin.
- Ruffle Styles: Add funky fringe ruffles or larger shell stitch ruffles to elevate the garment’s whimsy.
- Floral Embellishments: Use fabric flowers instead of crochet for a chic contrast and a unique texture.
- Size Adjustments: Scale the pattern to accommodate toddlers or older infants, ensuring long-term use.
- Strap Variations: Try a cross-back strap design for added flair and more comfort.
- Textured Patterns: Introduce a bobble stitch in some sections for a plush, cozy feel that captivates little hands.
- Embellished Buttons: Choose decorative buttons that feature interesting shapes to add a personal touch, enhancing the overall aesthetic while being functional. Incorporating family heirlooms or fun shapes like stars or hearts can add nostalgia or playfulness to each piece.
Remember, every stitch you make is a heartfelt story for the baby wearing it! Check out more about customizing your crochet projects in this article.
Expert Tips for Baby Crochet Rompers
Bold Count: – Always keep track of your stitch count to prevent mismatches in size or pattern. Setting up markers can help you stay focused.
Foundation Chain: – Ensure your foundation chain is not twisted before joining it. This avoids distorted shapes in your baby crochet romper.
Consistent Tension: – Maintain even tension throughout the project to keep your stitches uniform, especially in the sections where floral accents are added.
Review Each Round: – After every few rounds, check your work for dropped stitches or curling. Catch mistakes early to save time and frustration.
Yarn Selection: – Choose a soft, durable yarn suitable for babies. Cotton or acrylic works best for both comfort and easy washing. Stick to the recommended medium weight for best results.
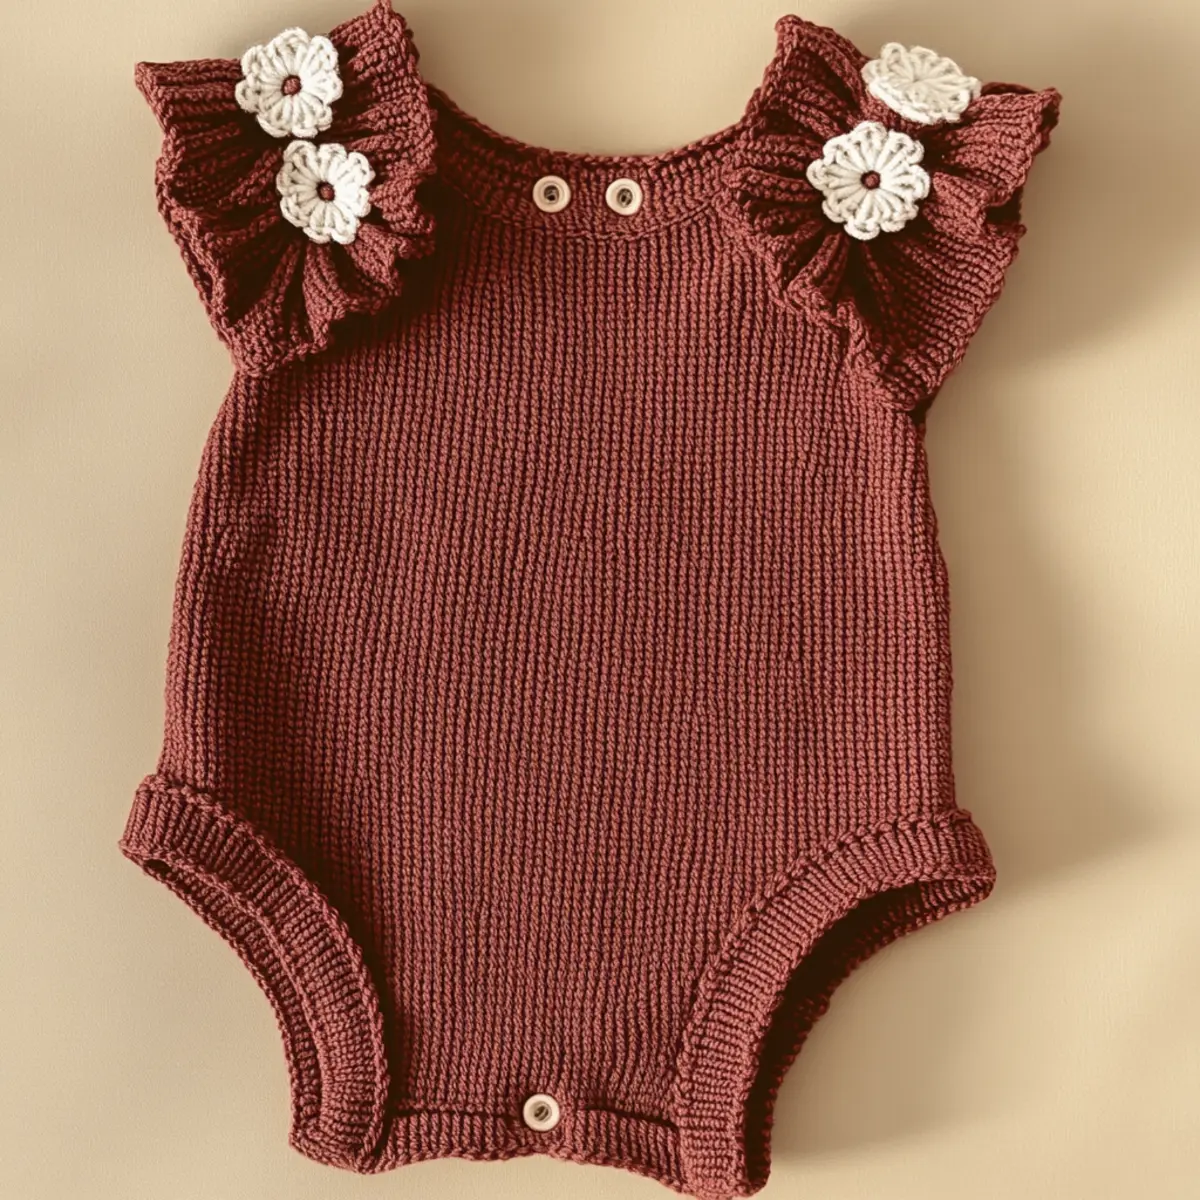
Decorative Elements: – When adding ruffles or flowers, be mindful of where they are placed for a balanced aesthetic. Secure embellishments well to avoid them falling off during wear.
How to Wash and Care for Your Baby Crochet Romper
Hand Washing: – Always opt for hand washing with cold water to prevent any damage to the yarn or structure of the romper. Avoid harsh detergents.
Machine Washing: – If using a machine, place the romper inside a mesh laundry bag. Select a gentle cycle with cold water to protect the integrity of your work.
Drying: – Lay the romper flat on a clean towel to dry naturally. This helps maintain its shape and prevents stretching, especially around ruffles.
Blocking: – Check for any irregularities and do wet blocking if necessary after washing. This will smooth out stitches and enhance the floral designs.
Baby Crochet Romper FAQs
Can I substitute yarn for this pattern?
Absolutely! You can use any medium weight yarn, such as cotton or acrylic, but remember that different compositions can alter the drape and feel. Test your yarn for suitability before starting.
What hook size should I use for the romper?
For this baby crochet romper, a 4.5 mm (G/6 US) hook is best. This size helps maintain an even tension while being comfortable to work with, especially for beginners.
How do I adjust the sizing for my baby?
To resize, adjust the foundation chain in increments of 10-15 stitches. Ensure that the leg openings are proportionate to the body by keeping a close eye on gauge throughout the process.
What if the romper starts curling at the edges?
Don’t panic! Curling often happens with crochet pieces. To fix this, ensure you’re using the proper tension and blocking techniques. Wet blocking typically solves this issue.
How can I troubleshoot dropped stitches?
If you notice dropped stitches, simply unravel back to where the stitch was lost and redo that section. Using stitch markers along your rounds can help track your stitches better.
Can I add more embellishments?
Definitely! Feel free to personalize your romper with more floral accents or even different stitch patterns. Just make sure to secure them well to ensure durability while baby wears it.

Leave a Reply